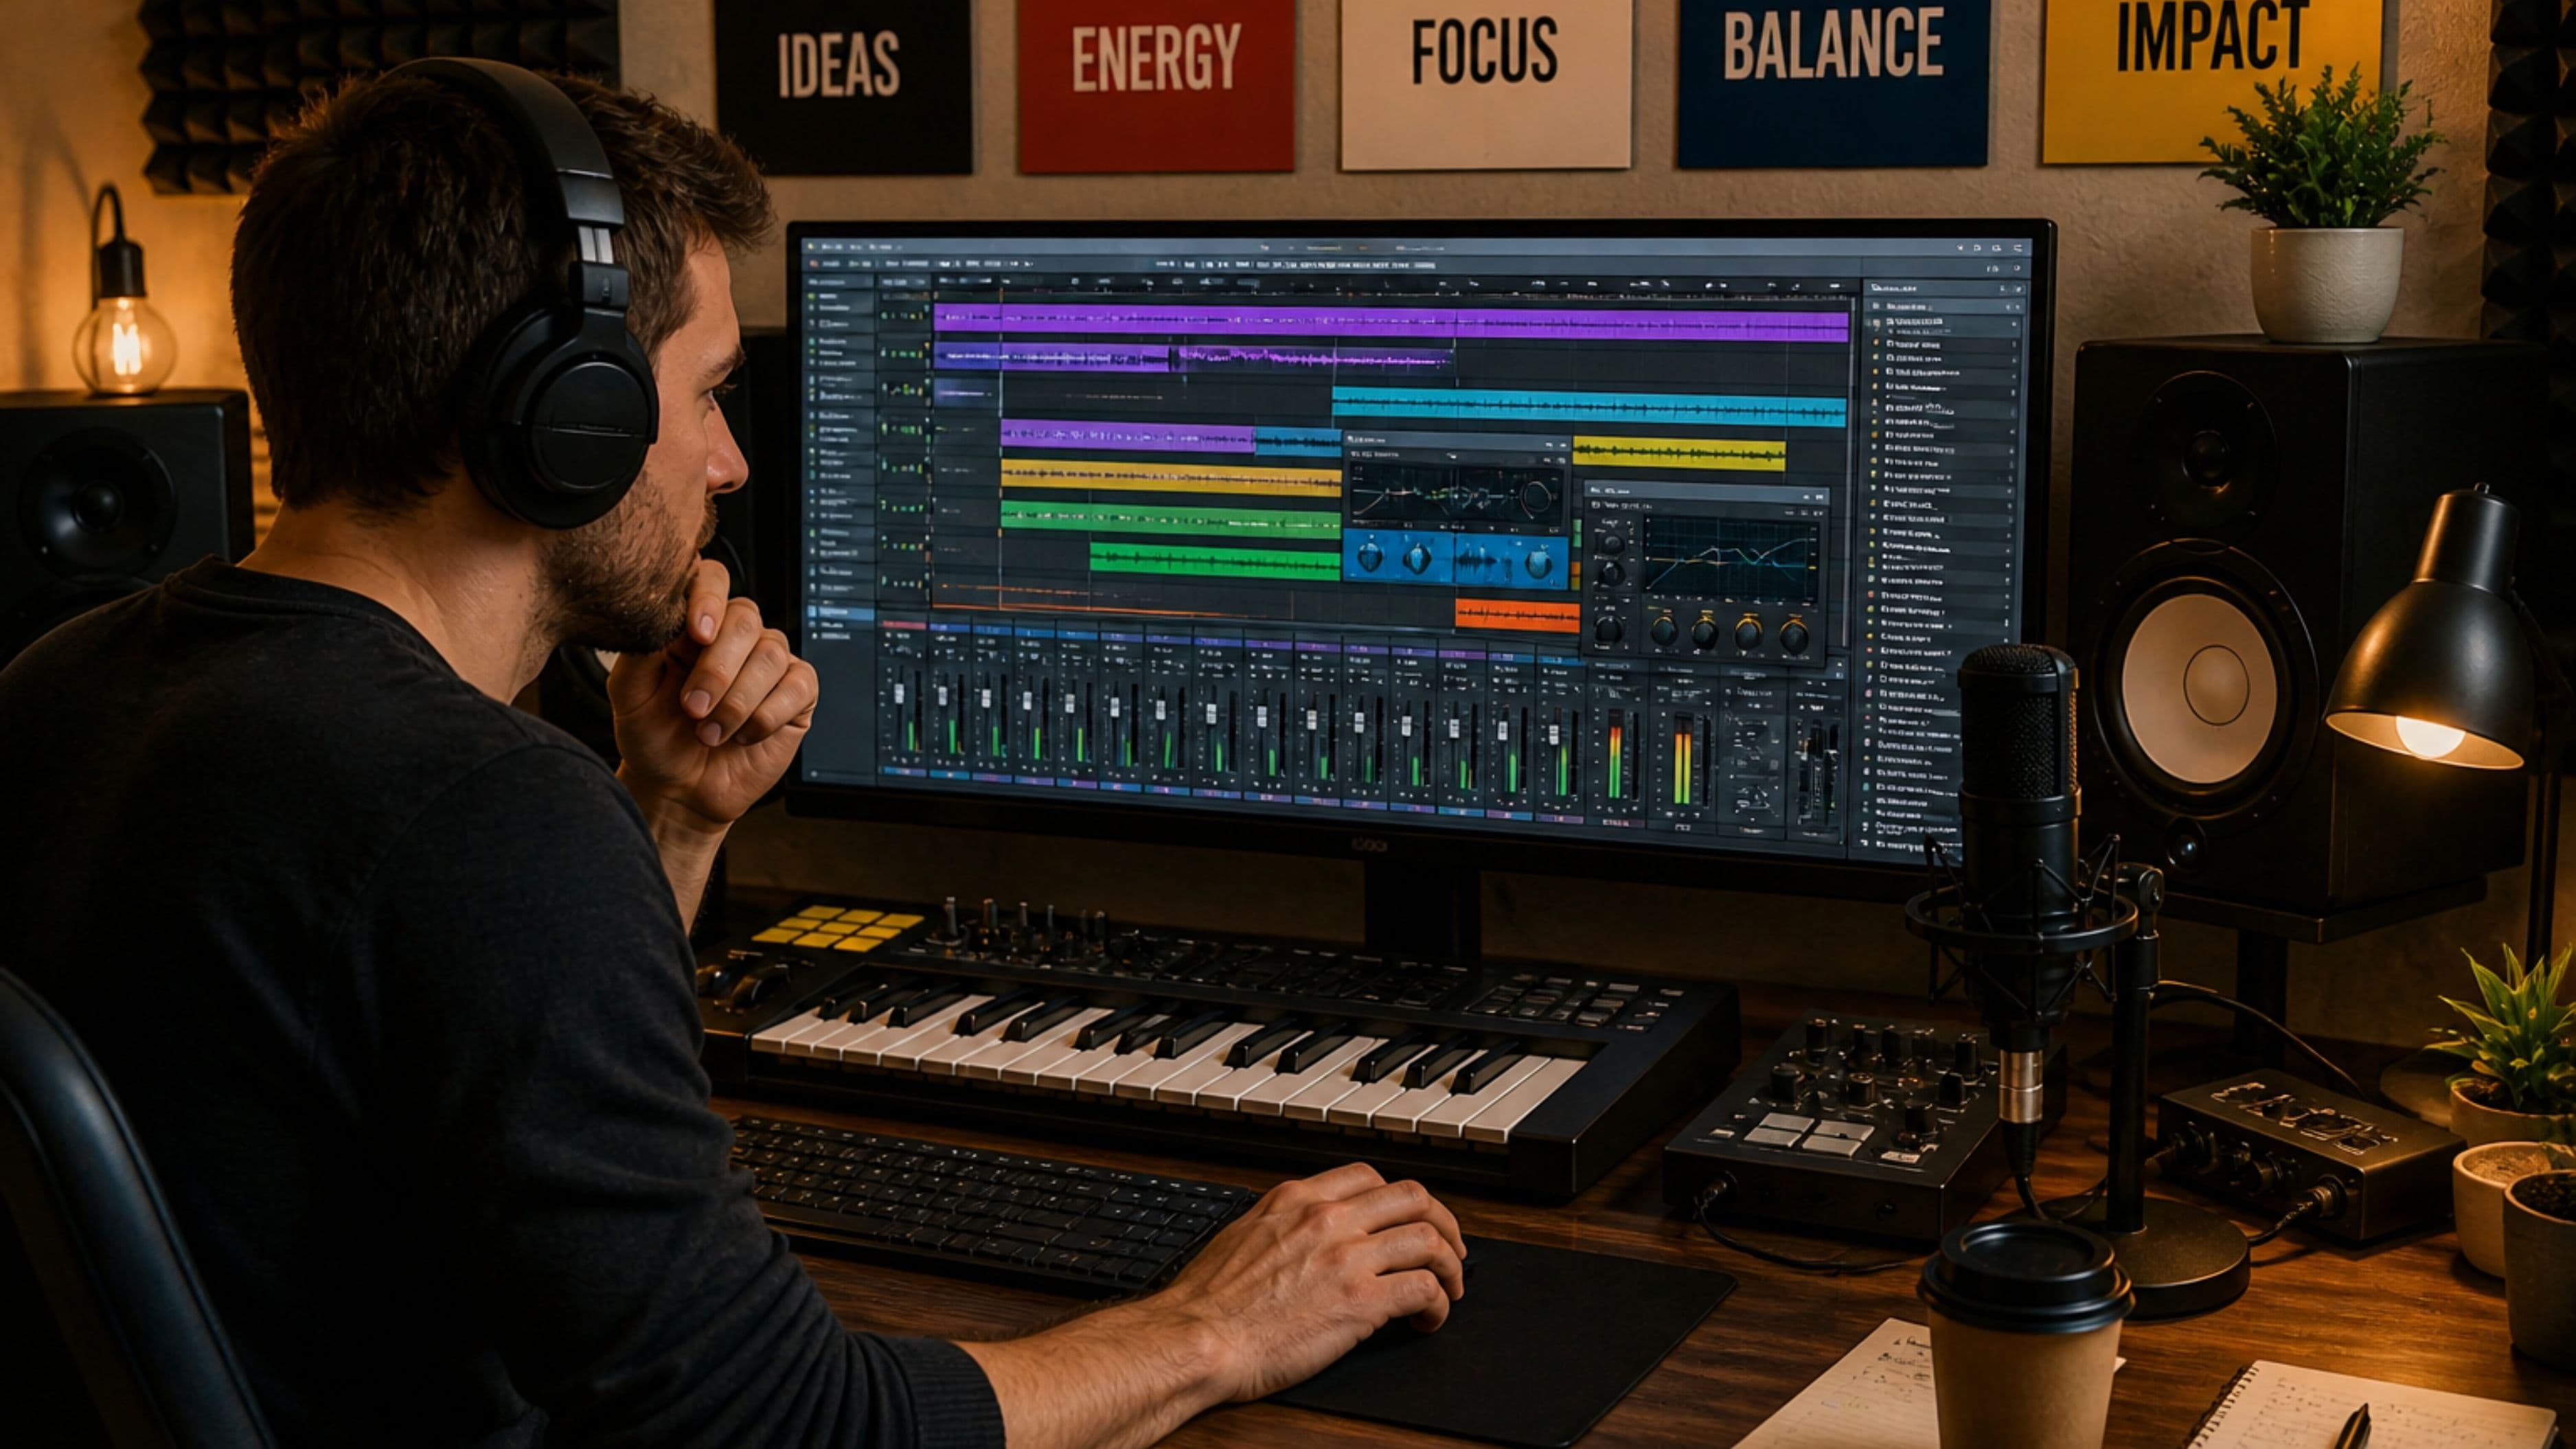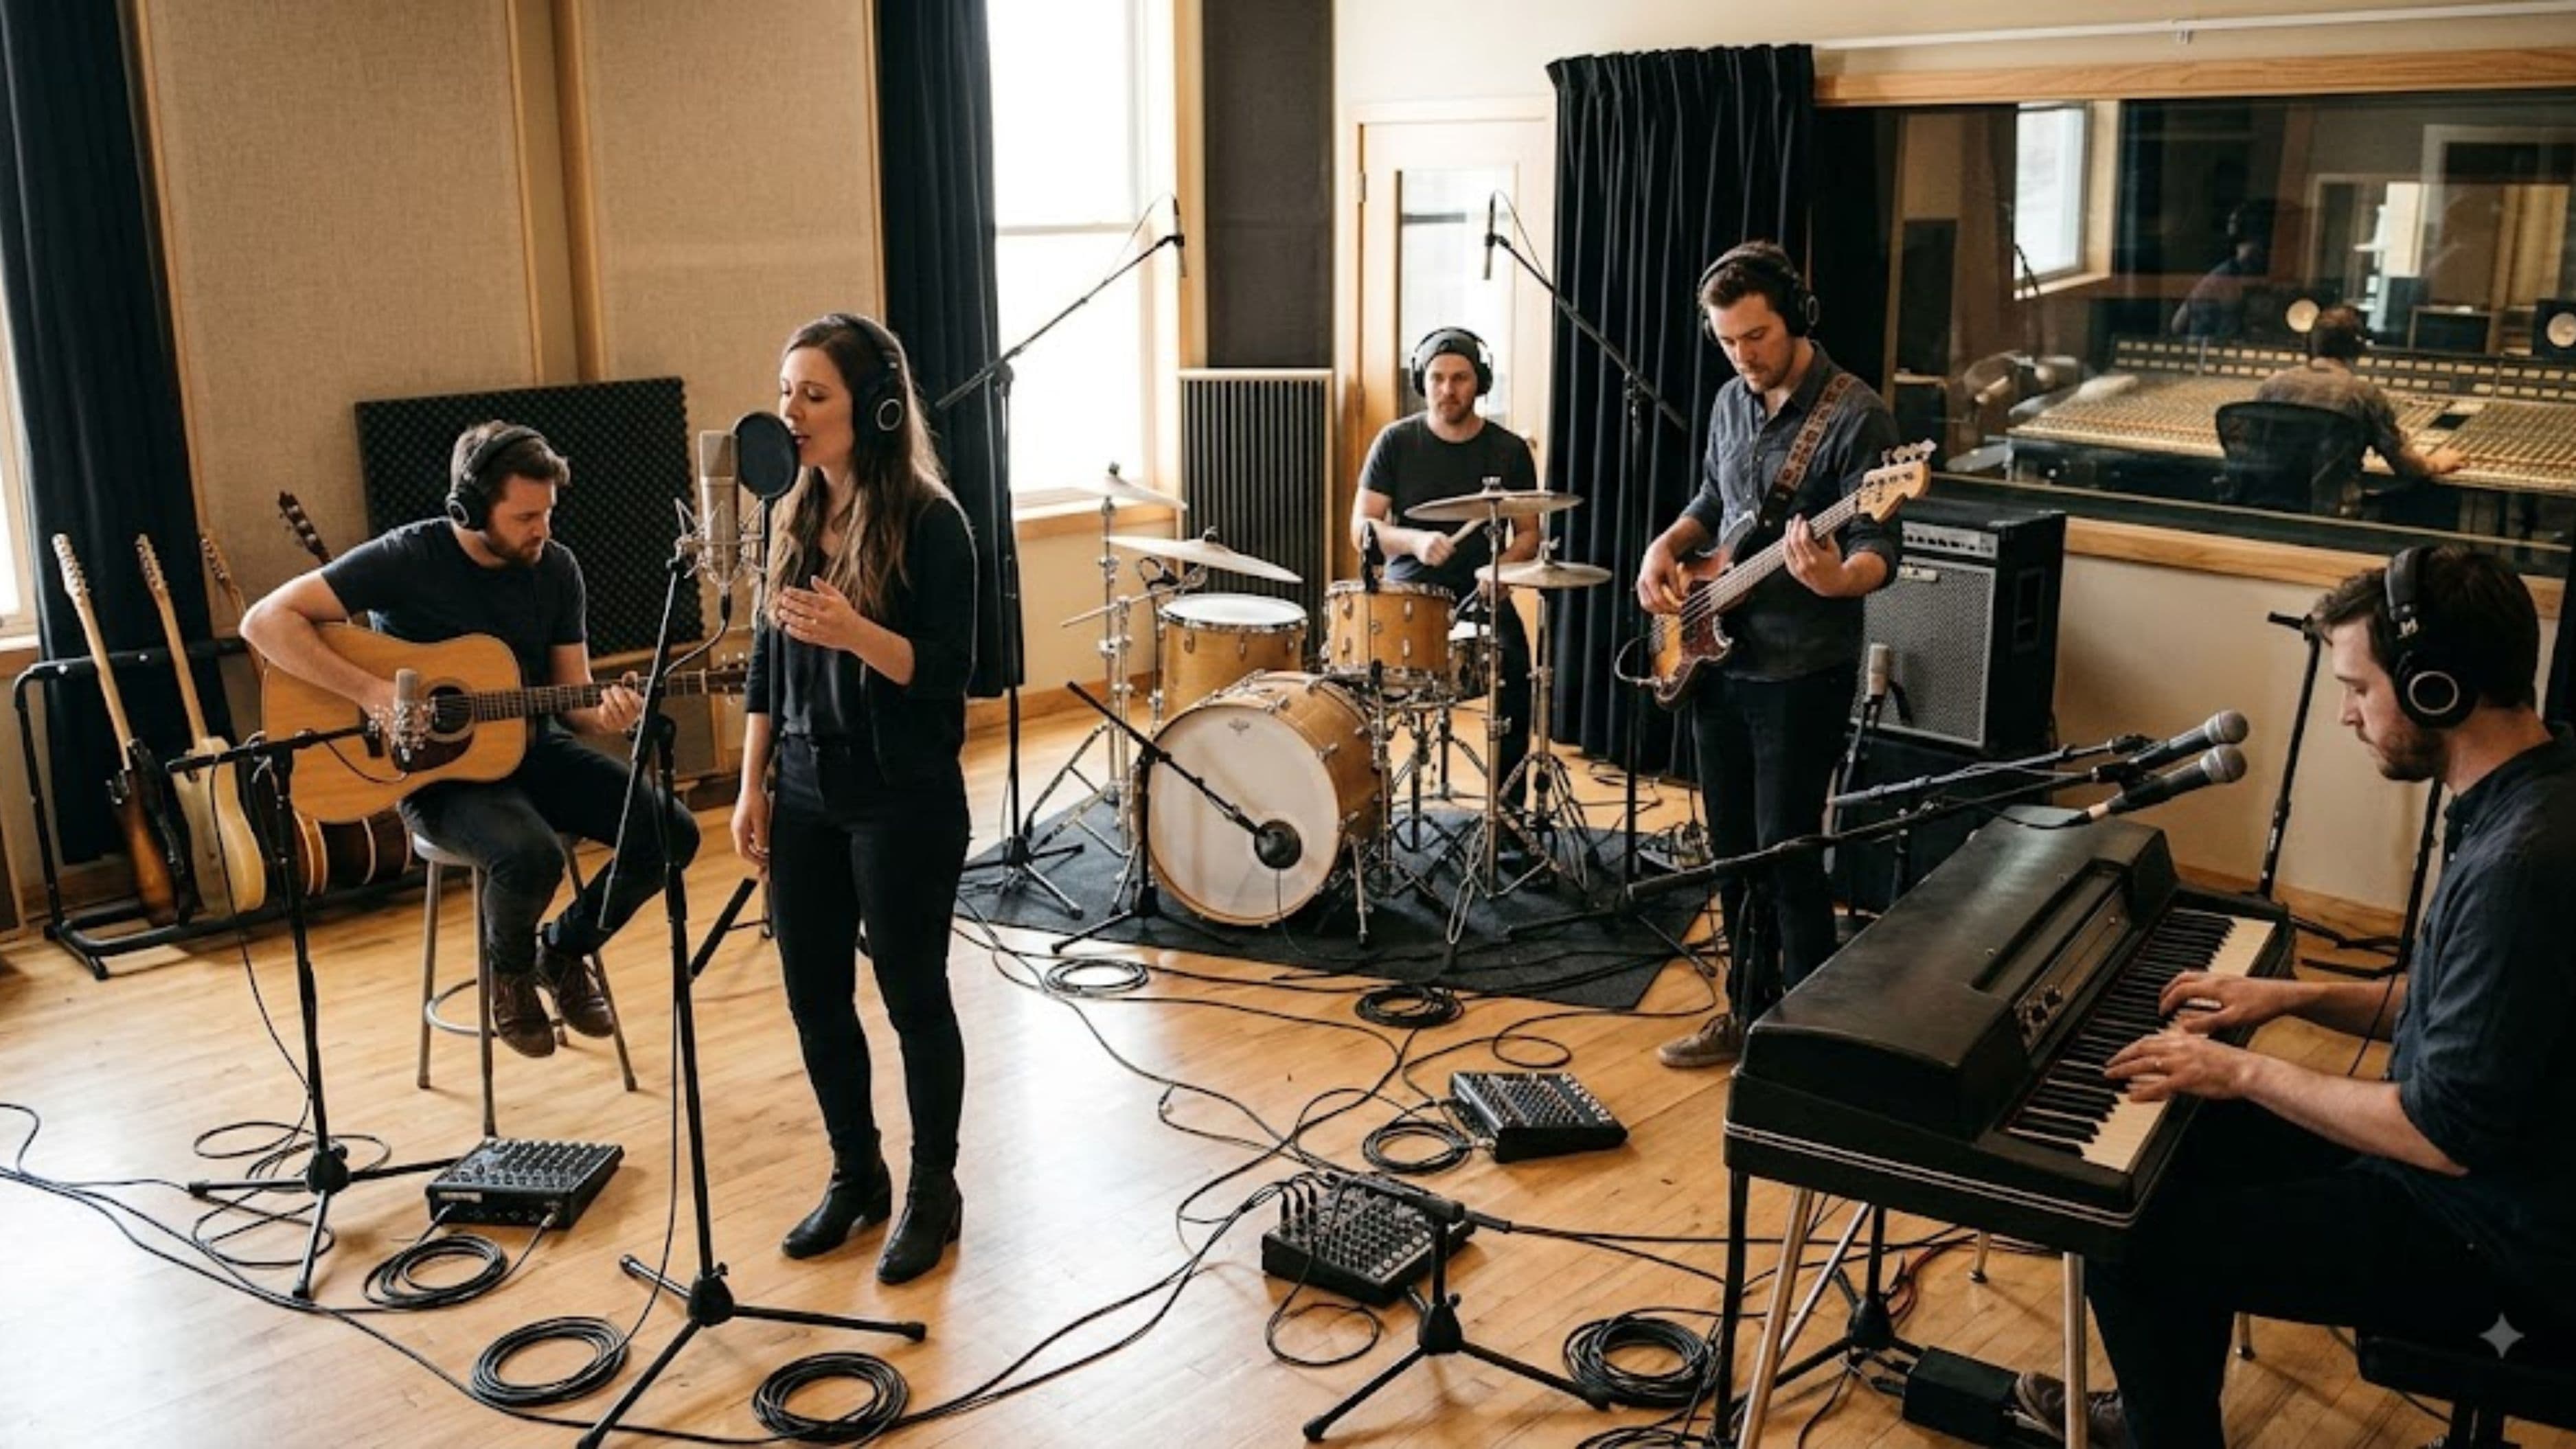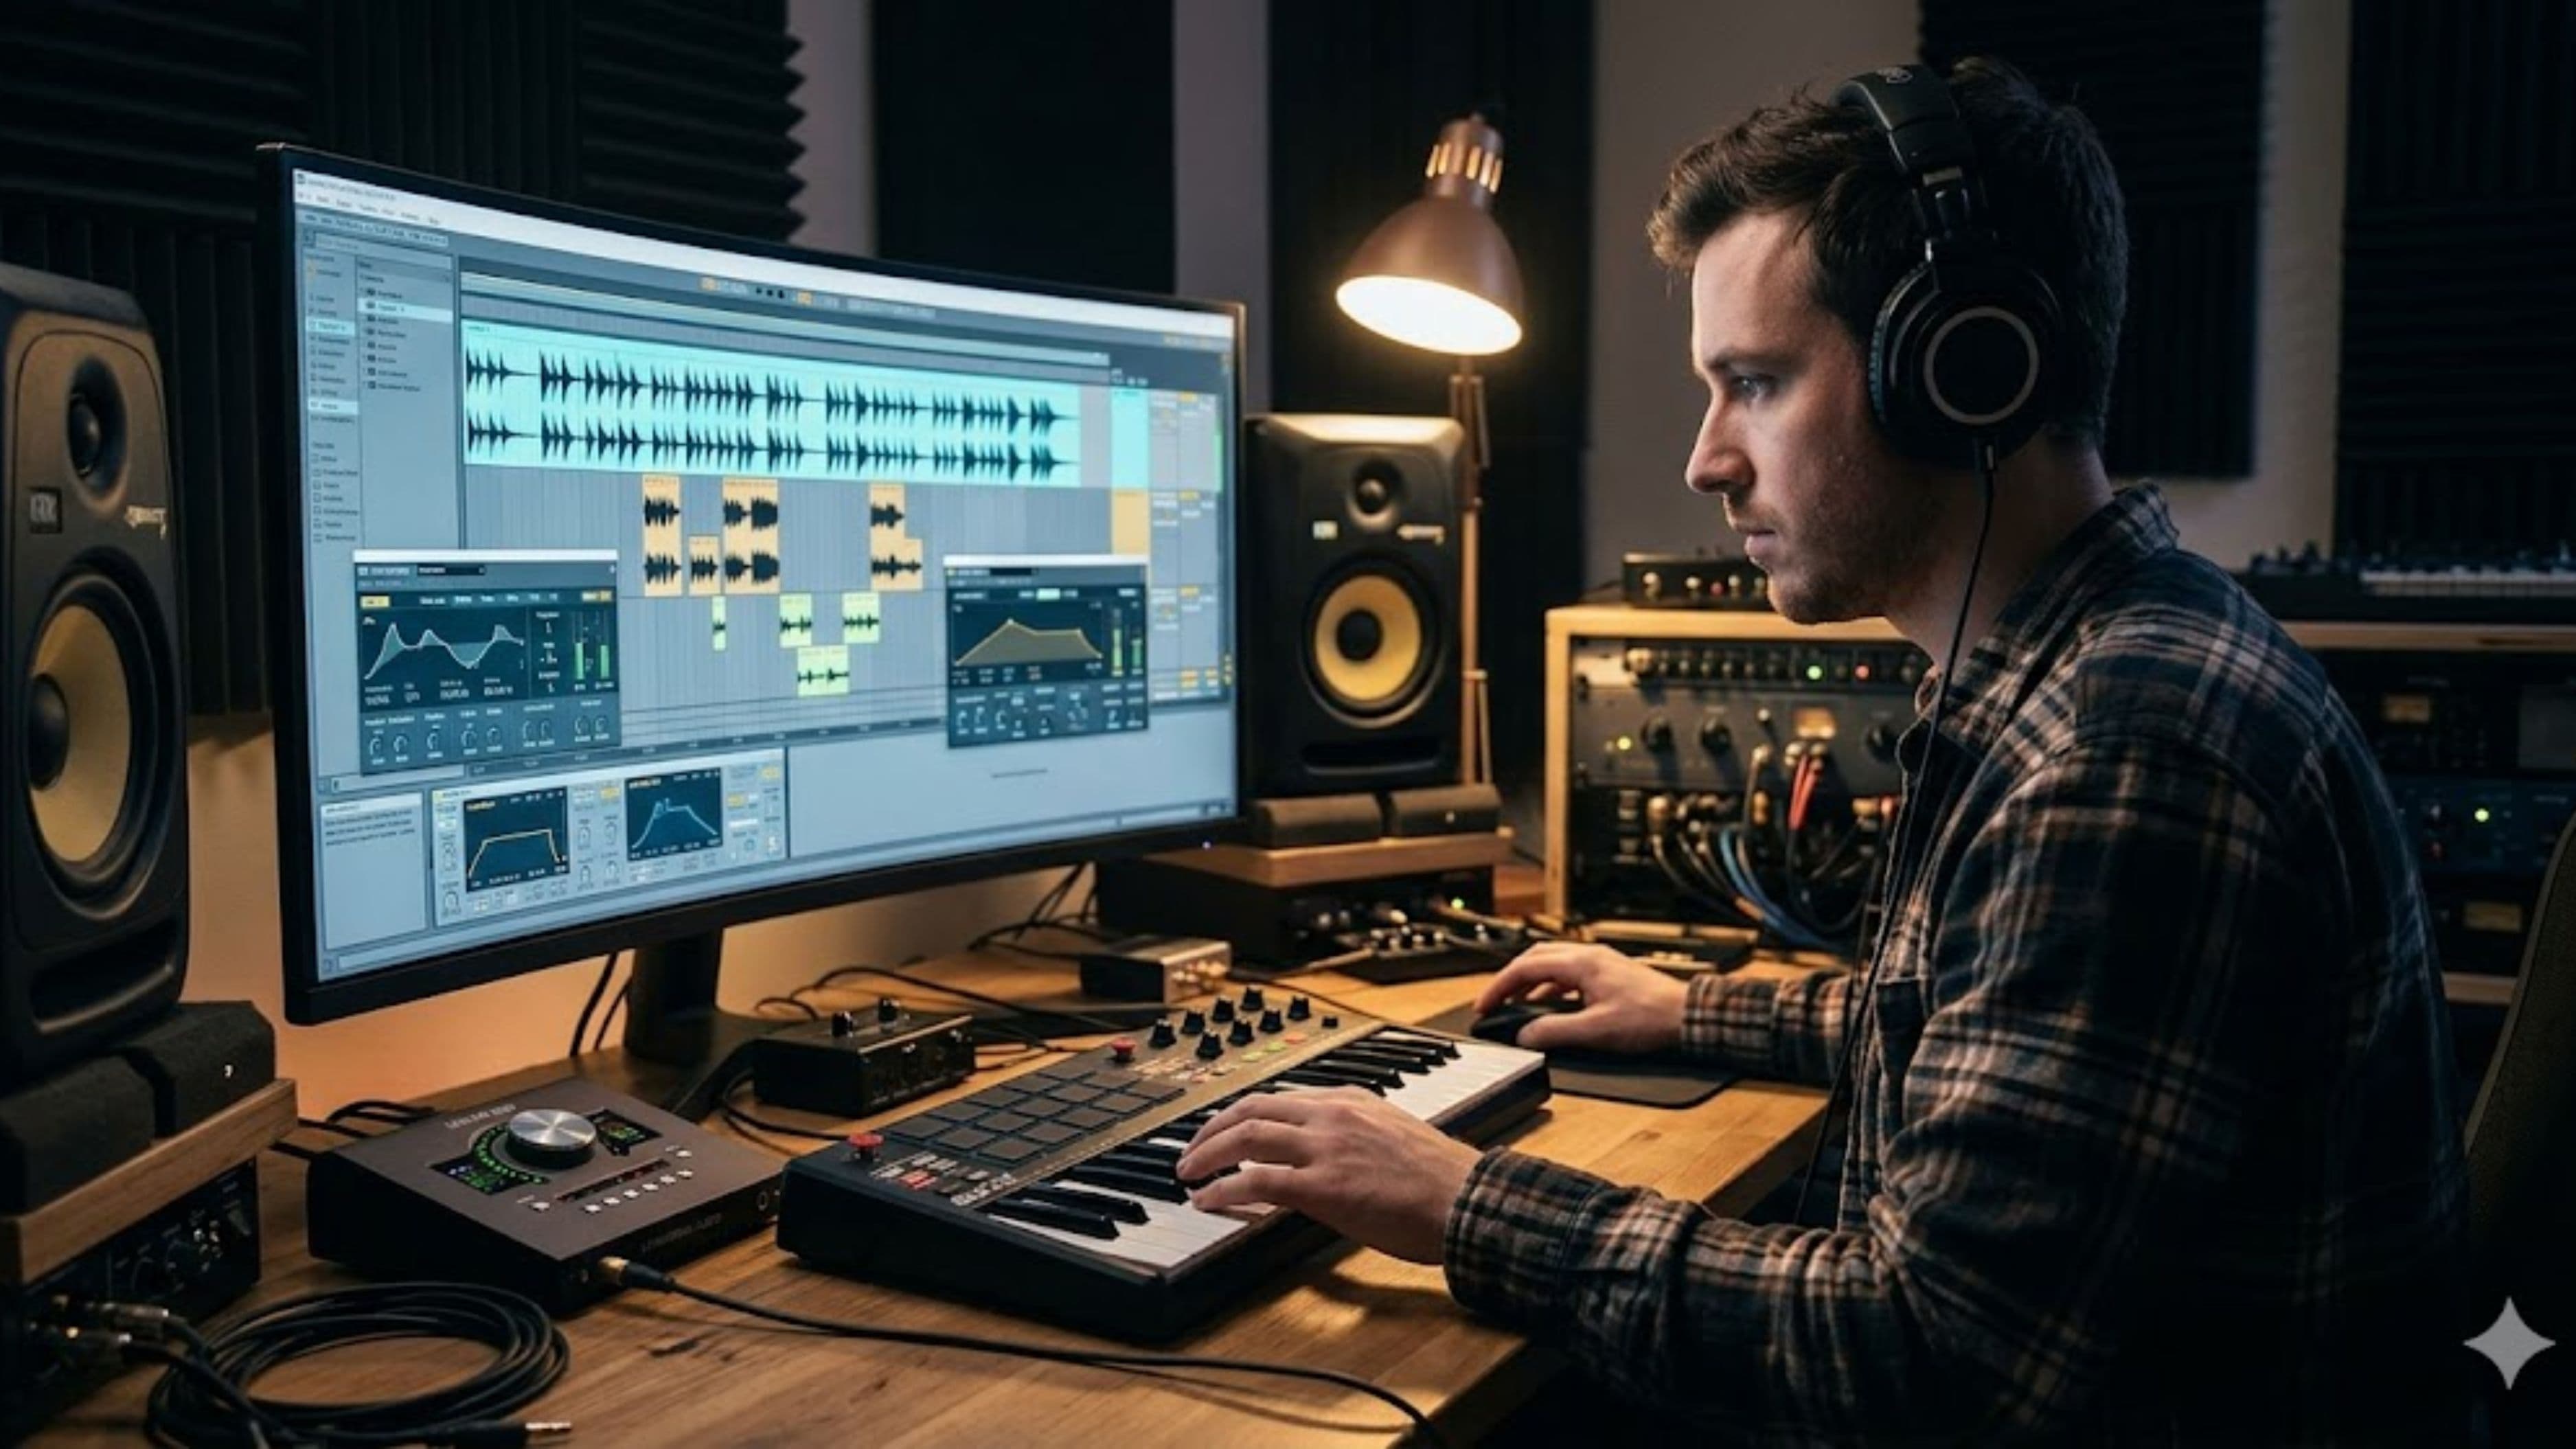
Real performances breathe. Singers push harder in the chorus, guitars swell into a drop, and reverb blooms at the end of a phrase. Automation lets you recreate that movement inside your DAW. This guide shows you where to use it, how to set it up, and how to avoid overdoing it.
Why Static Mixes Sound Flat
When every setting stays fixed for an entire song, the listener's ear adjusts quickly. Nothing surprises it, so the track can feel repetitive even if the arrangement changes. Human ears are drawn to change – a slight lift in level, a new texture, a widening stereo image.
Automation lets you change any parameter over time: volume, panning, plugin settings, sends, and more. Used well, it guides the listener's attention to what matters in each moment without them noticing the technique.
Step 1: Learn Your DAW's Automation Modes
Every major DAW – Ableton Live, Logic Pro, FL Studio, Pro Tools, Studio One, Cubase, and Reaper – supports automation, though names vary. The common modes include:
Read, which plays back existing automation. Write, which records new automation from the start of playback, overwriting what's there. Touch, which records only while you're moving a control, then returns to existing automation when you let go. Latch, which records while you move a control and holds the last value after you stop.
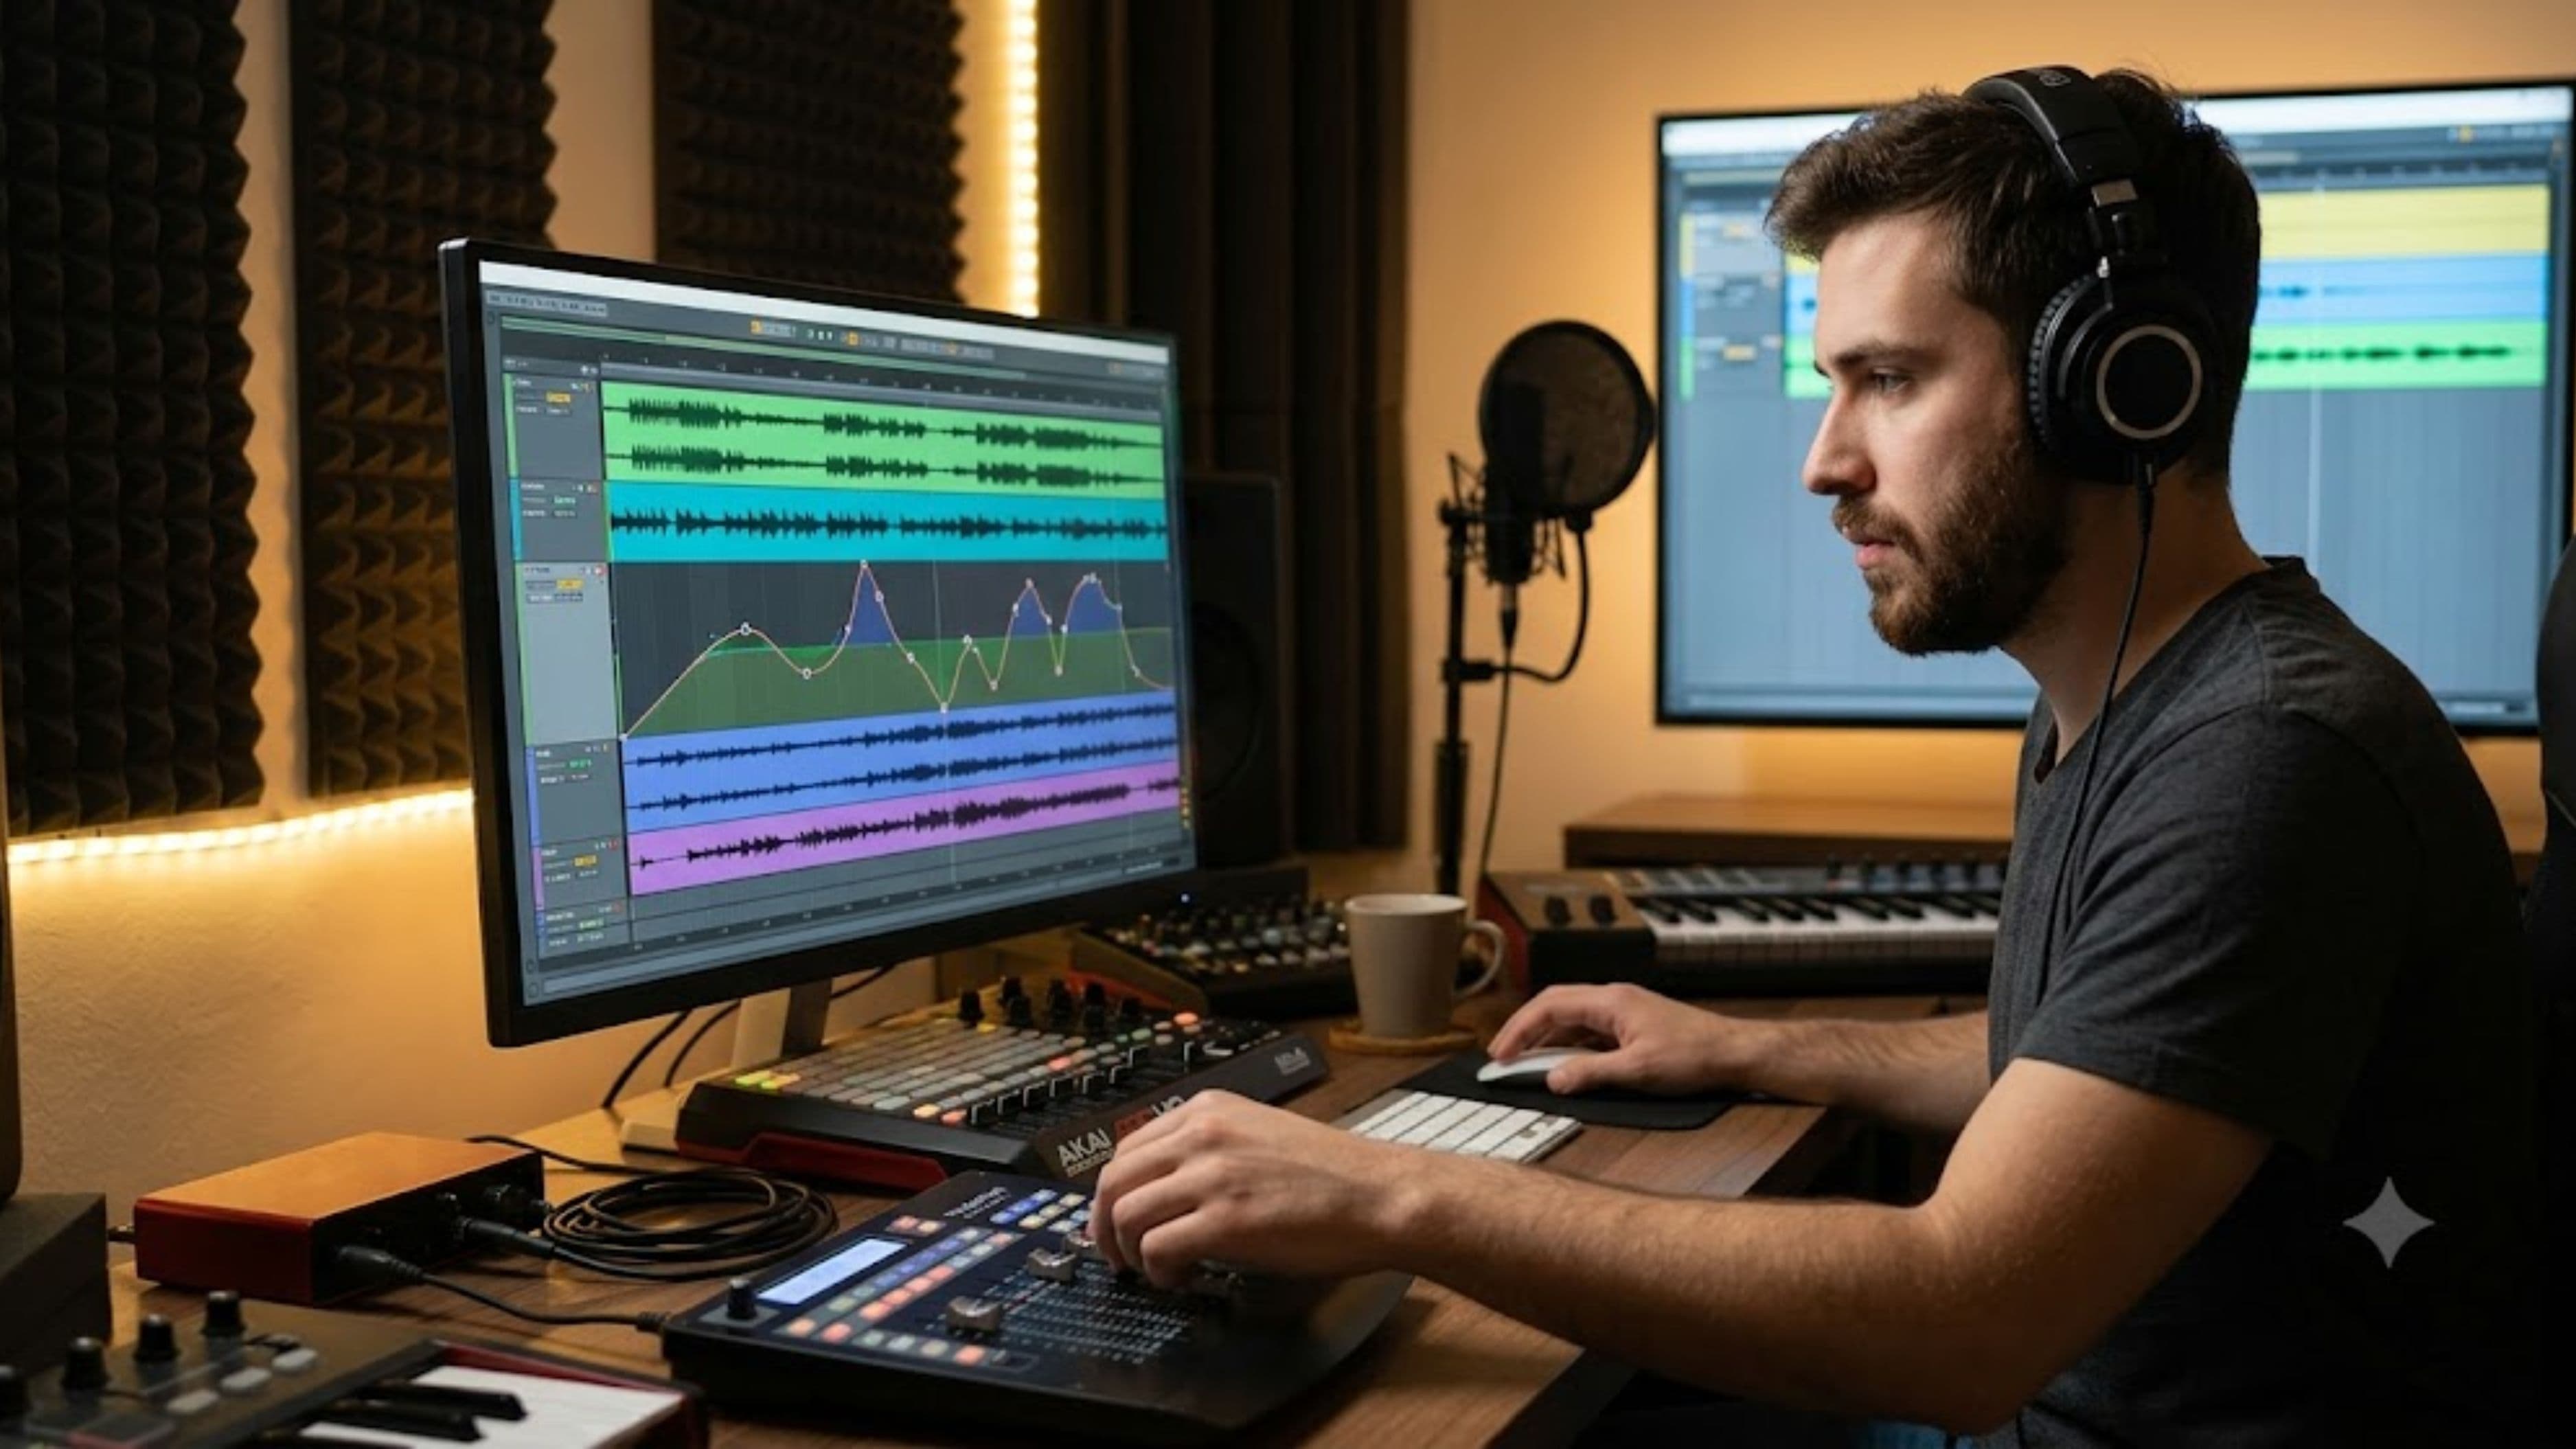
Touch is usually the safest for beginners since it only changes what you actively adjust. You can also draw automation directly with a pencil or breakpoint tool, which gives you precise control.
Step 2: Start With Volume Riding on Vocals
Vocal level automation is the most impactful place to start. Even a well-compressed vocal has words that dip or poke out. Riding the vocal by small amounts – often 1 to 3 dB – keeps every line clear and upfront.
Play through the song and adjust the vocal fader in Touch mode as it plays, or draw adjustments on specific words. Focus on keeping lyrics intelligible, especially quieter phrases at the ends of lines. Many producers do this before adding heavy compression, since automation can reduce how hard a compressor needs to work.
Step 3: Build Energy Between Sections
Songs feel bigger when sections contrast. Try pulling the verse instruments down by 1 to 2 dB, then bringing them back up in the chorus. The chorus will feel larger even though you haven't added anything.
You can also automate a high-pass filter on a synth pad or guitar during a pre-chorus, slowly opening it up as the chorus arrives. This creates tension and release, a technique common in electronic music but useful in any genre.
Step 4: Automate Effects Sends for Depth
Reverb and delay don't need to stay constant. Increase a delay send on the last word of a vocal phrase so it echoes into the gap, then pull it back when the next line starts. This creates space without washing out the vocal.
Similarly, you can increase reverb on a snare during a breakdown for a bigger, more atmospheric feel, then tighten it up when the full groove returns. Automating the send level rather than the reverb plugin itself keeps things simple.
Step 5: Add Movement With Panning and Width
Subtle panning automation can make static parts feel alive. Slowly moving a percussion element or synth arpeggio across the stereo field adds interest without drawing attention. Stereo width automation – narrower in verses, wider in choruses – can also emphasize section changes.
Keep low-frequency elements like kick and bass centered. Panning automation works best on higher-frequency parts that don't anchor the mix.
Step 6: Automate Plugin Parameters Creatively
Almost any plugin parameter can be automated. Try adjusting saturation or distortion amounts for more grit in louder sections, filter cutoff for sweeps, or a compressor's mix knob to add punch in choruses. In electronic genres, automating synth filter cutoff and resonance is a core part of the sound.
Start with one or two parameters per track. Automating too many settings at once makes it hard to hear which changes help.
Step 7: Use Clip Gain for Precision
Many DAWs offer clip gain, which changes the level of a specific audio region before it hits your plugins. Use clip gain to fix obvious level issues, then use fader automation for musical movement. This two-stage approach keeps your mix cleaner and makes automation easier to manage.
Tips for Better Results
Automate at the end of the mixing process, after your balance and processing are in place. Otherwise, you may end up redoing automation every time you change a plugin. Listen at low volume when making volume rides, since small level differences are easier to judge quietly.
Check your automation in context, not soloed. A vocal ride that sounds right alone may be too much once the full mix plays. Save a version of your project before heavy automation work so you can compare.
Common Mistakes to Avoid
The biggest mistake is overautomating. Constant, obvious changes can make a mix feel unstable. Aim for movement listeners feel rather than notice. Another common issue is automating before the mix is balanced, which creates extra work later.
Watch for abrupt jumps. Sudden automation changes can cause clicks or unnatural shifts – use smooth curves or short ramps between points. Finally, keep track of automation lanes. Forgotten automation can override later adjustments, making it seem like a fader "won't move."
FAQ
Is automation only for advanced producers?
No. Basic volume and send automation is easy to learn and can make an immediate difference, even in beginner mixes.
Should I automate before or after compression?
Clip gain is often applied before compression, while fader automation typically comes after. Both approaches have a place.
Can automation replace compression?
Not entirely, but careful volume automation can reduce how much compression you need, leading to a more natural sound.
How much automation is too much?
If listeners notice the automation more than the music, it's probably too much. Subtle changes usually work best.
Final Thoughts
Automation is one of the most effective ways to bring a flat mix to life. Start with vocal rides, build energy between sections, and use effects sends to create space. Small, intentional changes add up to a mix that feels human and engaging.
Pick one song this week and add three kinds of automation. You'll hear the difference.
📚 Sources
Ableton Reference Manual – Automation and Editing Envelopes: https://www.ableton.com/en/manual/automation-and-editing-envelopes/
Apple Logic Pro User Guide – Automation overview: https://support.apple.com/guide/logicpro/automation-overview-lgcp1fe2a2c8/mac
Reaper User Guide and Documentation: https://www.reaper.fm/userguide.php
Sound On Sound – Mix Automation techniques: https://www.soundonsound.com/techniques/mix-automation