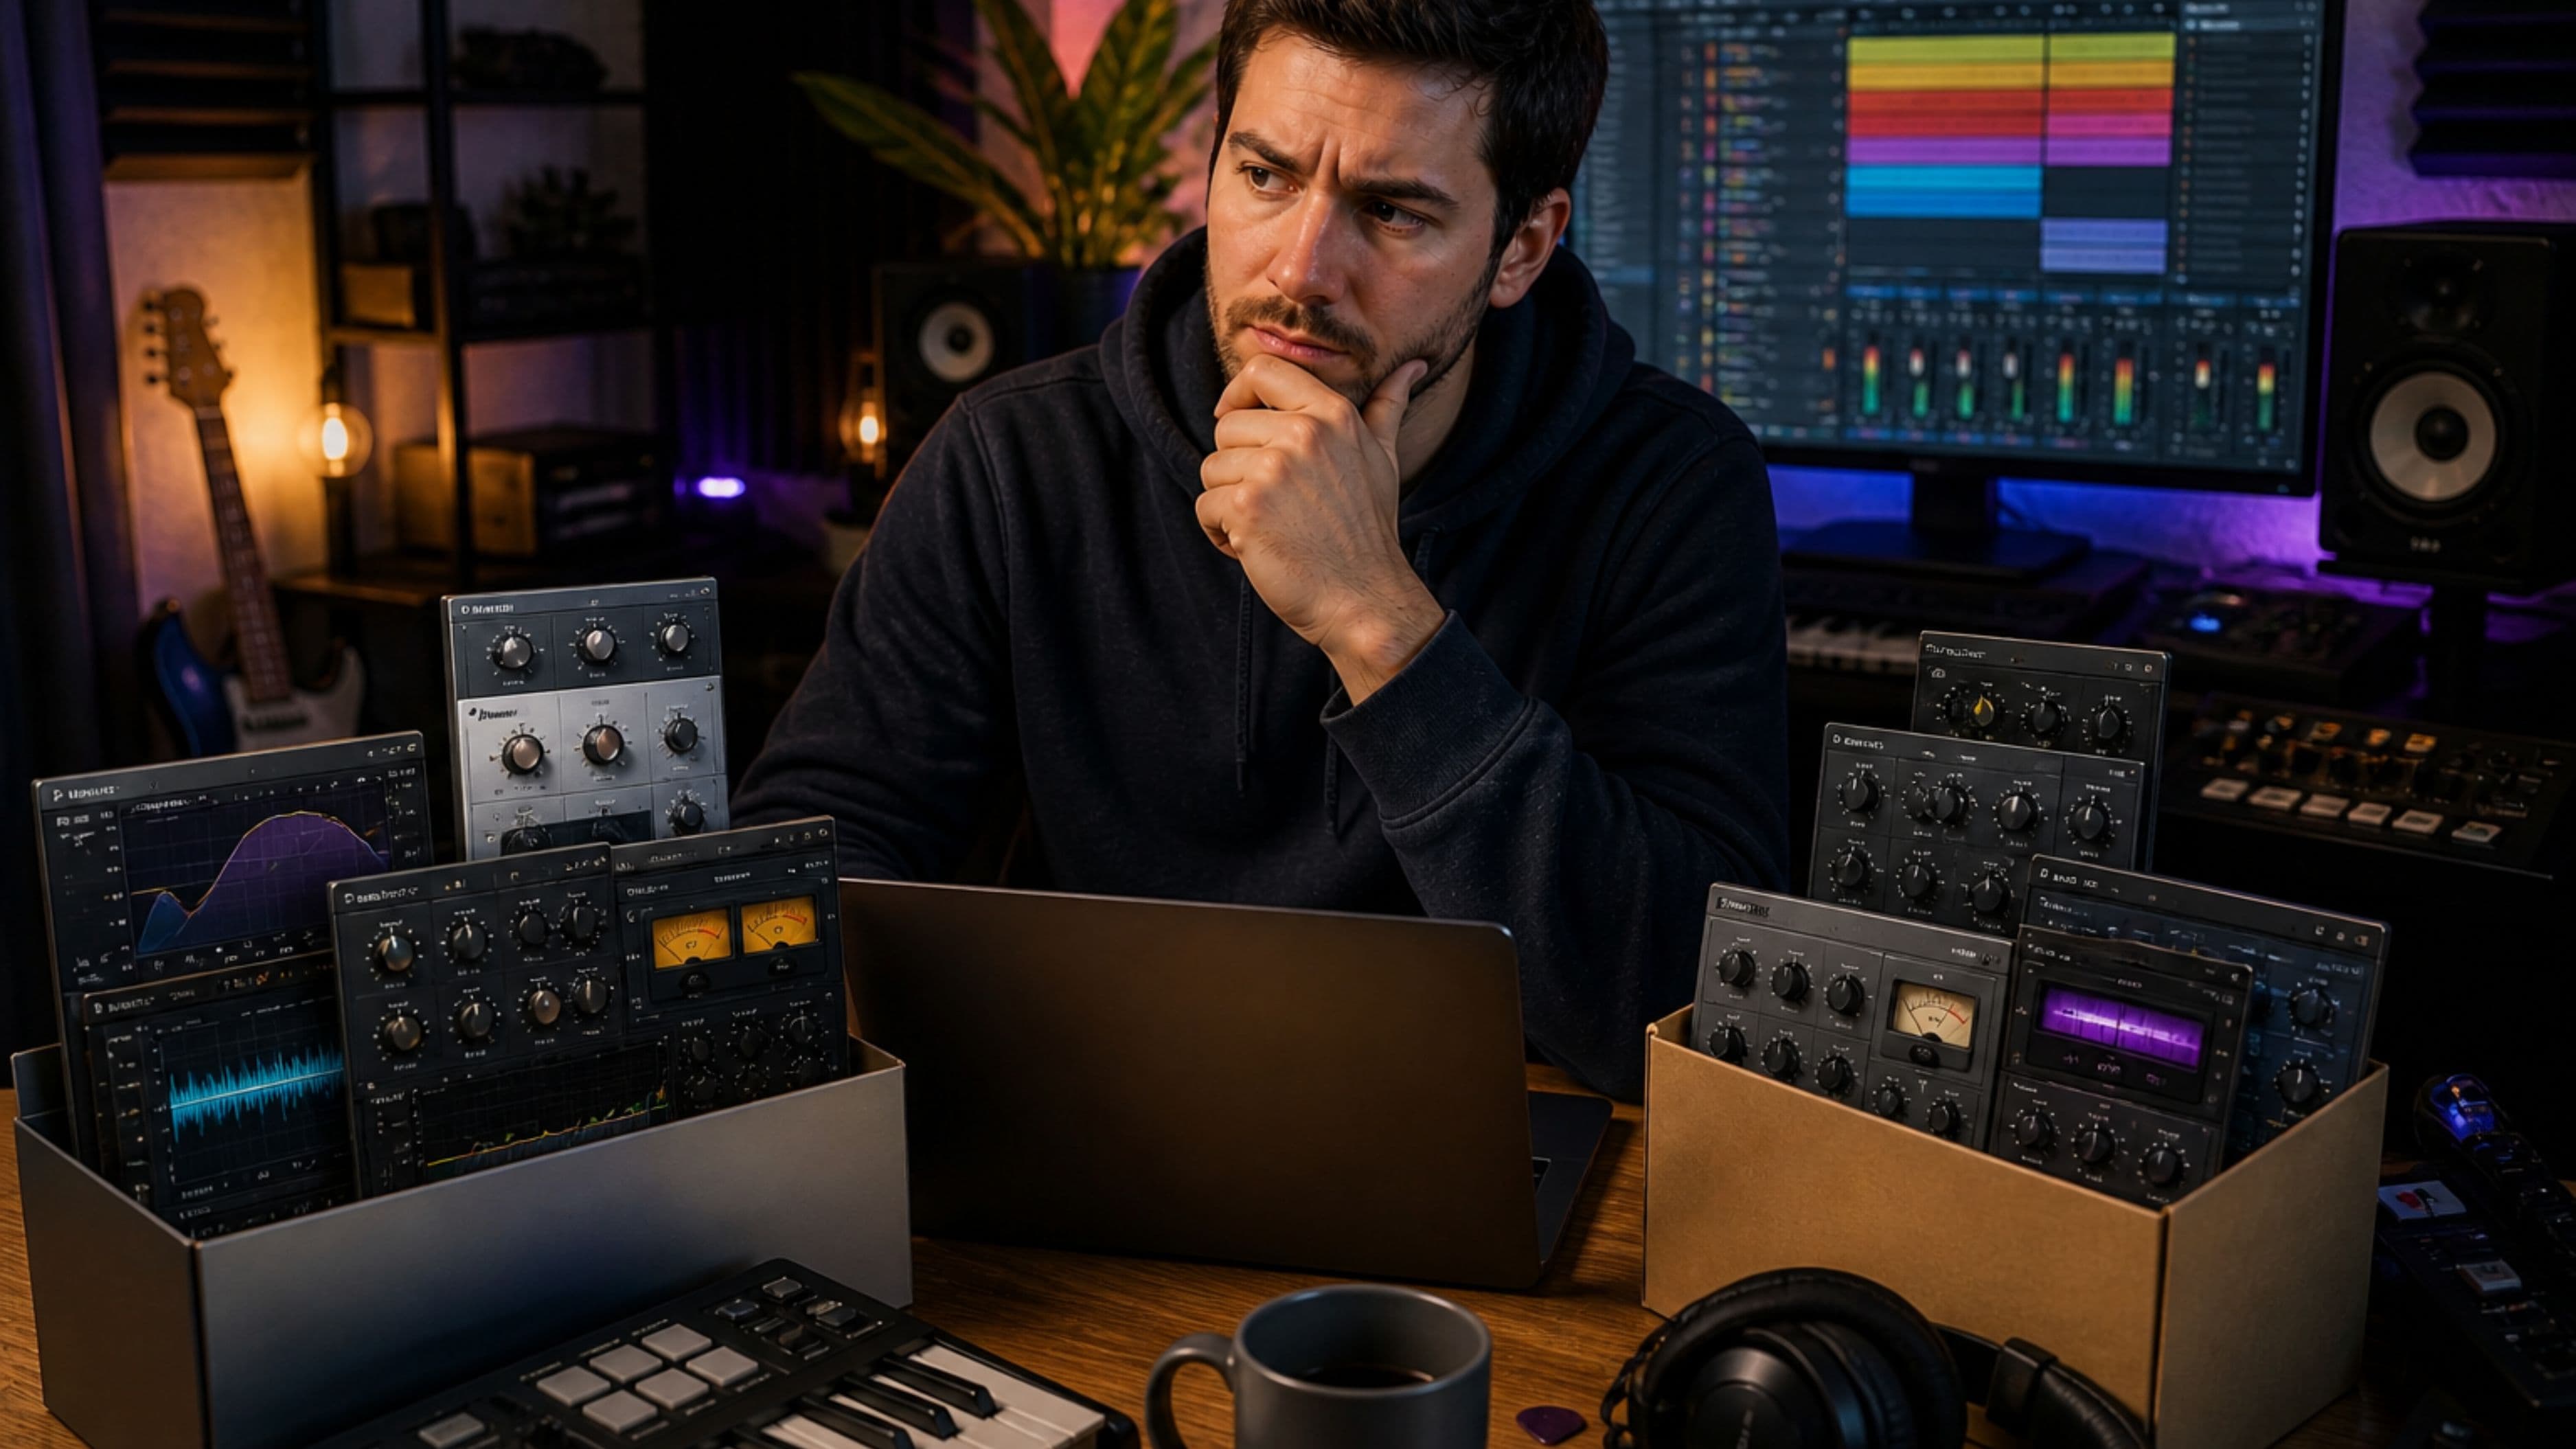
The best home recording spaces feel like they're working with you rather than against you. They have accurate monitoring so you're making real decisions, not guessing. They're set up to reduce friction so you actually record when the creative moment arrives. And they're designed around how you specifically work, not some template of what a studio is supposed to look like. Here's what that actually involves.
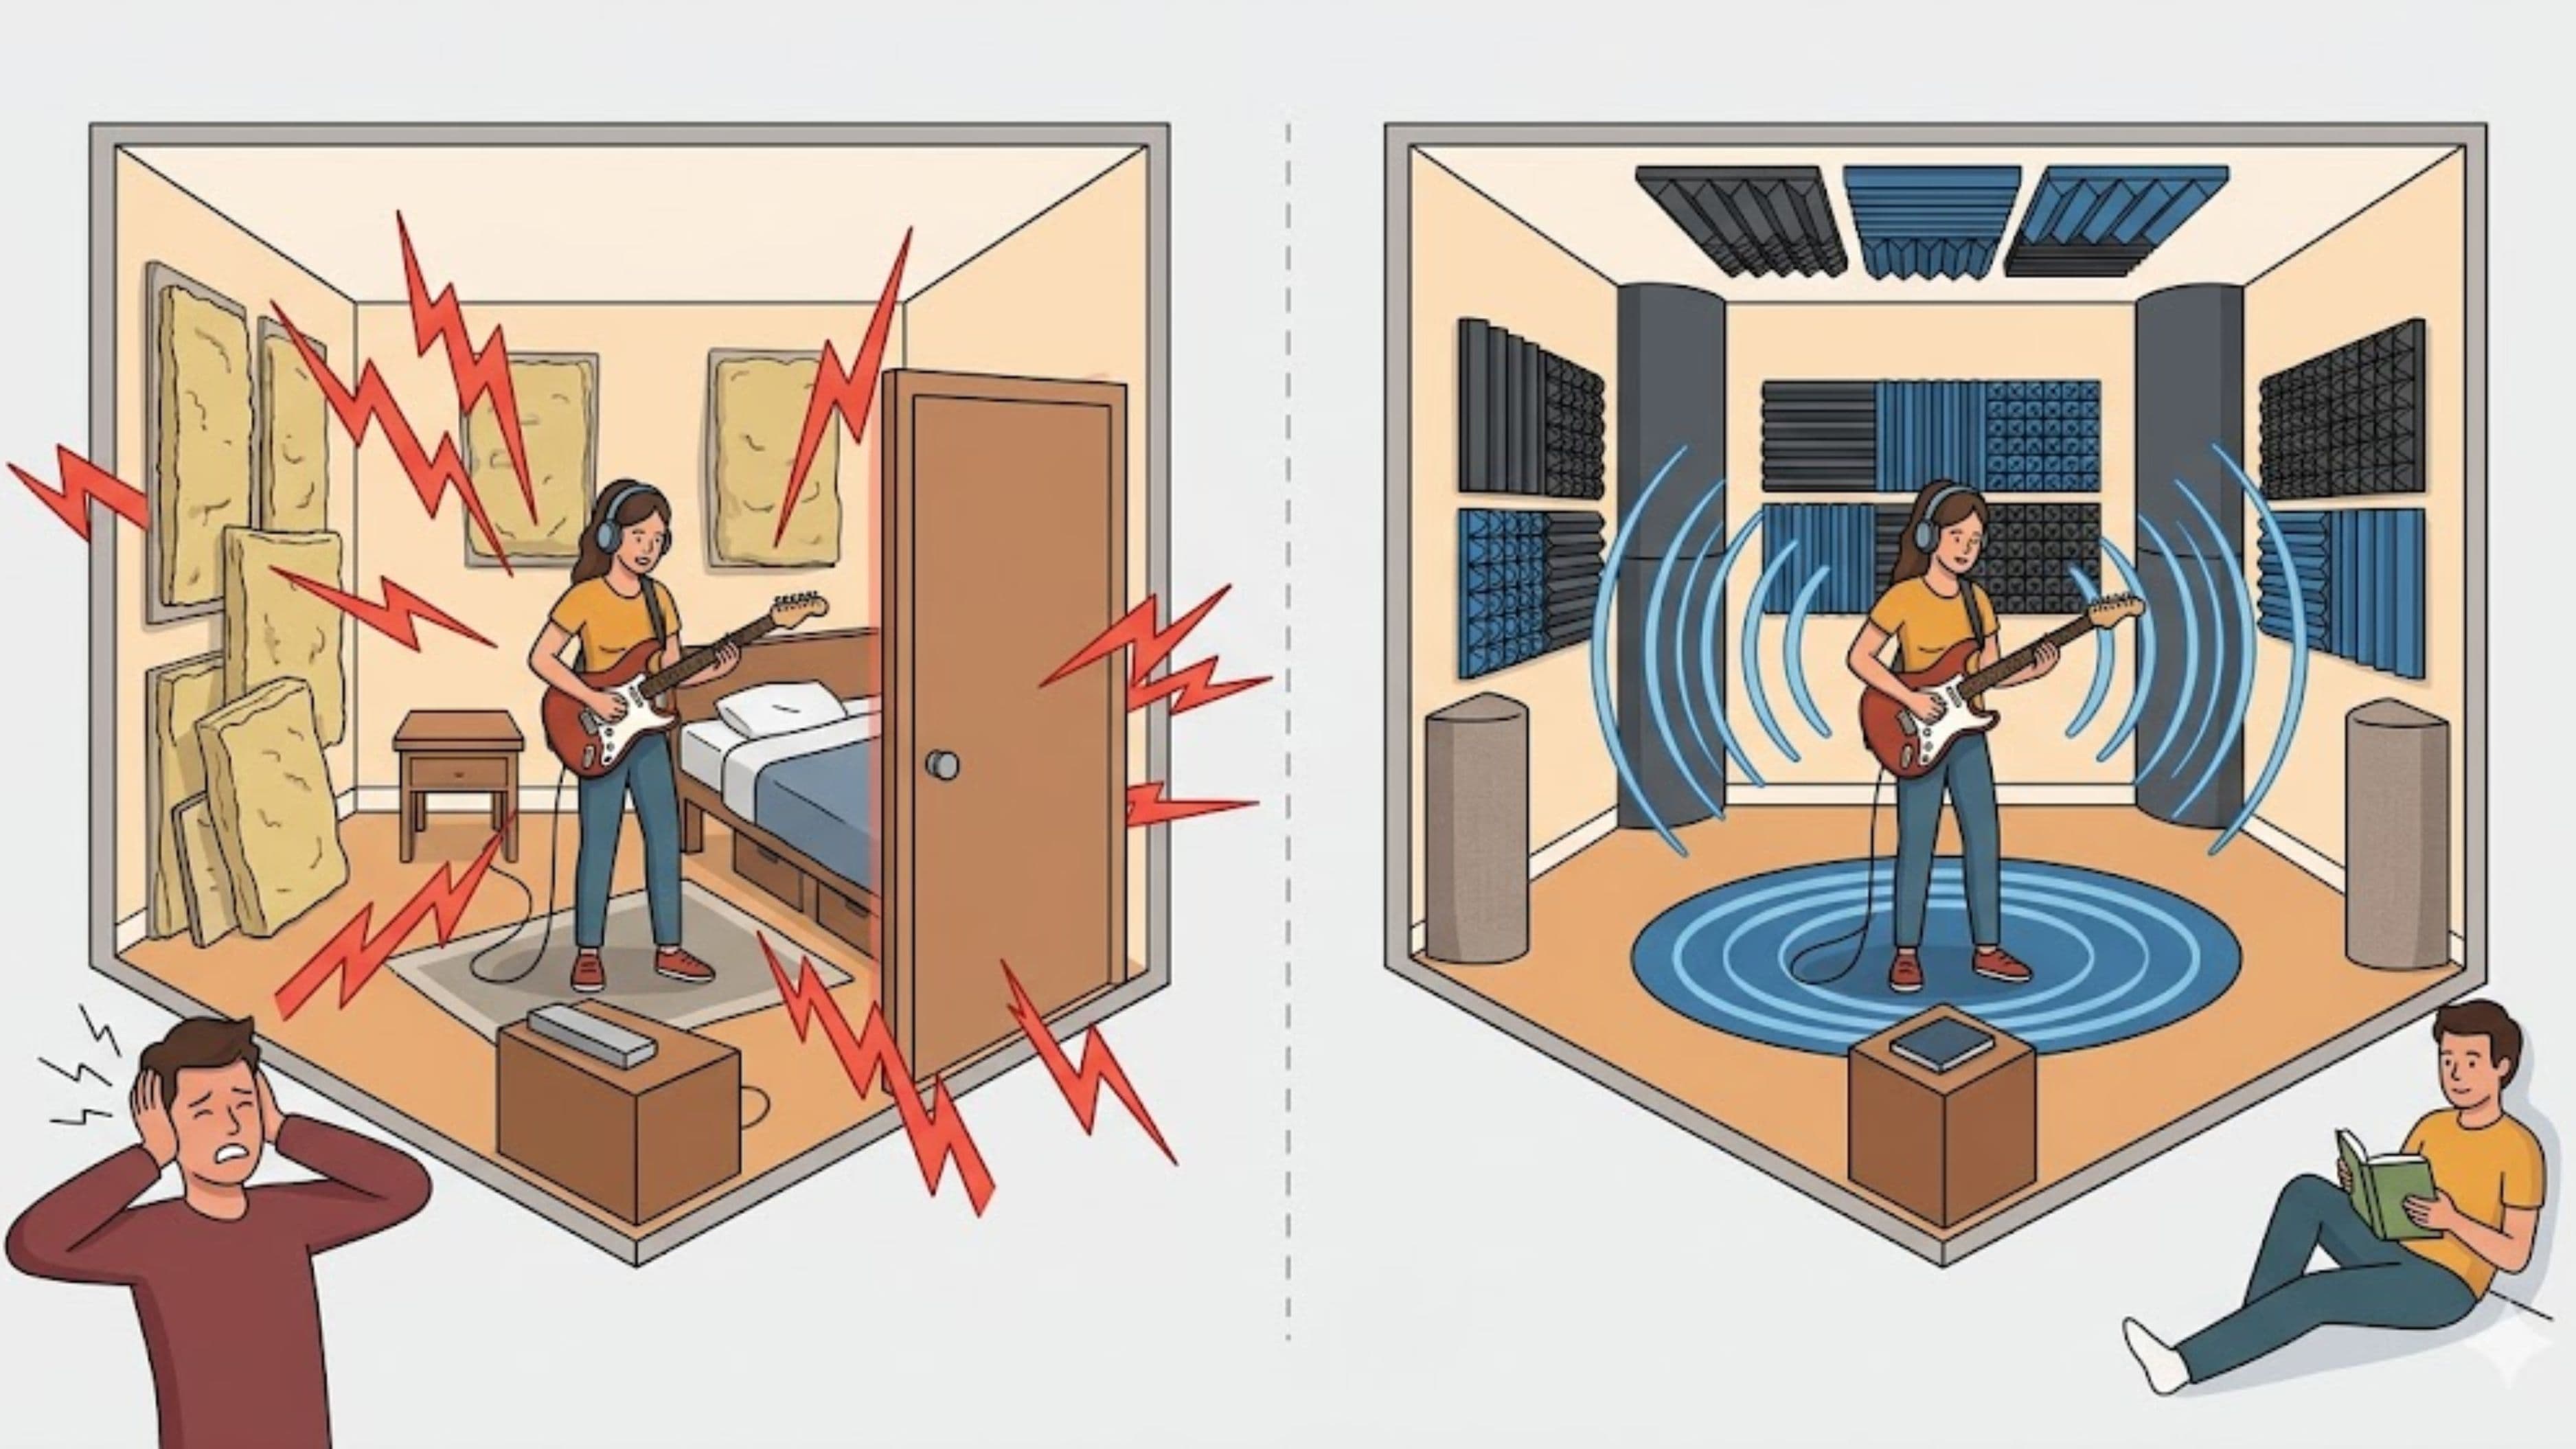
Acoustic Treatment Is Not the Same as Soundproofing
This distinction trips up a lot of beginners, and it's worth getting clear on. Soundproofing prevents sound from traveling between spaces – it keeps outside noise out and your noise in. Acoustic treatment manages how sound behaves inside the room itself. These are two different problems requiring different solutions, and for recording quality, acoustic treatment is almost always more important.
Every room has acoustic problems: flutter echo (that bright, repeating decay you hear when you clap your hands in an untreated room), low-frequency buildup in corners, and early reflections from walls, ceiling, and floor that color what your microphone hears. When you record vocals in an untreated room, the microphone captures not just your voice but the sound of the room bouncing off the walls – that characteristic boxy, washy quality that makes home recordings sound like home recordings.
Acoustic panels – specifically, dense foam or mineral wool panels placed at reflection points on the walls – absorb these early reflections. Bass traps in corners address low-frequency buildup. A reflection filter on a microphone stand (a curved panel of absorptive material placed behind and around the microphone) is the most budget-friendly version of this and makes a dramatic difference on vocal recordings specifically. None of this costs thousands. A few well-placed panels and a reflection filter will do more for your vocal recordings than any microphone upgrade.
Monitoring Accuracy Changes Everything
You can have the quietest, best-treated room in the world, but if you're monitoring through headphones that hype the low end or speakers that aren't calibrated to your room, you'll make mixing decisions based on a lie. The track will sound great in your space and confused everywhere else.
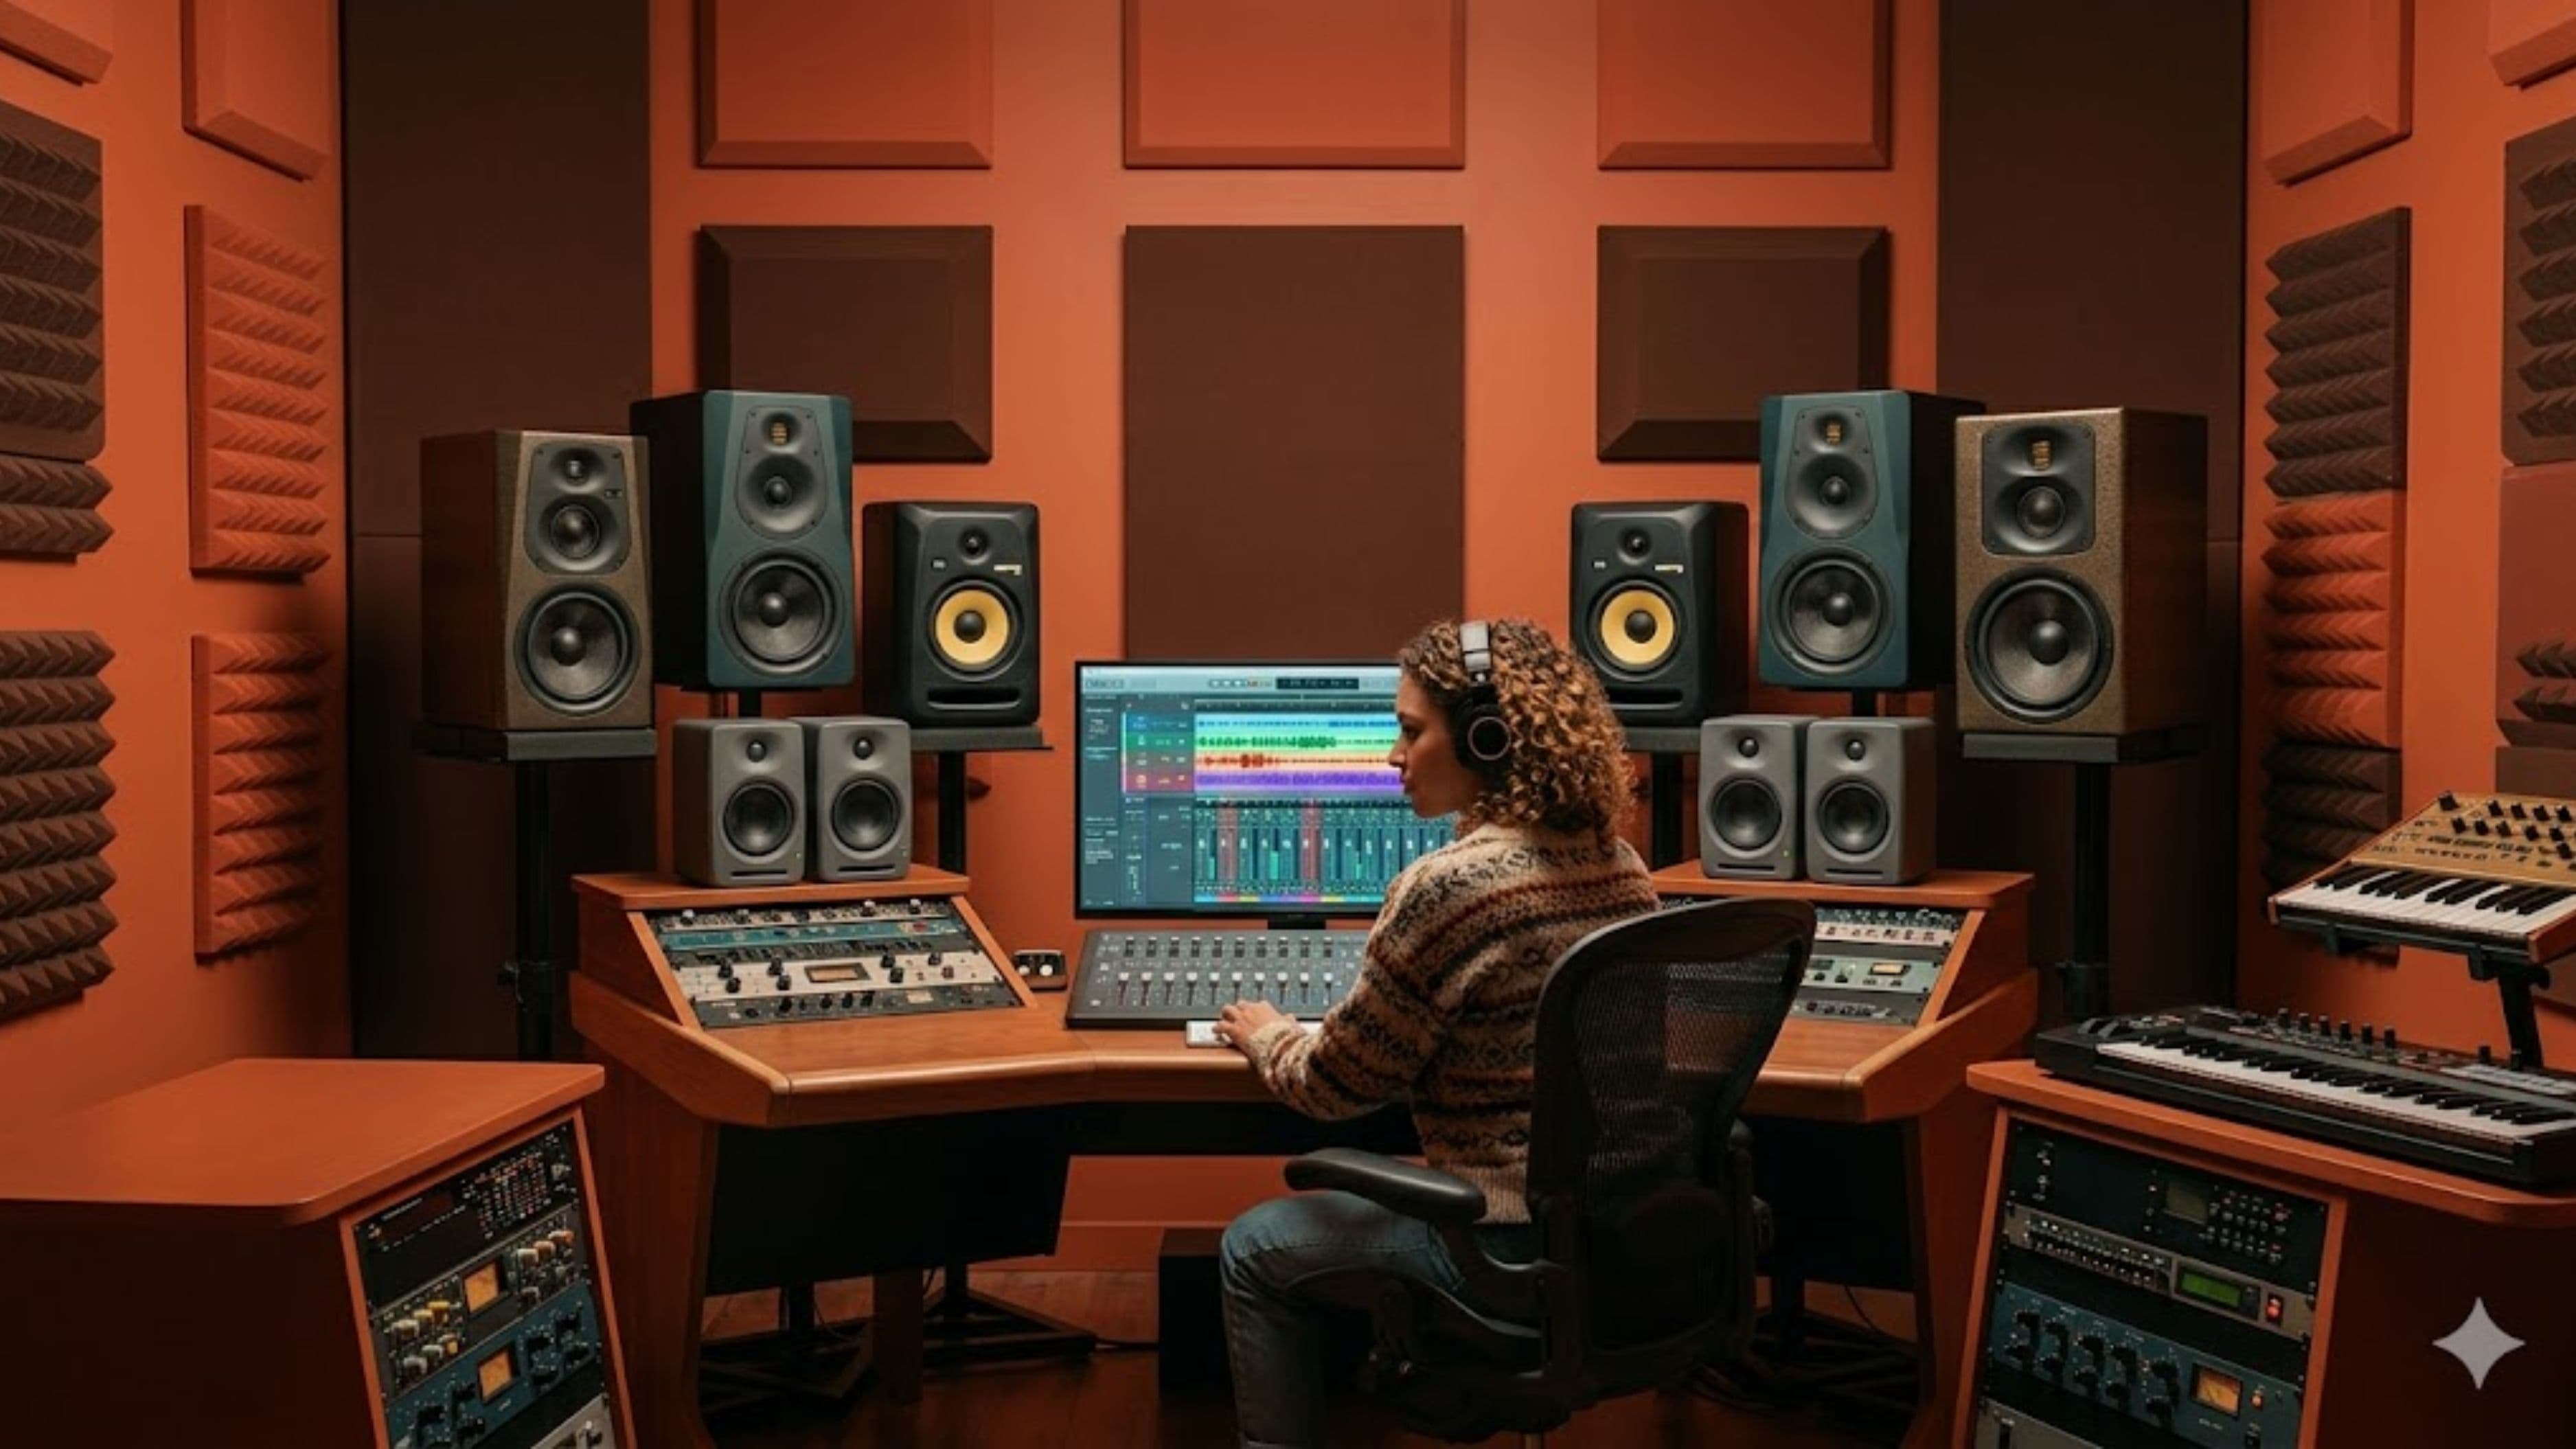
Studio monitors – speakers designed to be as flat and accurate as possible rather than flattering – are the foundation of a usable recording and mixing environment. Entry-level monitors from Yamaha (the HS5 or HS7) or Focal (the Alpha series) give you something honest to work from. Placement matters equally: monitors should be at ear height, positioned in an equilateral triangle with your listening position, and pulled away from walls to reduce low-end reinforcement from the boundary effect.
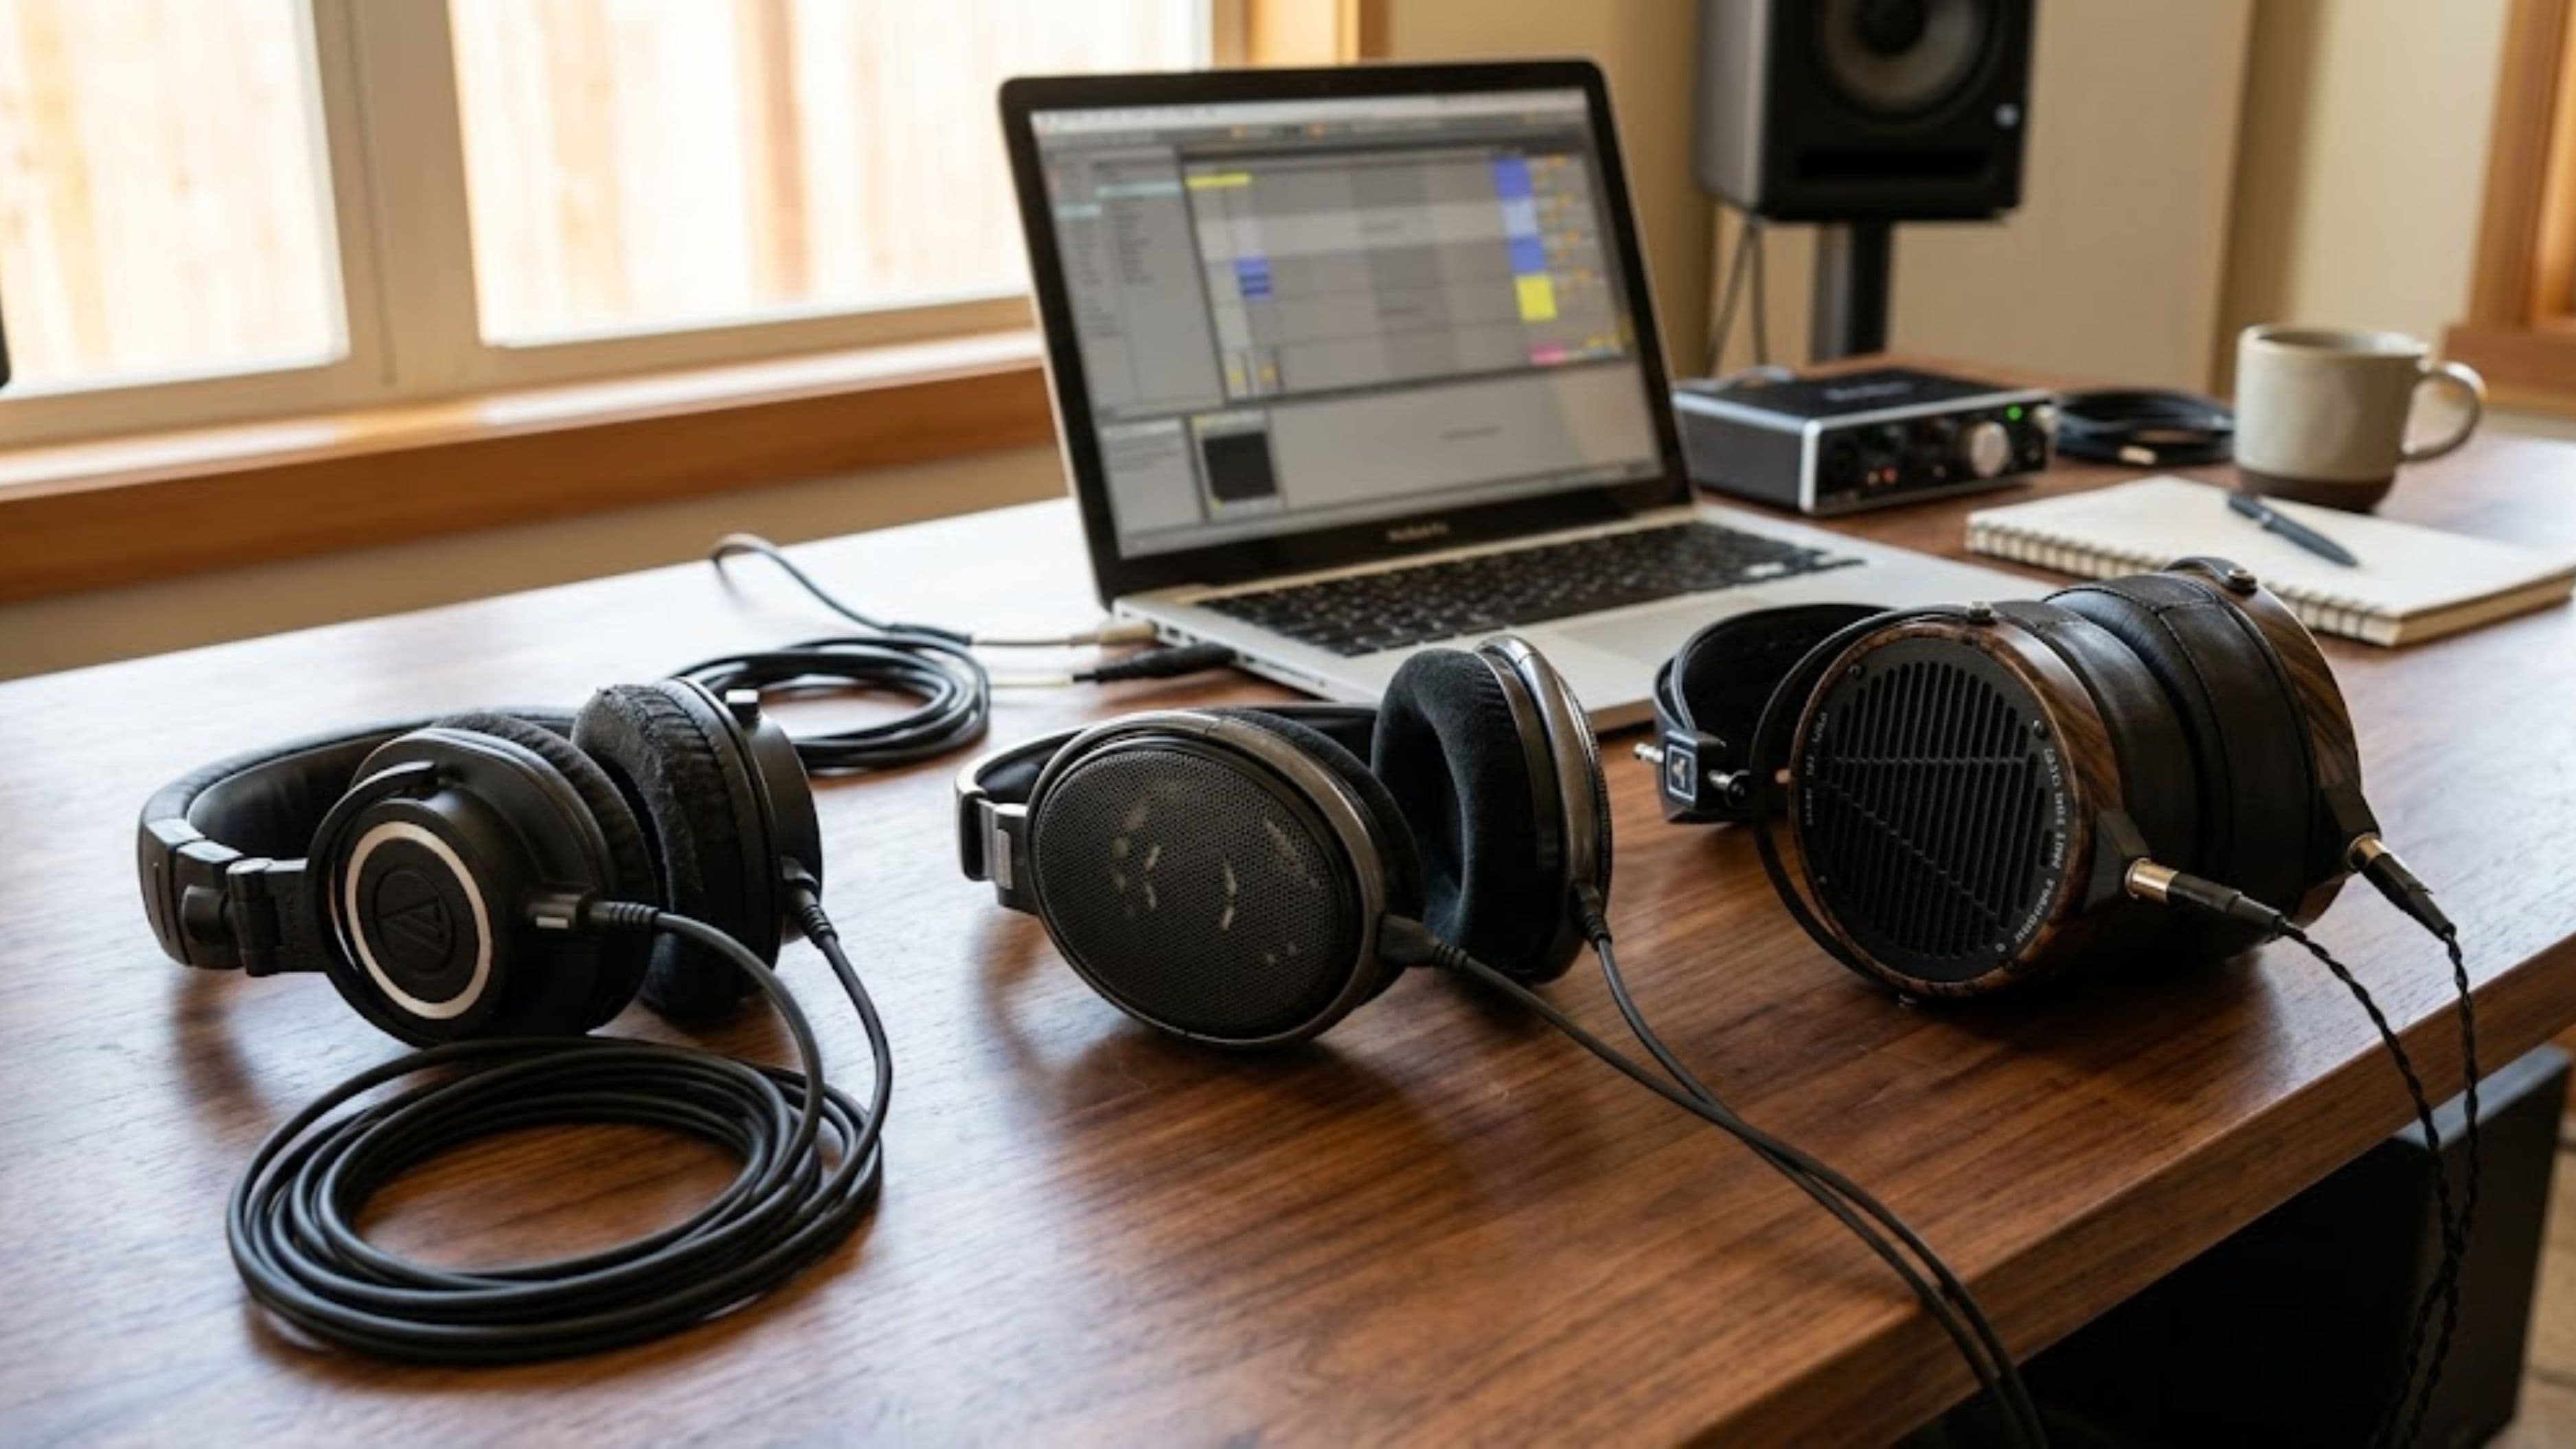
If you primarily work on headphones, mixing headphones like the Beyerdynamic DT 770 Pro or Sony MDR-7506 are workhorses with known frequency responses that you can learn to compensate for. Neither is perfectly flat, but they're consistent enough that once you understand how they color sound, you can account for it. Checking your mixes on multiple sources – phone speaker, earbuds, car speakers – and comparing against commercial references is how you calibrate your ear to your monitoring situation.
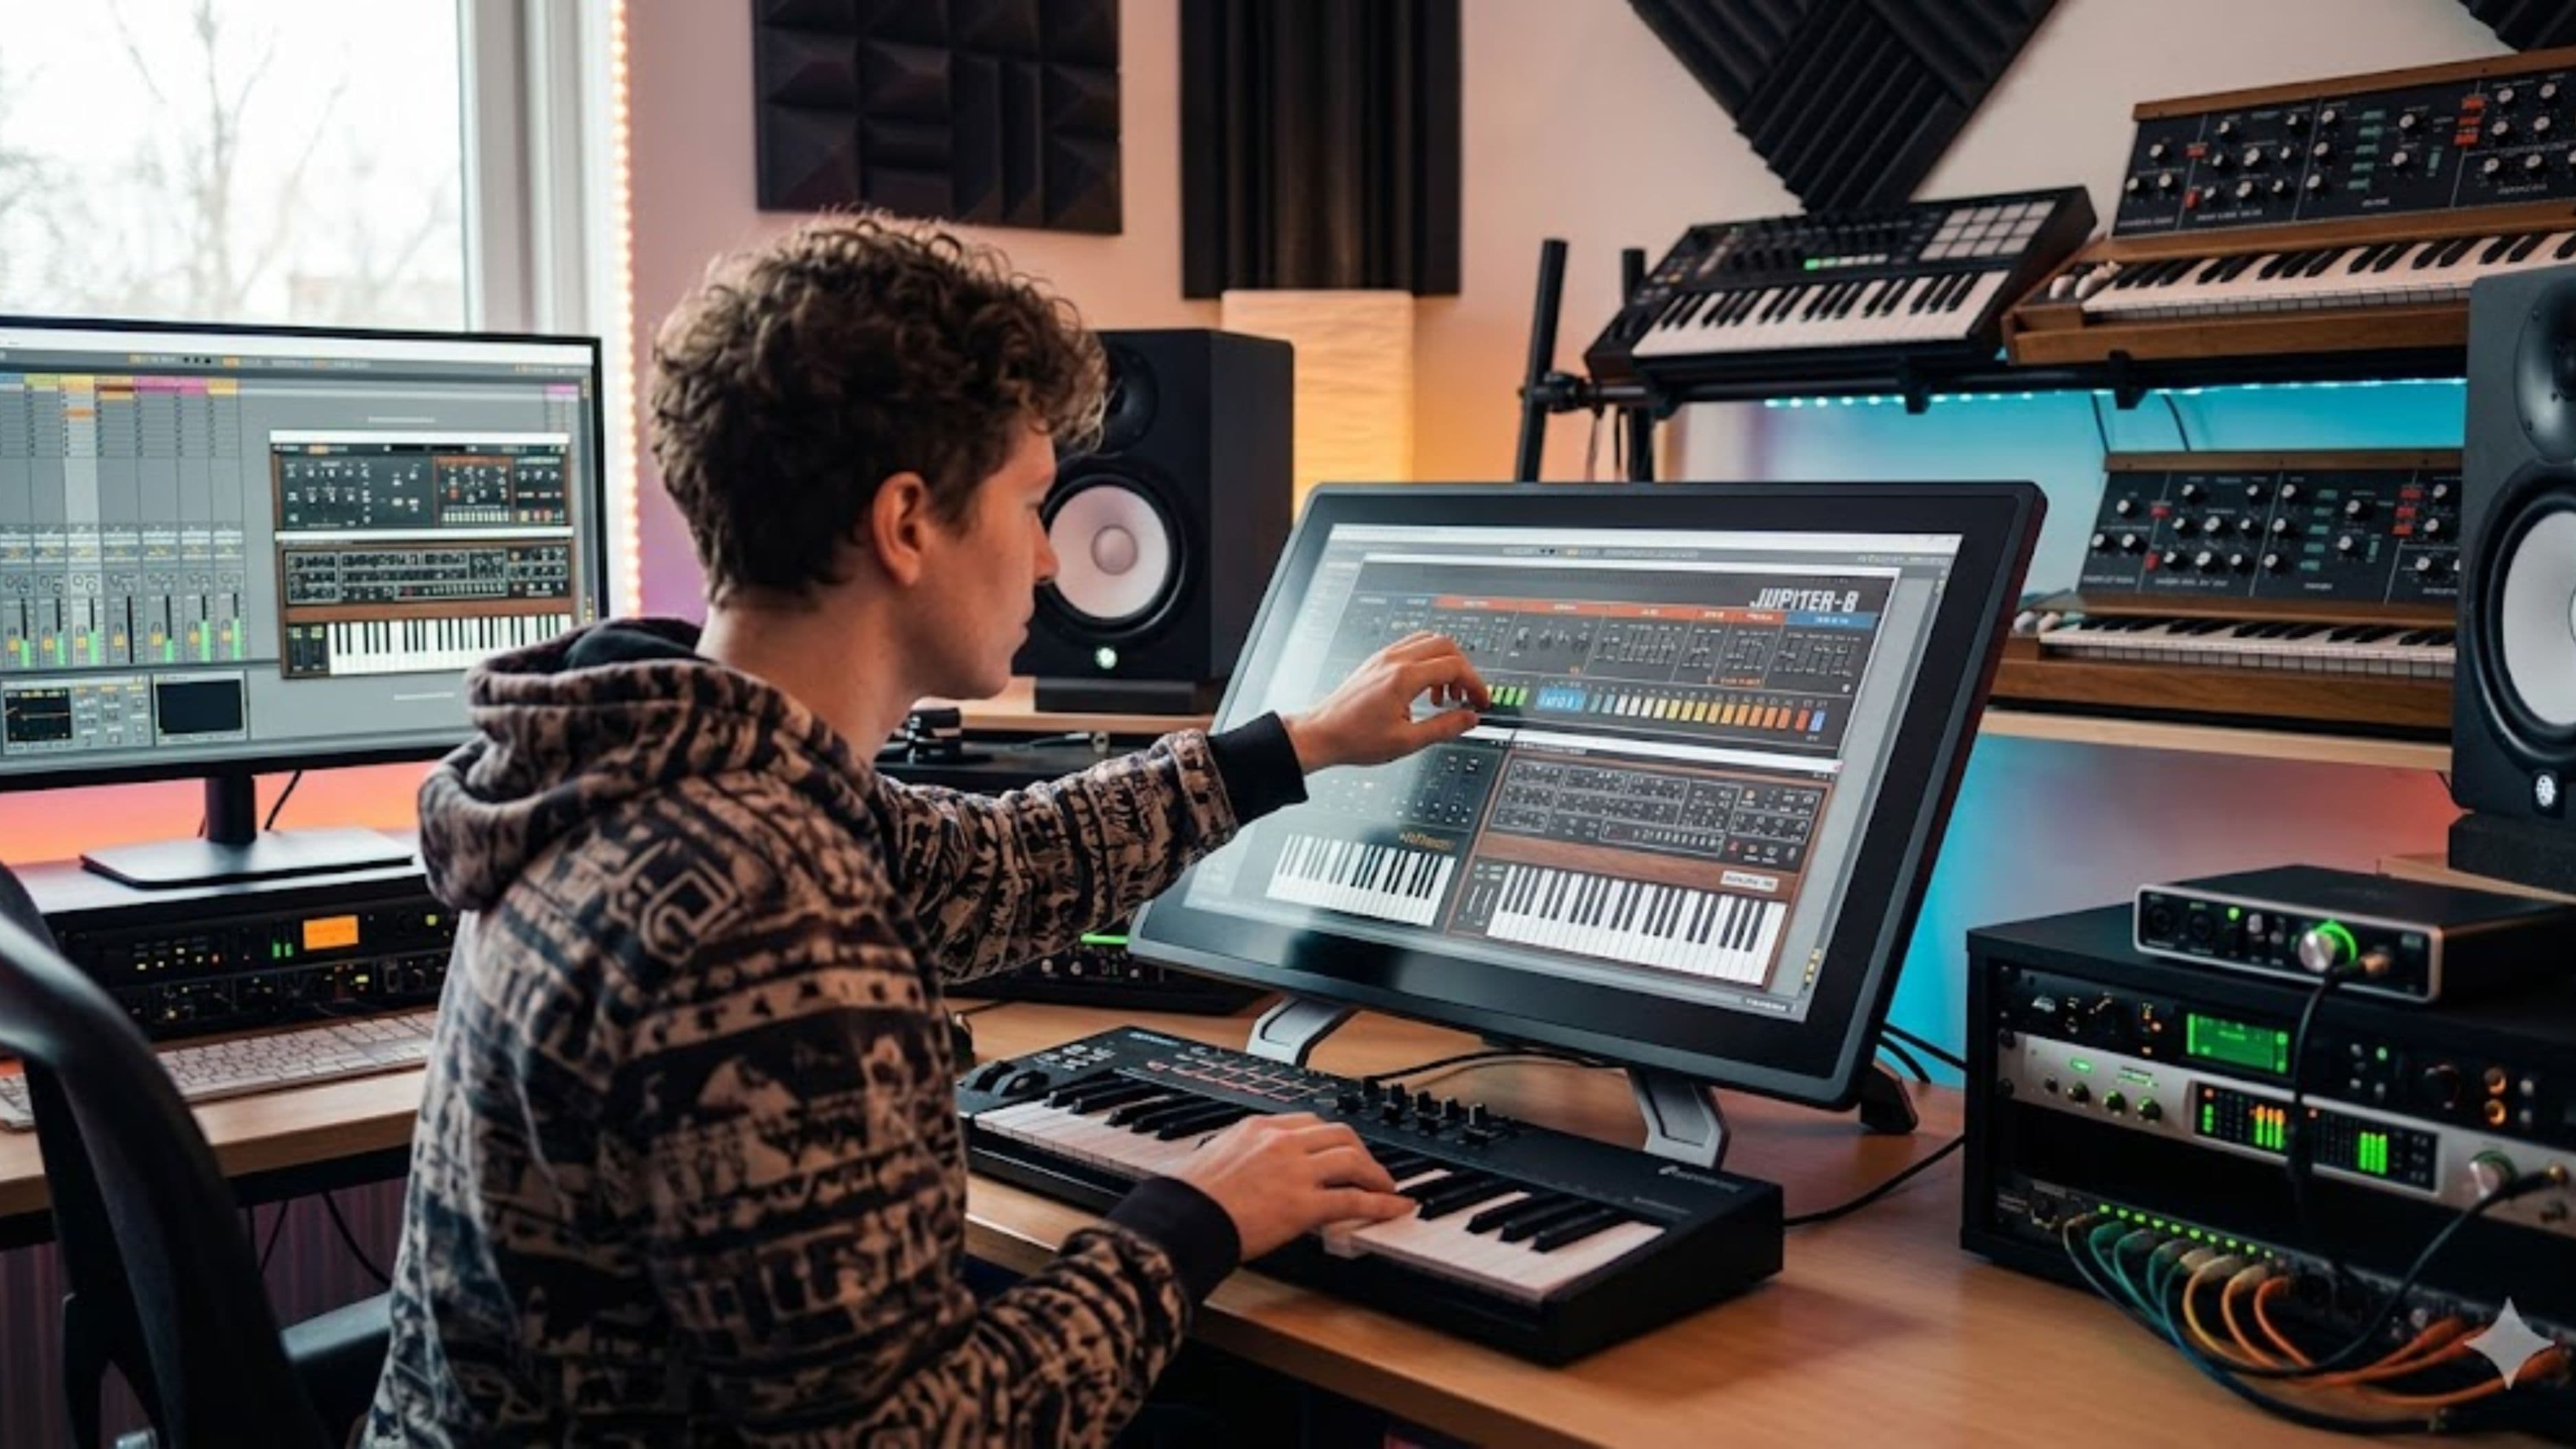
The Microphone Position Matters More Than the Microphone
A mid-range microphone in a good position in a treated space will record better than an expensive microphone in a bad position in a live room. Microphone placement is a skill that takes some time to develop, and it's mostly about understanding how different positions change what the microphone picks up.
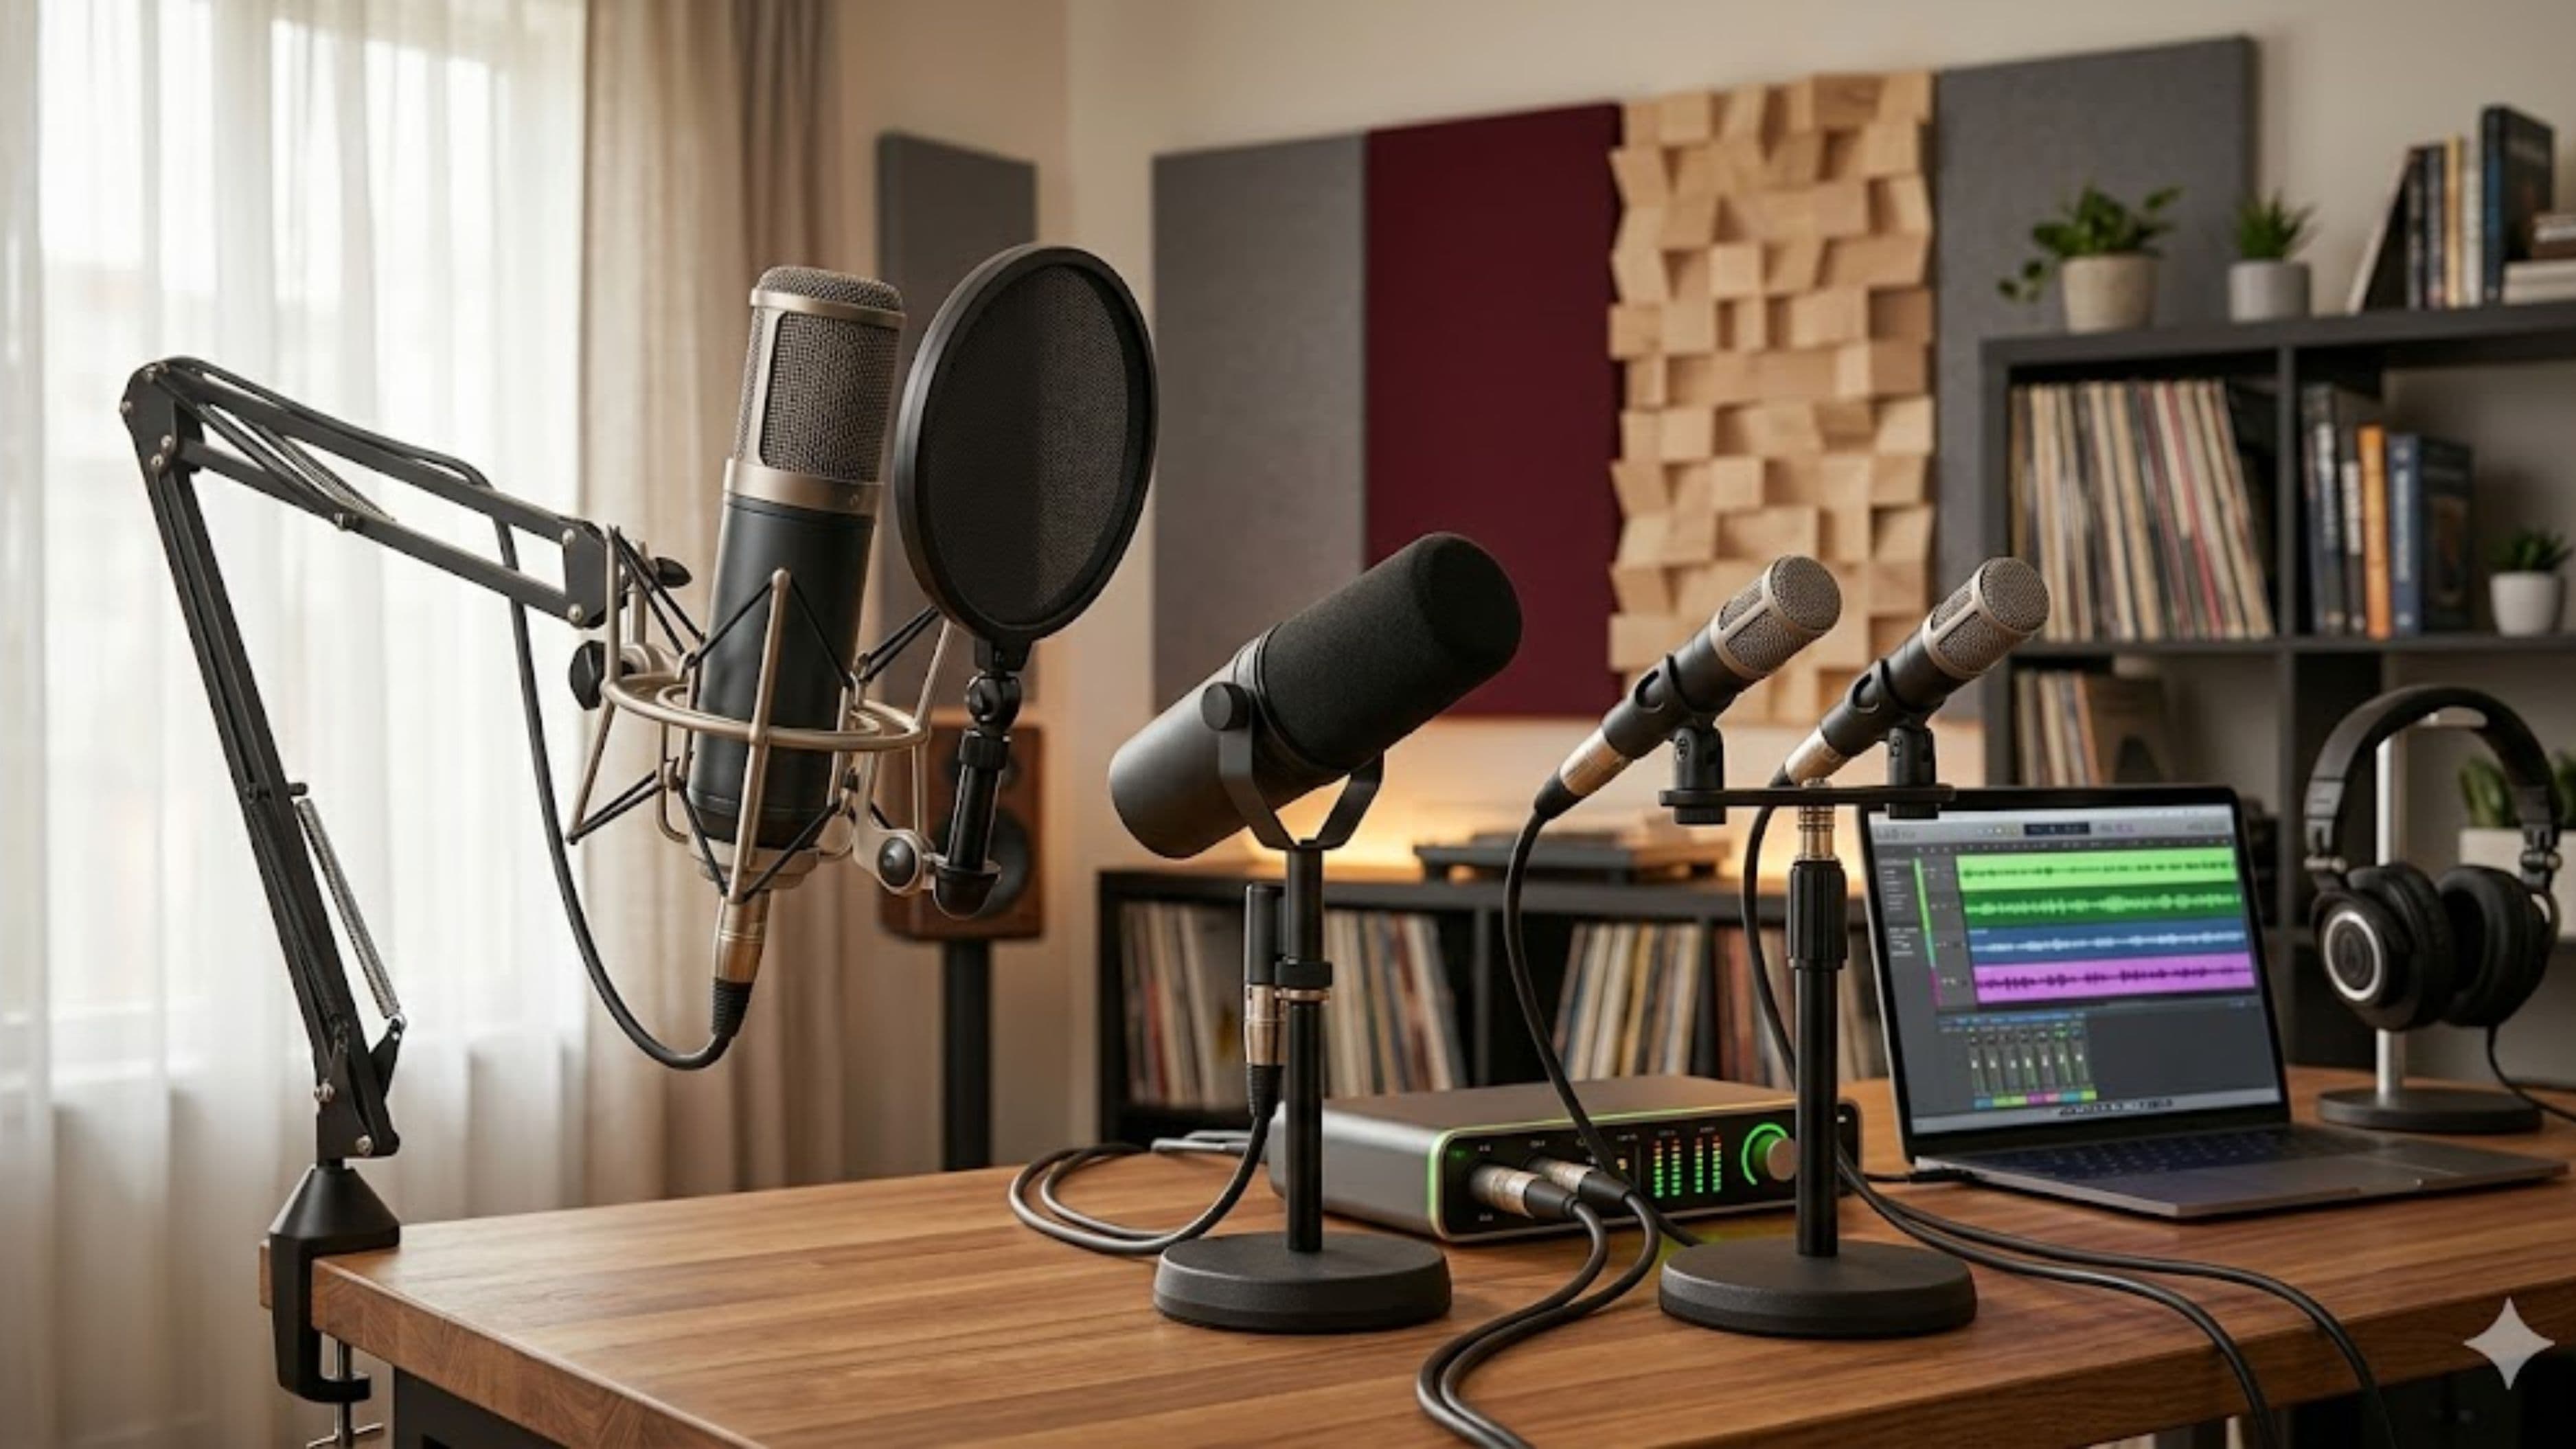
For vocal recording, the most common mistake is positioning the microphone too close, resulting in proximity effect – an exaggerated low-end buildup that makes the voice sound boomy and artificial. Most large-diaphragm condensers work best at 6–12 inches from the source. A pop filter is essential to manage plosives (the bursts of air from "p" and "b" sounds that overload the capsule), and it should sit 2–4 inches from the microphone, not right up against it.
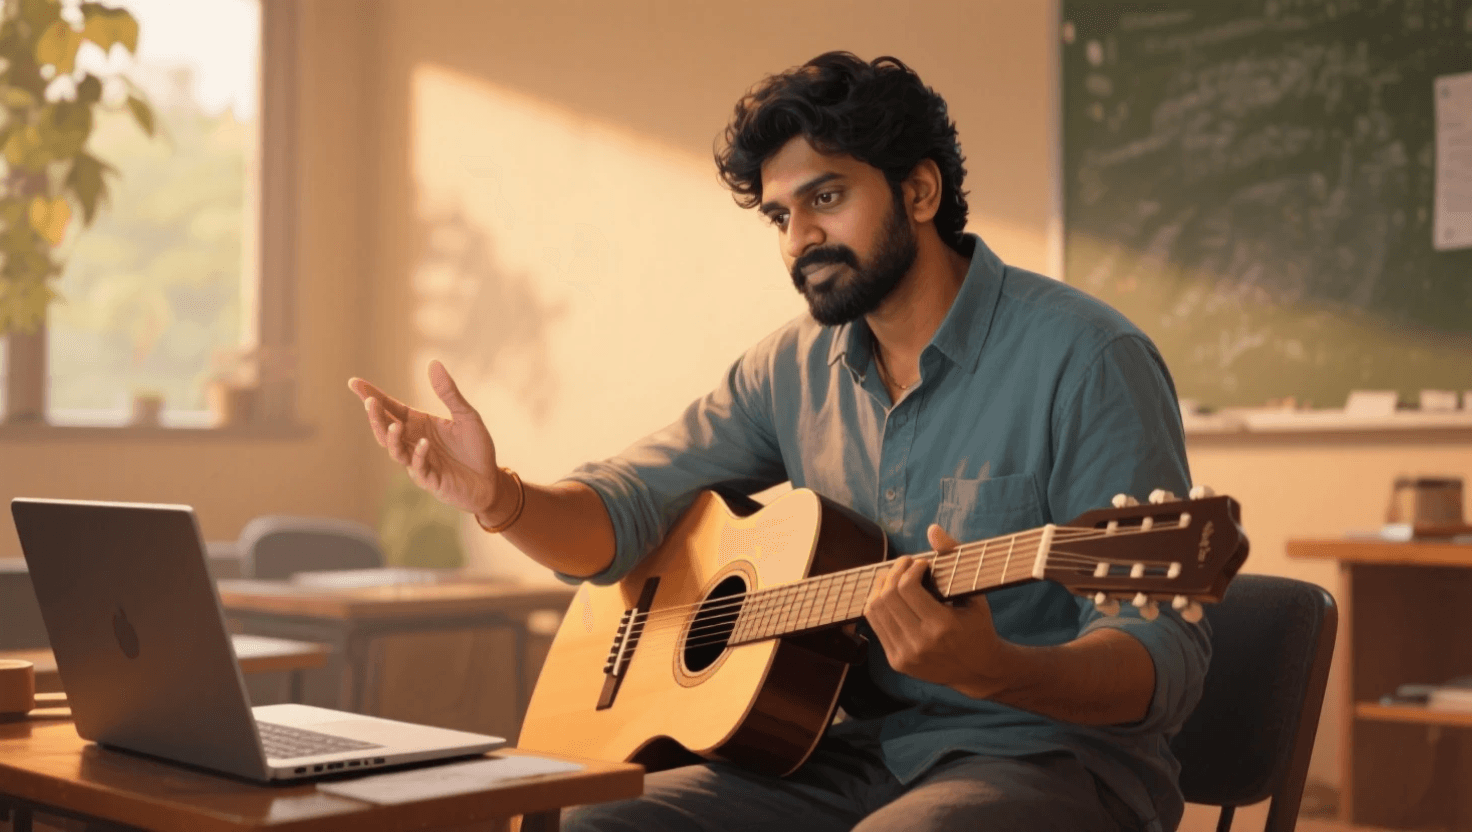
For acoustic instruments, experimenting with the microphone distance, angle, and position in the room produces results that presets and advice can't replicate – because your instrument, your room, and your microphone are unique. As a starting point, room microphone placement 3–6 feet from an acoustic guitar often captures a more natural, open sound than close-miking alone. Record a few test takes from different positions before committing to a setup.
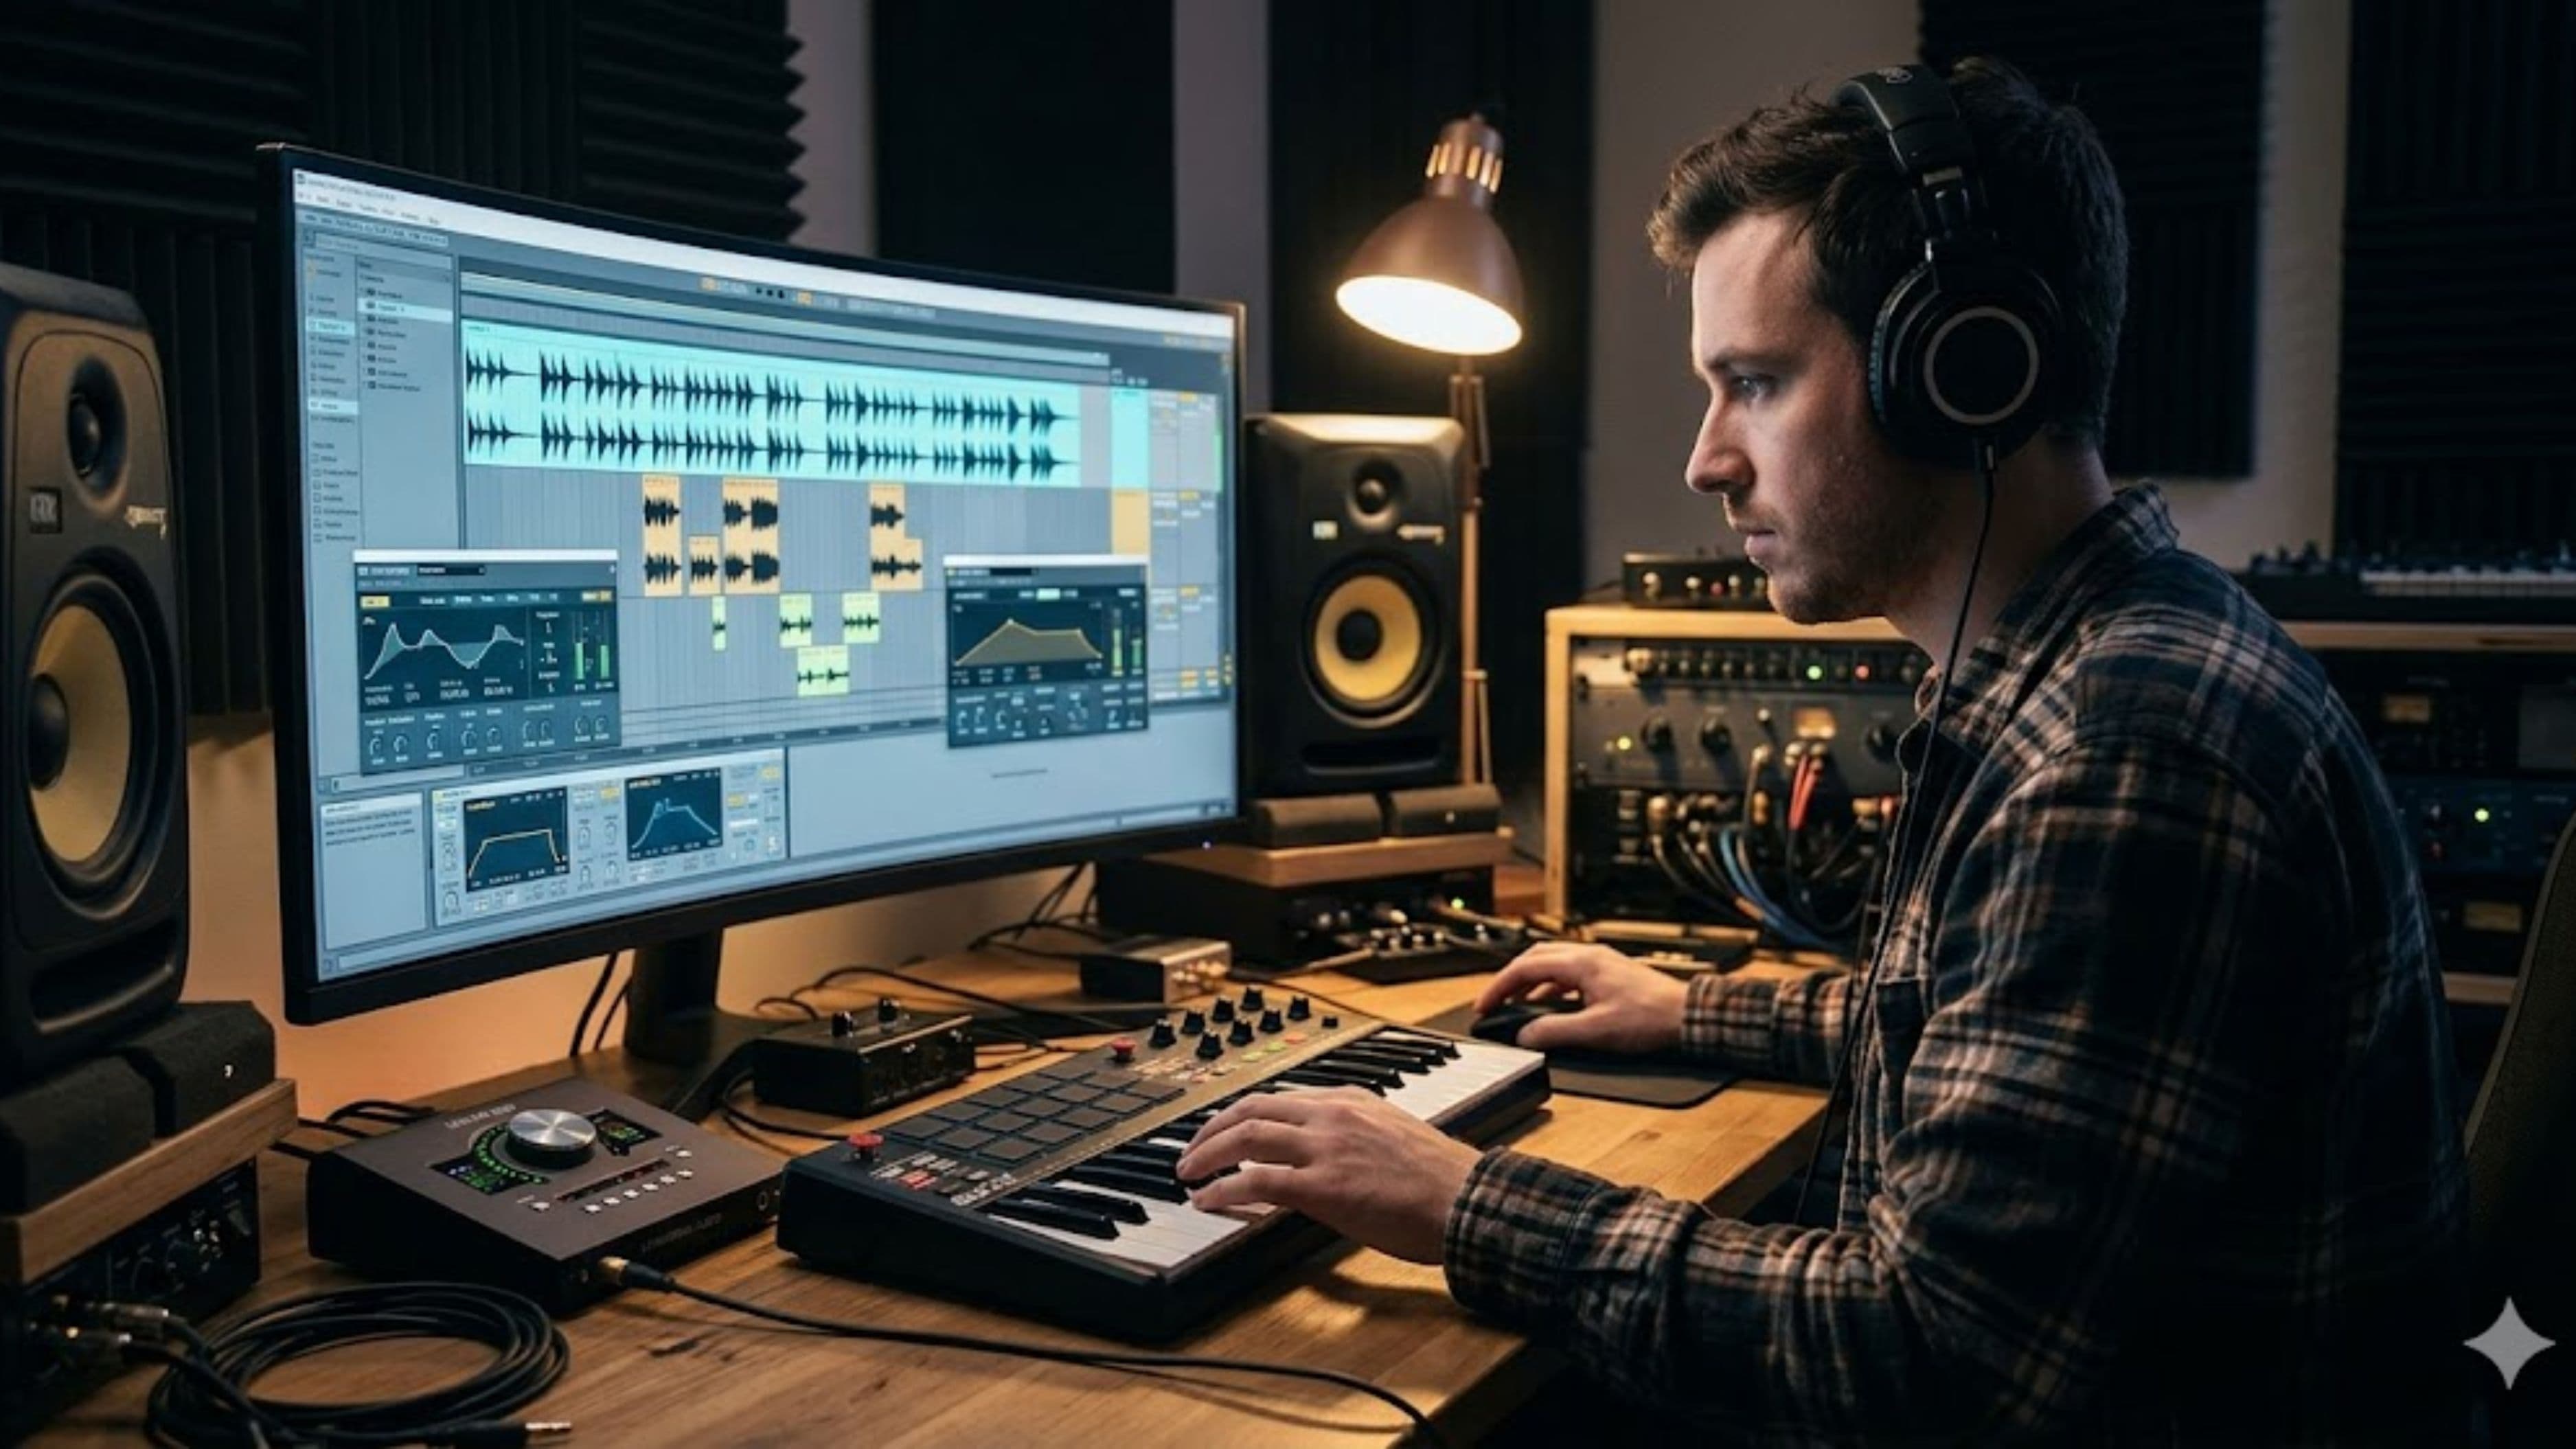
Cable Management and Signal Flow Reduce Frustration
This sounds mundane, and it is – but it matters. A recording environment where cables are tangled, unlabeled, and half of them are uncertain connections is an environment where creative momentum stalls. You pick up the guitar and want to capture an idea, and by the time you've figured out which cable goes to which input and whether the interface is routing correctly, the moment is gone.
Spend time setting up your signal flow clearly and keeping it stable. Label every cable at both ends. Know exactly which input on your interface corresponds to which physical input on your preamp or patch bay. Keep your most-used connections permanent so the setup-to-record time is under a minute. That investment of an afternoon pays off every session afterward.
For producers working primarily in the box (DAW-based), the equivalent friction is a disorganized session template and a sample library you can never find anything in. A clean session template with your most-used tracks and routing pre-built, and a sample library organized by type and mood rather than by pack name, removes the same kind of obstacle.
Lighting and Temperature Are More Important Than You Think
This is the part most recording guides skip entirely. Lighting affects how long you can comfortably work and how you feel while working. Harsh overhead fluorescents that flicker imperceptibly create eye fatigue over long sessions. Warm, controllable lighting – even something as simple as a smart bulb in a lamp positioned to illuminate your work area without glare on your screen – makes hours-long sessions significantly more comfortable.
Temperature has a direct effect on vocal performance. Recording in a cold room tightens the vocal cords and affects breath support; a warm room loosens them and affects endurance. Most professional vocal studios are kept at a stable, slightly warm temperature for this reason. If your home recording setup is in a garage, basement, or other space with significant temperature variation, this is worth addressing before your next vocal session.
Humidity matters too, particularly for acoustic instruments. Very dry environments cause acoustic guitars to crack over time, and very humid environments can cause swelling and tuning instability. A basic hygrometer and a small humidifier or dehumidifier to keep the room in the 45–55% relative humidity range protects your instruments and keeps them playing consistently.
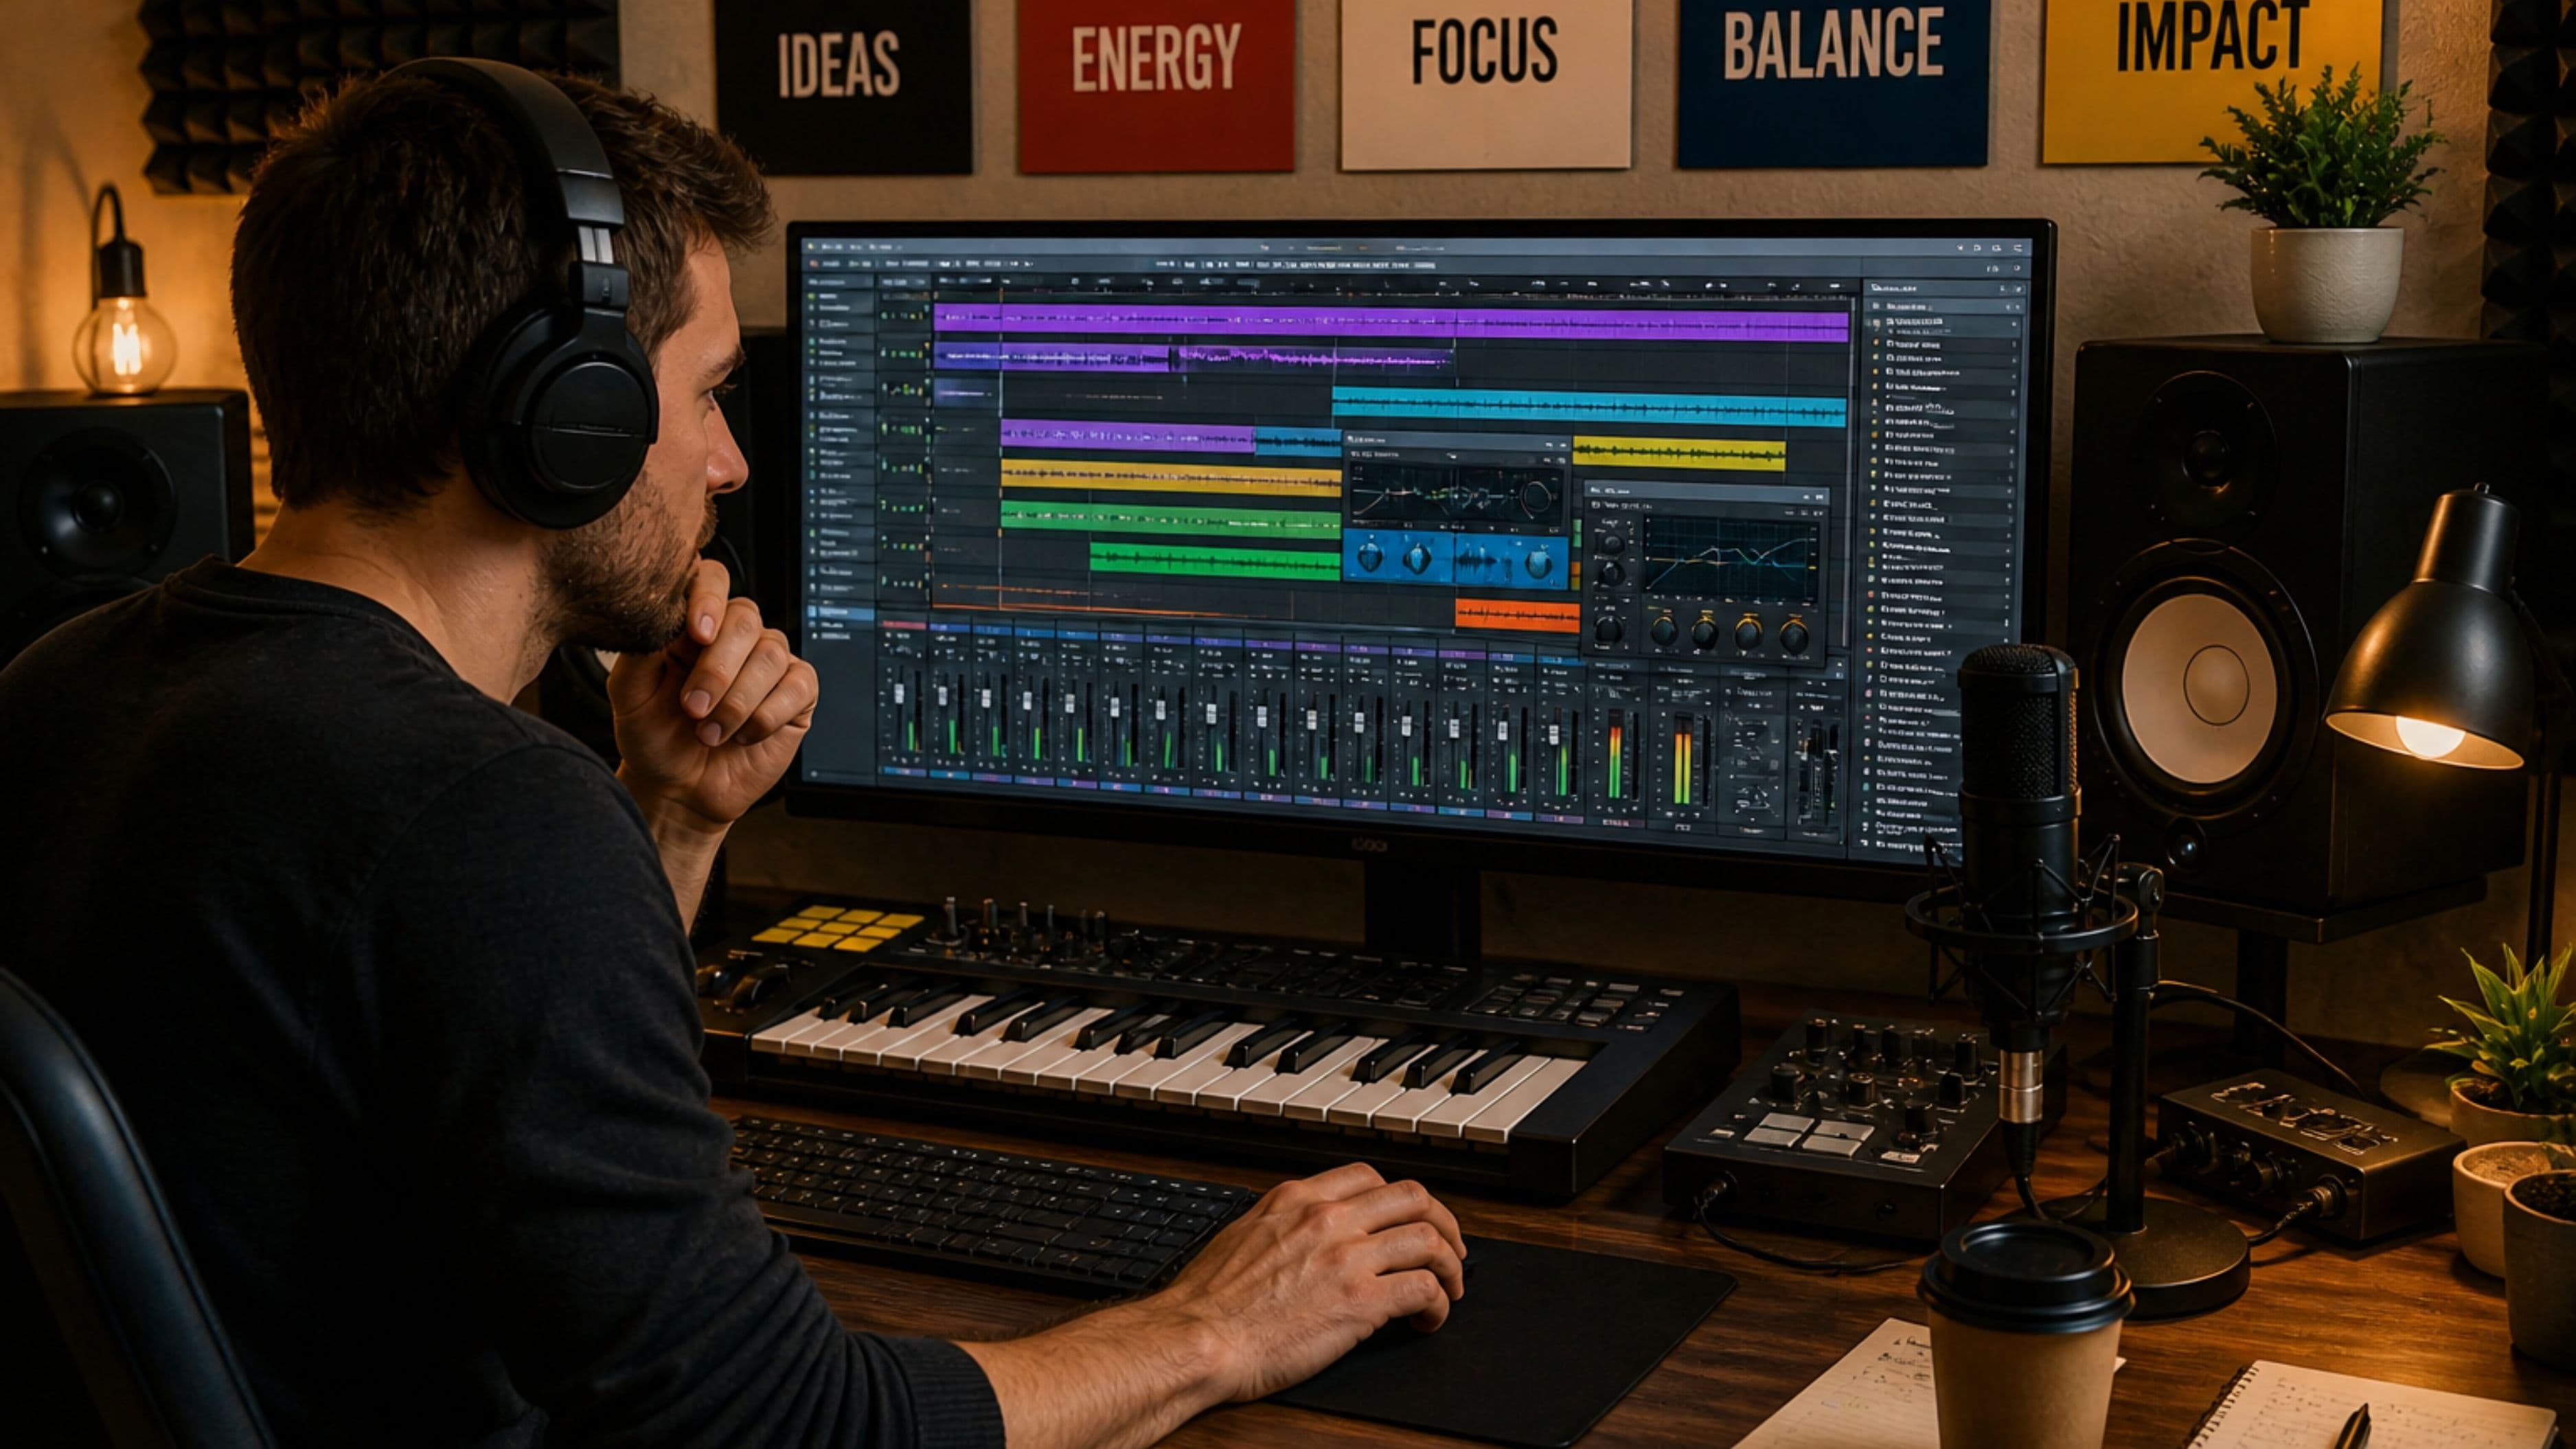
Reduce Decision Fatigue in Your Workflow
Great recording environments aren't just physical spaces – they're systems. The physical setup should make it easy to record, and the workflow setup should make it easy to decide what to do next. Decision fatigue is a real phenomenon in creative work: the more micro-decisions you have to make about gear, routing, settings, and organization, the less creative energy you have left for the actual music.
Standardize your recording chain. Know your default microphone gain settings for different sound sources. Build session templates in your DAW so you're not starting from a blank slate every time. Create a small collection of go-to processing chains – your preferred EQ settings for acoustic guitar, your go-to vocal chain, your default drum bus compression – and save them as presets so they're one click away.
None of this means locking yourself into habits that never evolve. It means removing the friction from the starting point so your sessions begin with momentum rather than setup.
What to Watch Out For
The room-in-a-corner problem is the most common acoustic trap. Setting up in a corner of a room maximizes low-frequency buildup because bass frequencies build up where two or three walls meet. If you can position your monitoring and recording position away from corners – or treat those corners heavily with bass traps – do it.
Treating the ceiling is often neglected. Reflections from a flat ceiling directly above your monitoring position arrive at your ears a fraction of a second after the direct sound and create comb filtering – a phenomenon that makes certain frequencies louder or quieter in ways that affect every mix decision you make. A panel of acoustic treatment on the ceiling above your mix position, called a cloud panel, addresses this specifically.
Cheap foam is less effective than marketed. The thin wedge foam panels sold cheaply online are primarily effective at absorbing high-frequency sound and do almost nothing for mid and low frequencies, where the room's most problematic behavior usually lives. Dense mineral wool panels (Rockwool or equivalent) perform significantly better across the frequency range.
FAQ
Do I need to build a dedicated room for home recording to sound professional? No. Many professional-quality recordings are made in treated corners of bedrooms, converted closets, and living room setups. What matters is acoustic treatment in the recording space, accurate monitoring, and a clean signal chain. A dedicated room helps, but it's not a prerequisite for professional results.
Is a reflection filter enough, or do I need full wall panels? A reflection filter handles the rear and sides of the microphone effectively and makes a significant difference for vocal recording specifically. It doesn't address the room acoustics that your microphone will still pick up from the front. If you can, combining a reflection filter with a few broadband panels on the front walls gives you much better coverage than either alone.
How do I know if my room is causing problems without professional measurement tools? The clap test is a quick diagnostic: stand in your recording position, clap once sharply, and listen to the decay. A bright, fluttery, repeating echo indicates flutter echo from parallel walls that needs treatment. A boomy, slow decay suggests low-frequency buildup. An immediately dead sound means the room may be over-treated, which can also be a problem for recording natural-sounding acoustic sources. Free measurement tools like Room EQ Wizard (REW), used with a cheap measurement microphone, give you a more precise picture.
What's the most impactful single upgrade for a home recording environment? For vocalists and acoustic instrument recording, a reflection filter or a few well-placed broadband panels at primary reflection points makes the biggest jump in recording quality per dollar spent. For producers working primarily with electronic music and samples, accurate monitoring or headphones with a known response makes the biggest difference to mix translation.
Can you record professionally with a home setup if you're in an apartment? Yes, with some adjustments. The main challenge is noise bleed from neighbors (addressed by timing sessions and soundproofing doors and windows) and limited acoustic treatment options in rented spaces (freestanding panels and removable treatments can achieve a lot without wall attachment). Many full-time independent artists and producers work entirely in apartments.
📚 Sources
Acoustics.com – Understanding Acoustic Treatment vs Soundproofing: https://www.acoustics.com/acoustic-treatment-vs-soundproofing/
Sound On Sound – Room Acoustics for Recording Studios: https://www.soundonsound.com/techniques/room-acoustics
Sweetwater – Studio Monitor Placement Guide: https://www.sweetwater.com/insync/studio-monitor-placement/
Room EQ Wizard – Free Acoustic Measurement Software: https://www.roomeqwizard.com
Yamaha Pro Audio – HS Series Monitor Overview and Placement: https://usa.yamaha.com/products/proaudio/speakers/hs_series/
Recording Magazine – Microphone Placement Techniques for Home Recording: https://www.recordingmag.com/resources/resourceDetail/microphone-placement.html
MusicTech – The Complete Guide to Home Studio Acoustics: https://www.musictech.net/guides/buyers-guide/the-complete-guide-home-studio-acoustics/
Produce Like A Pro – Home Studio Setup Tips for Independent Artists: https://www.producelikeapro.com/blog/home-studio-setup/
Focal – Guide to Listening Room Acoustics: https://www.focal.com/en/professional/guide-listening-room-acoustics
Guitar World – Recording Acoustic Guitar at Home: A Microphone Placement Guide: https://www.guitarworld.com/guitar-techniques/how-to-mic-acoustic-guitar
🔍 Explore Related Topics