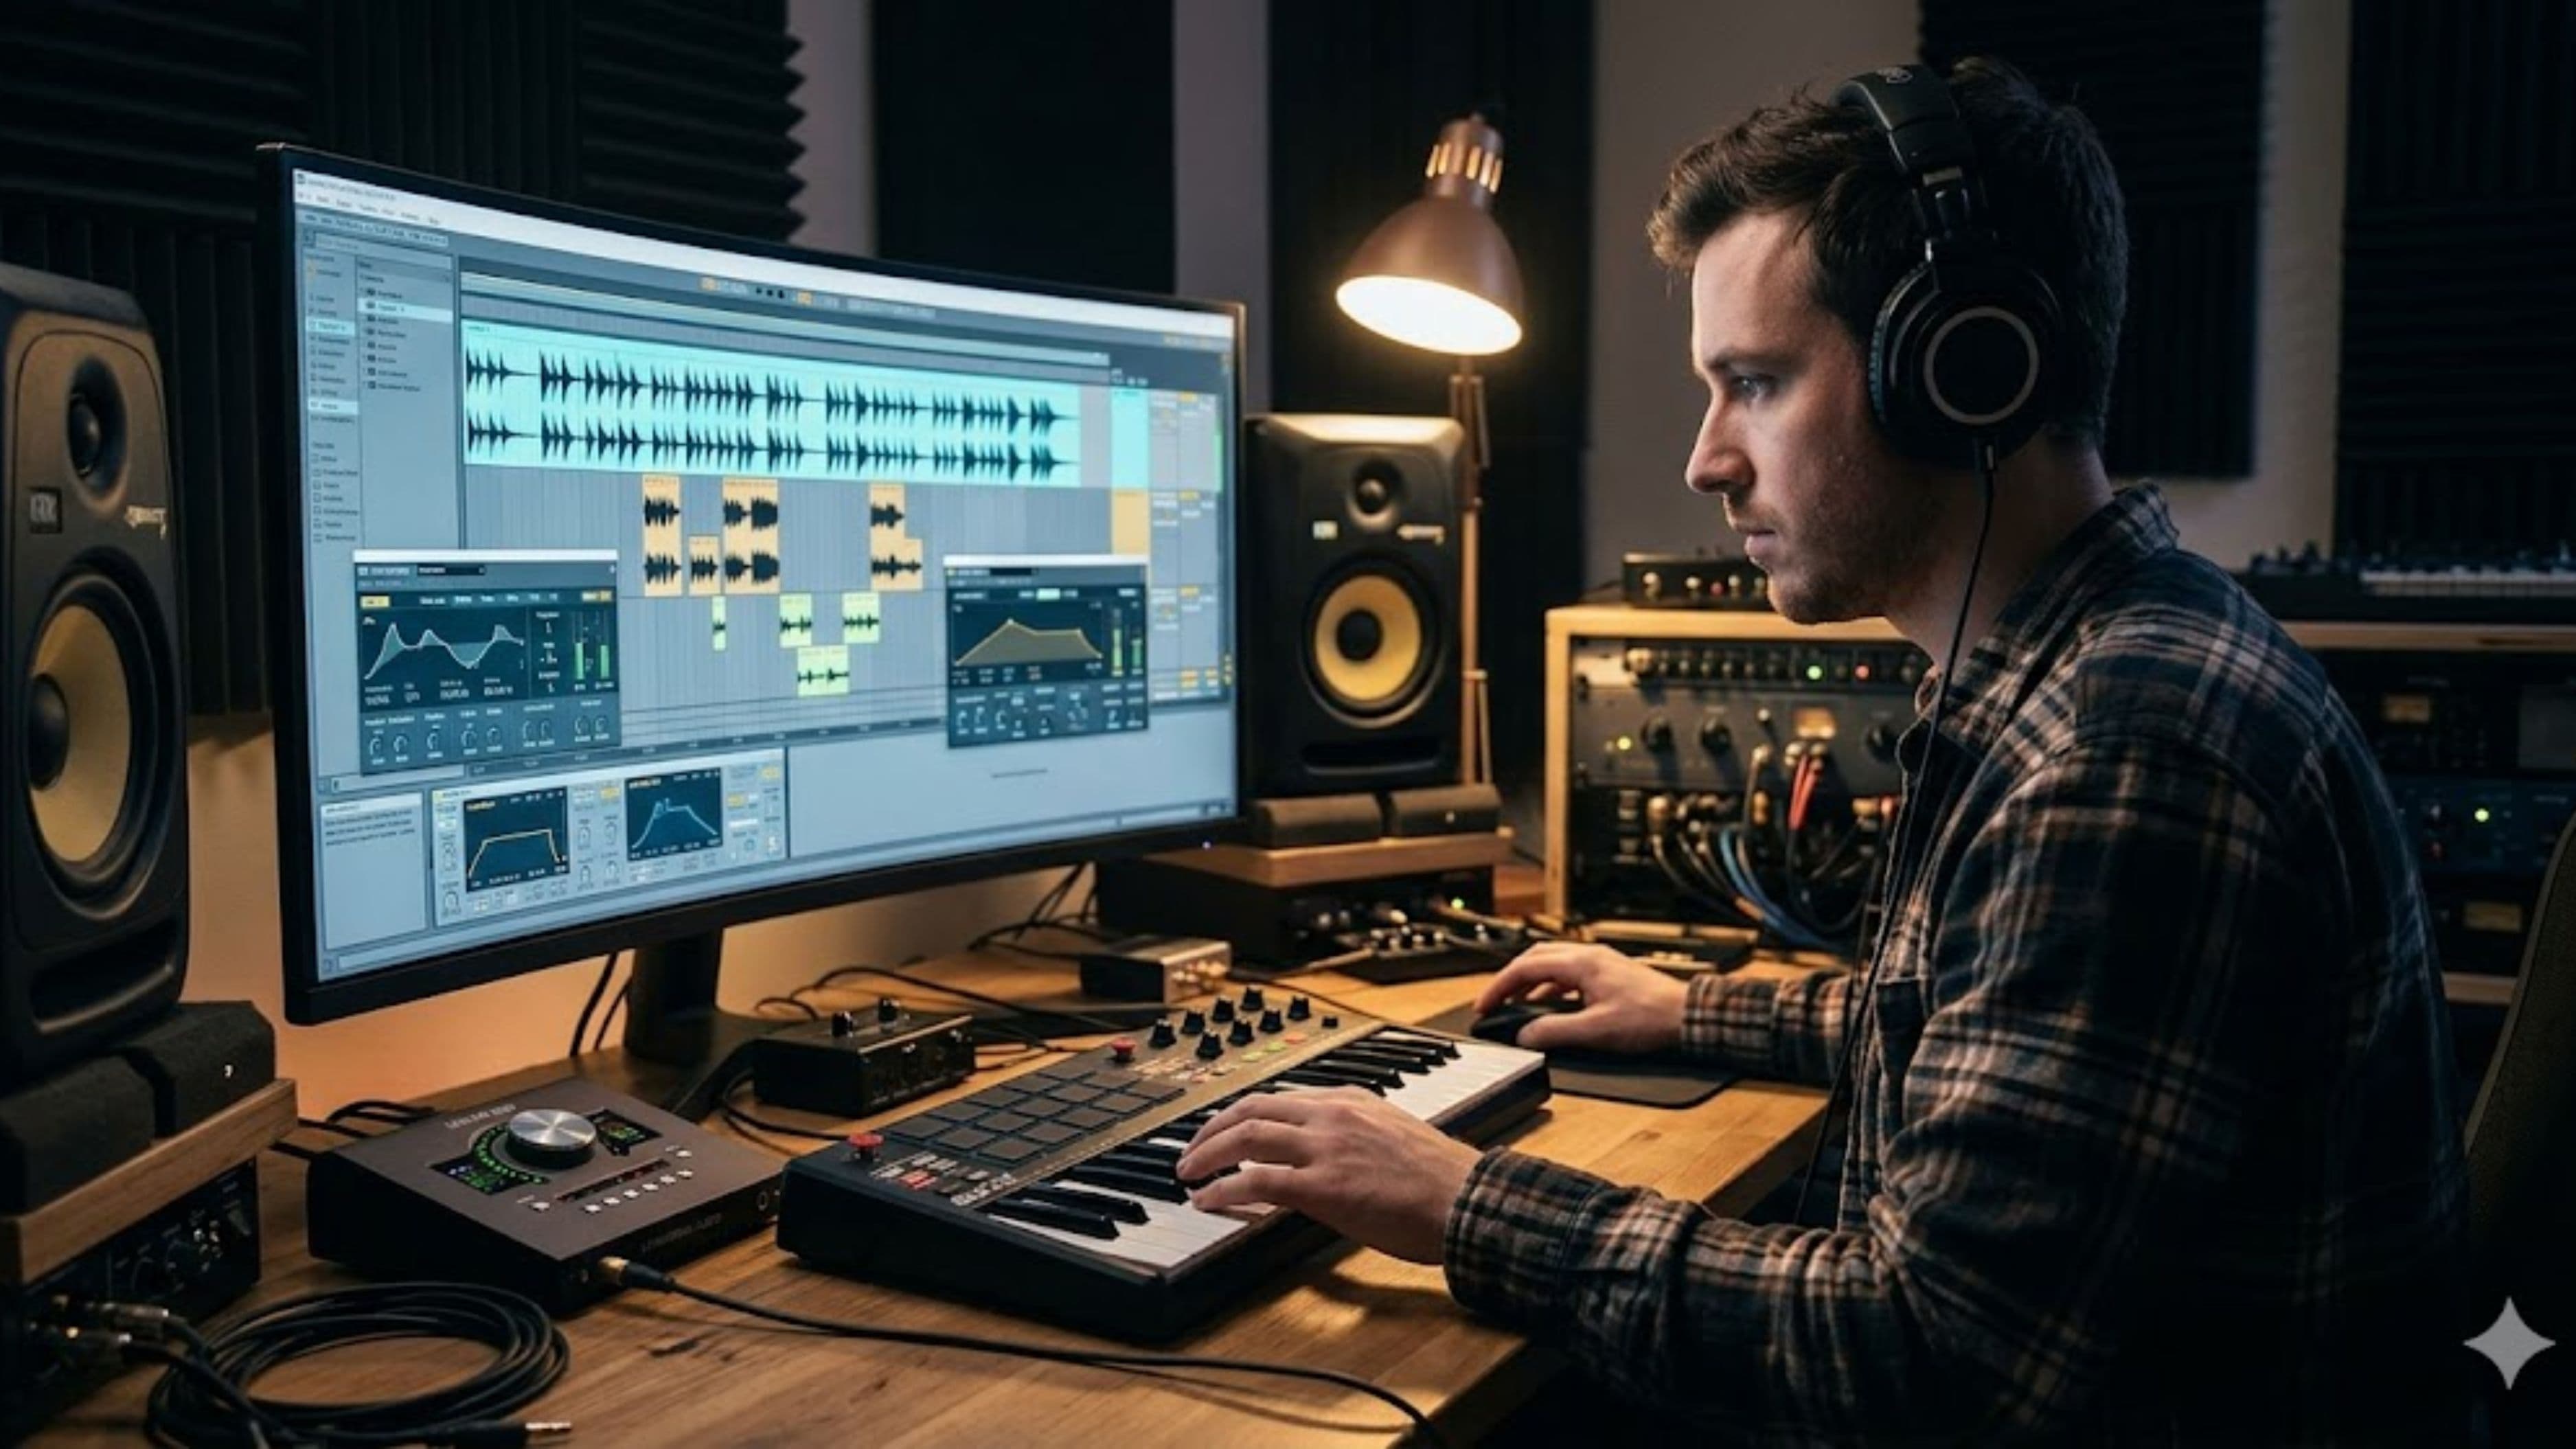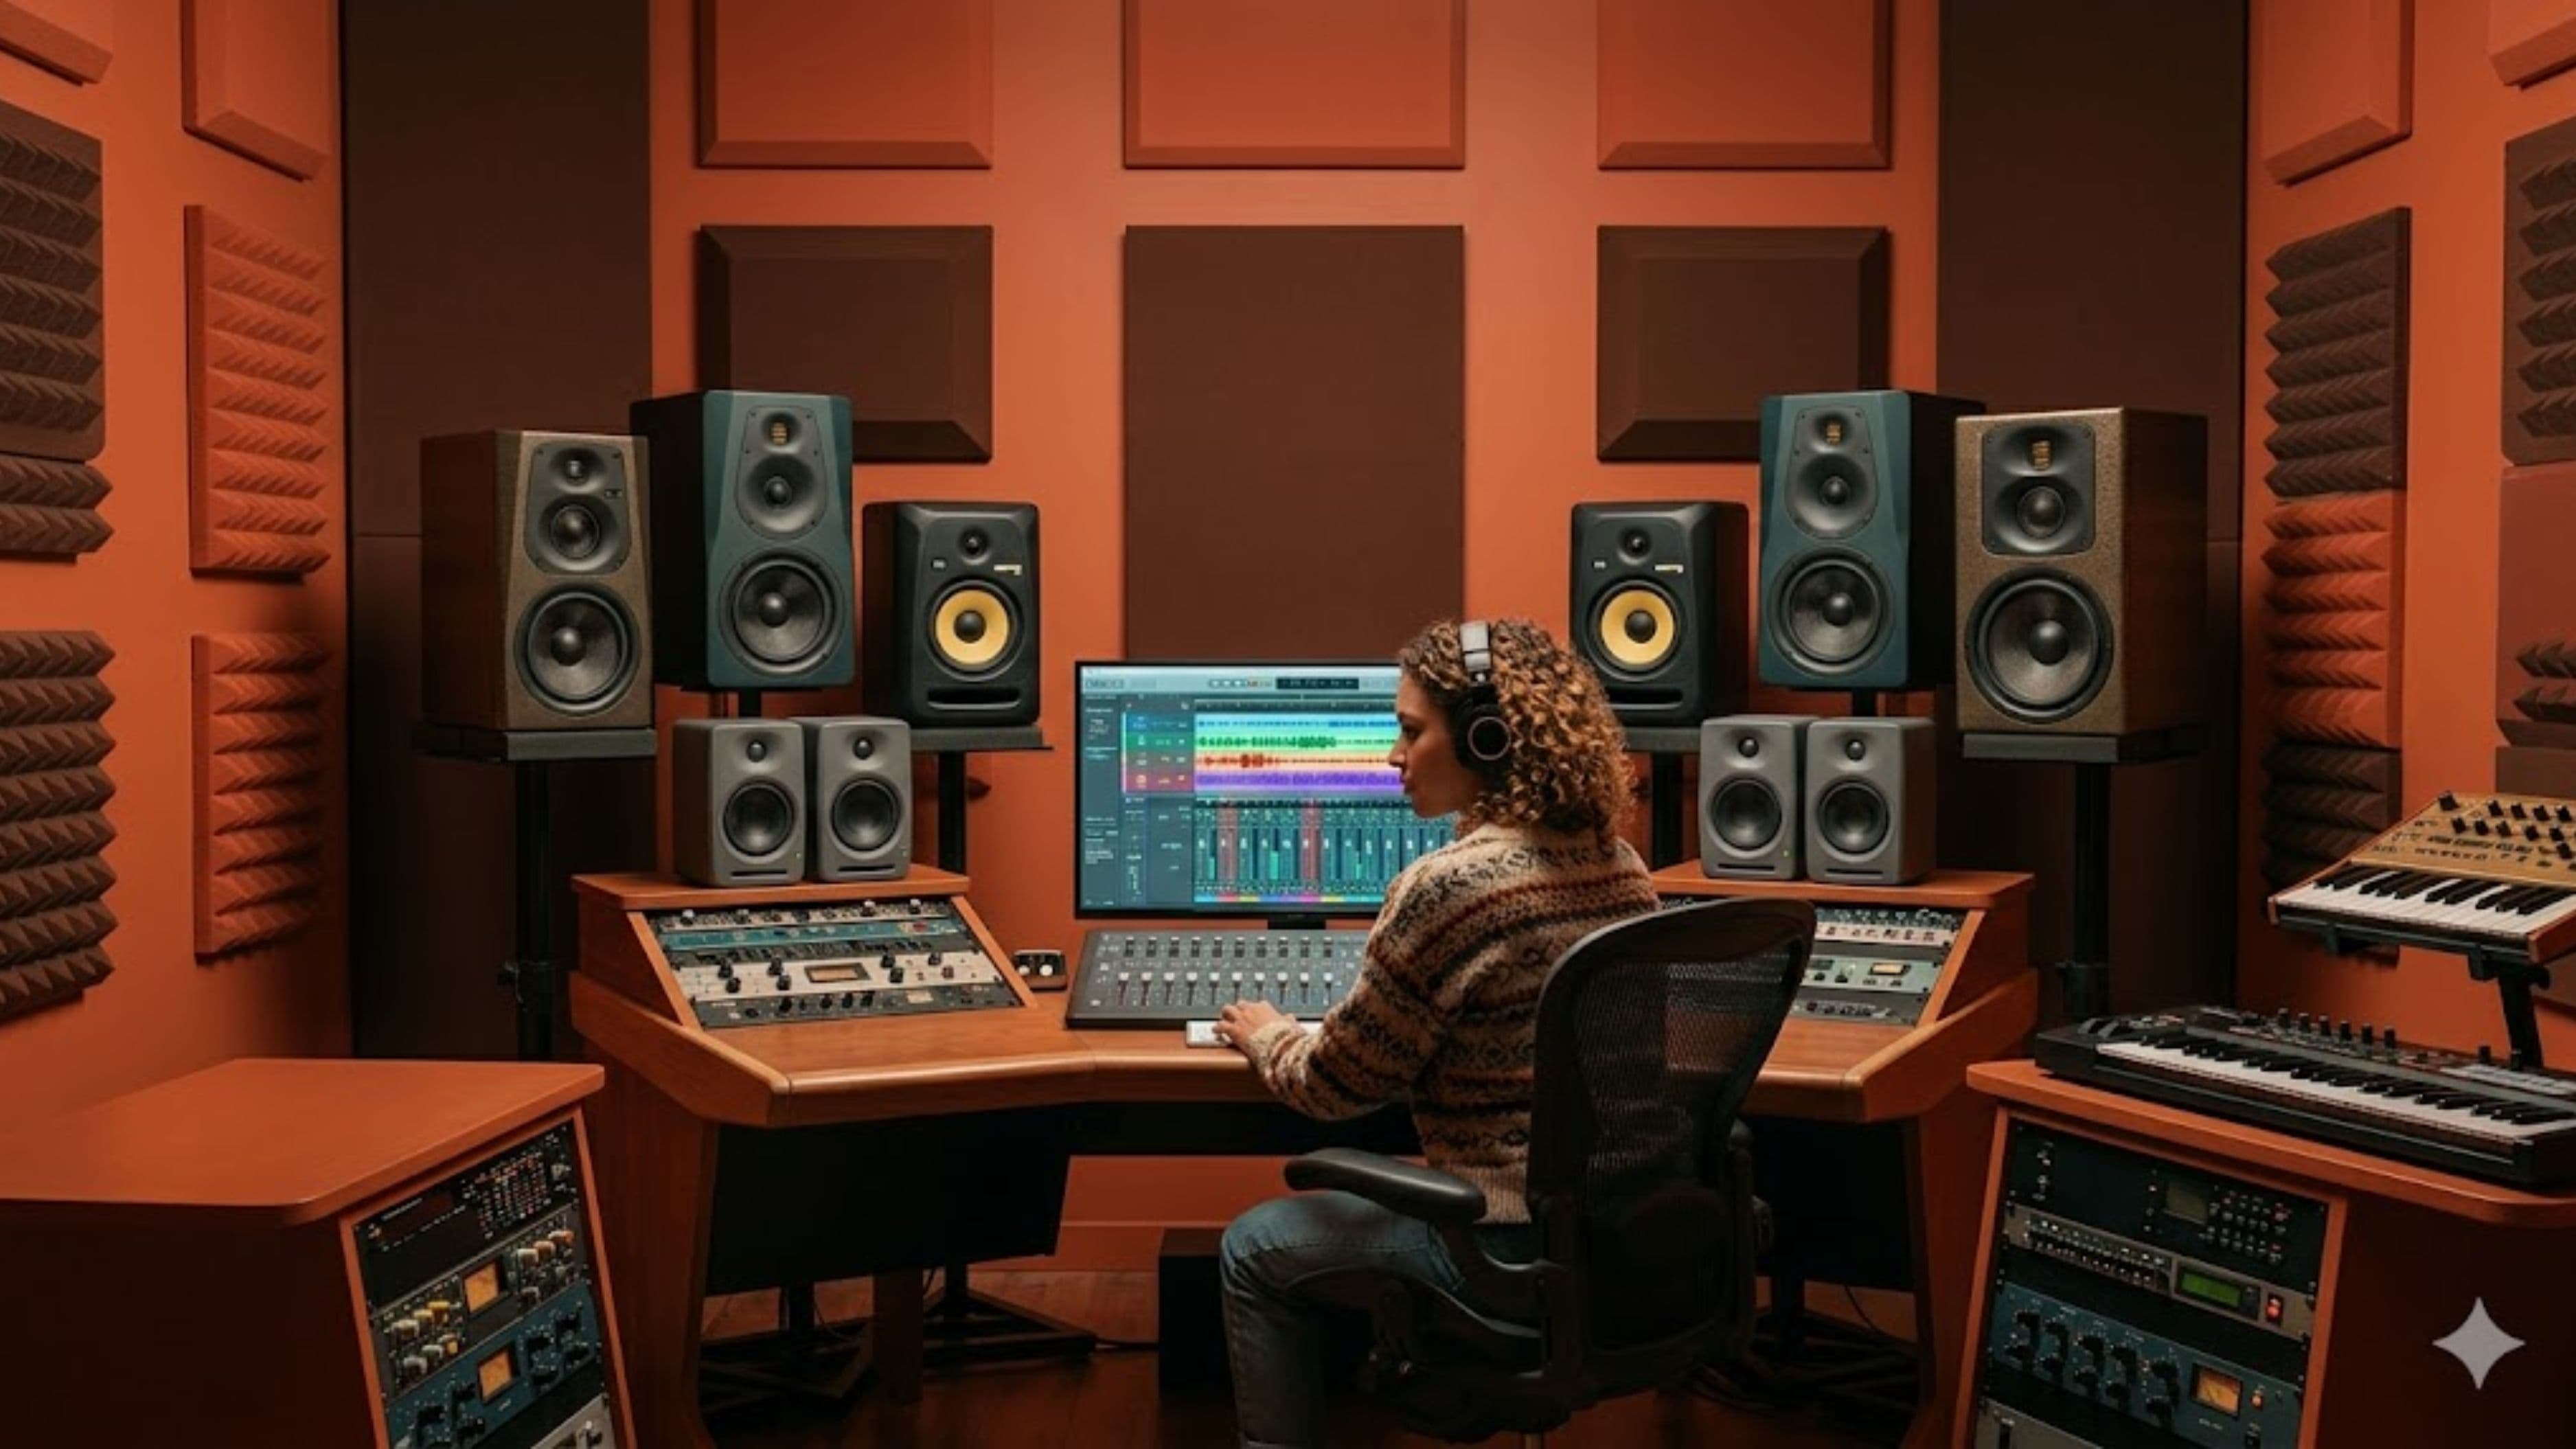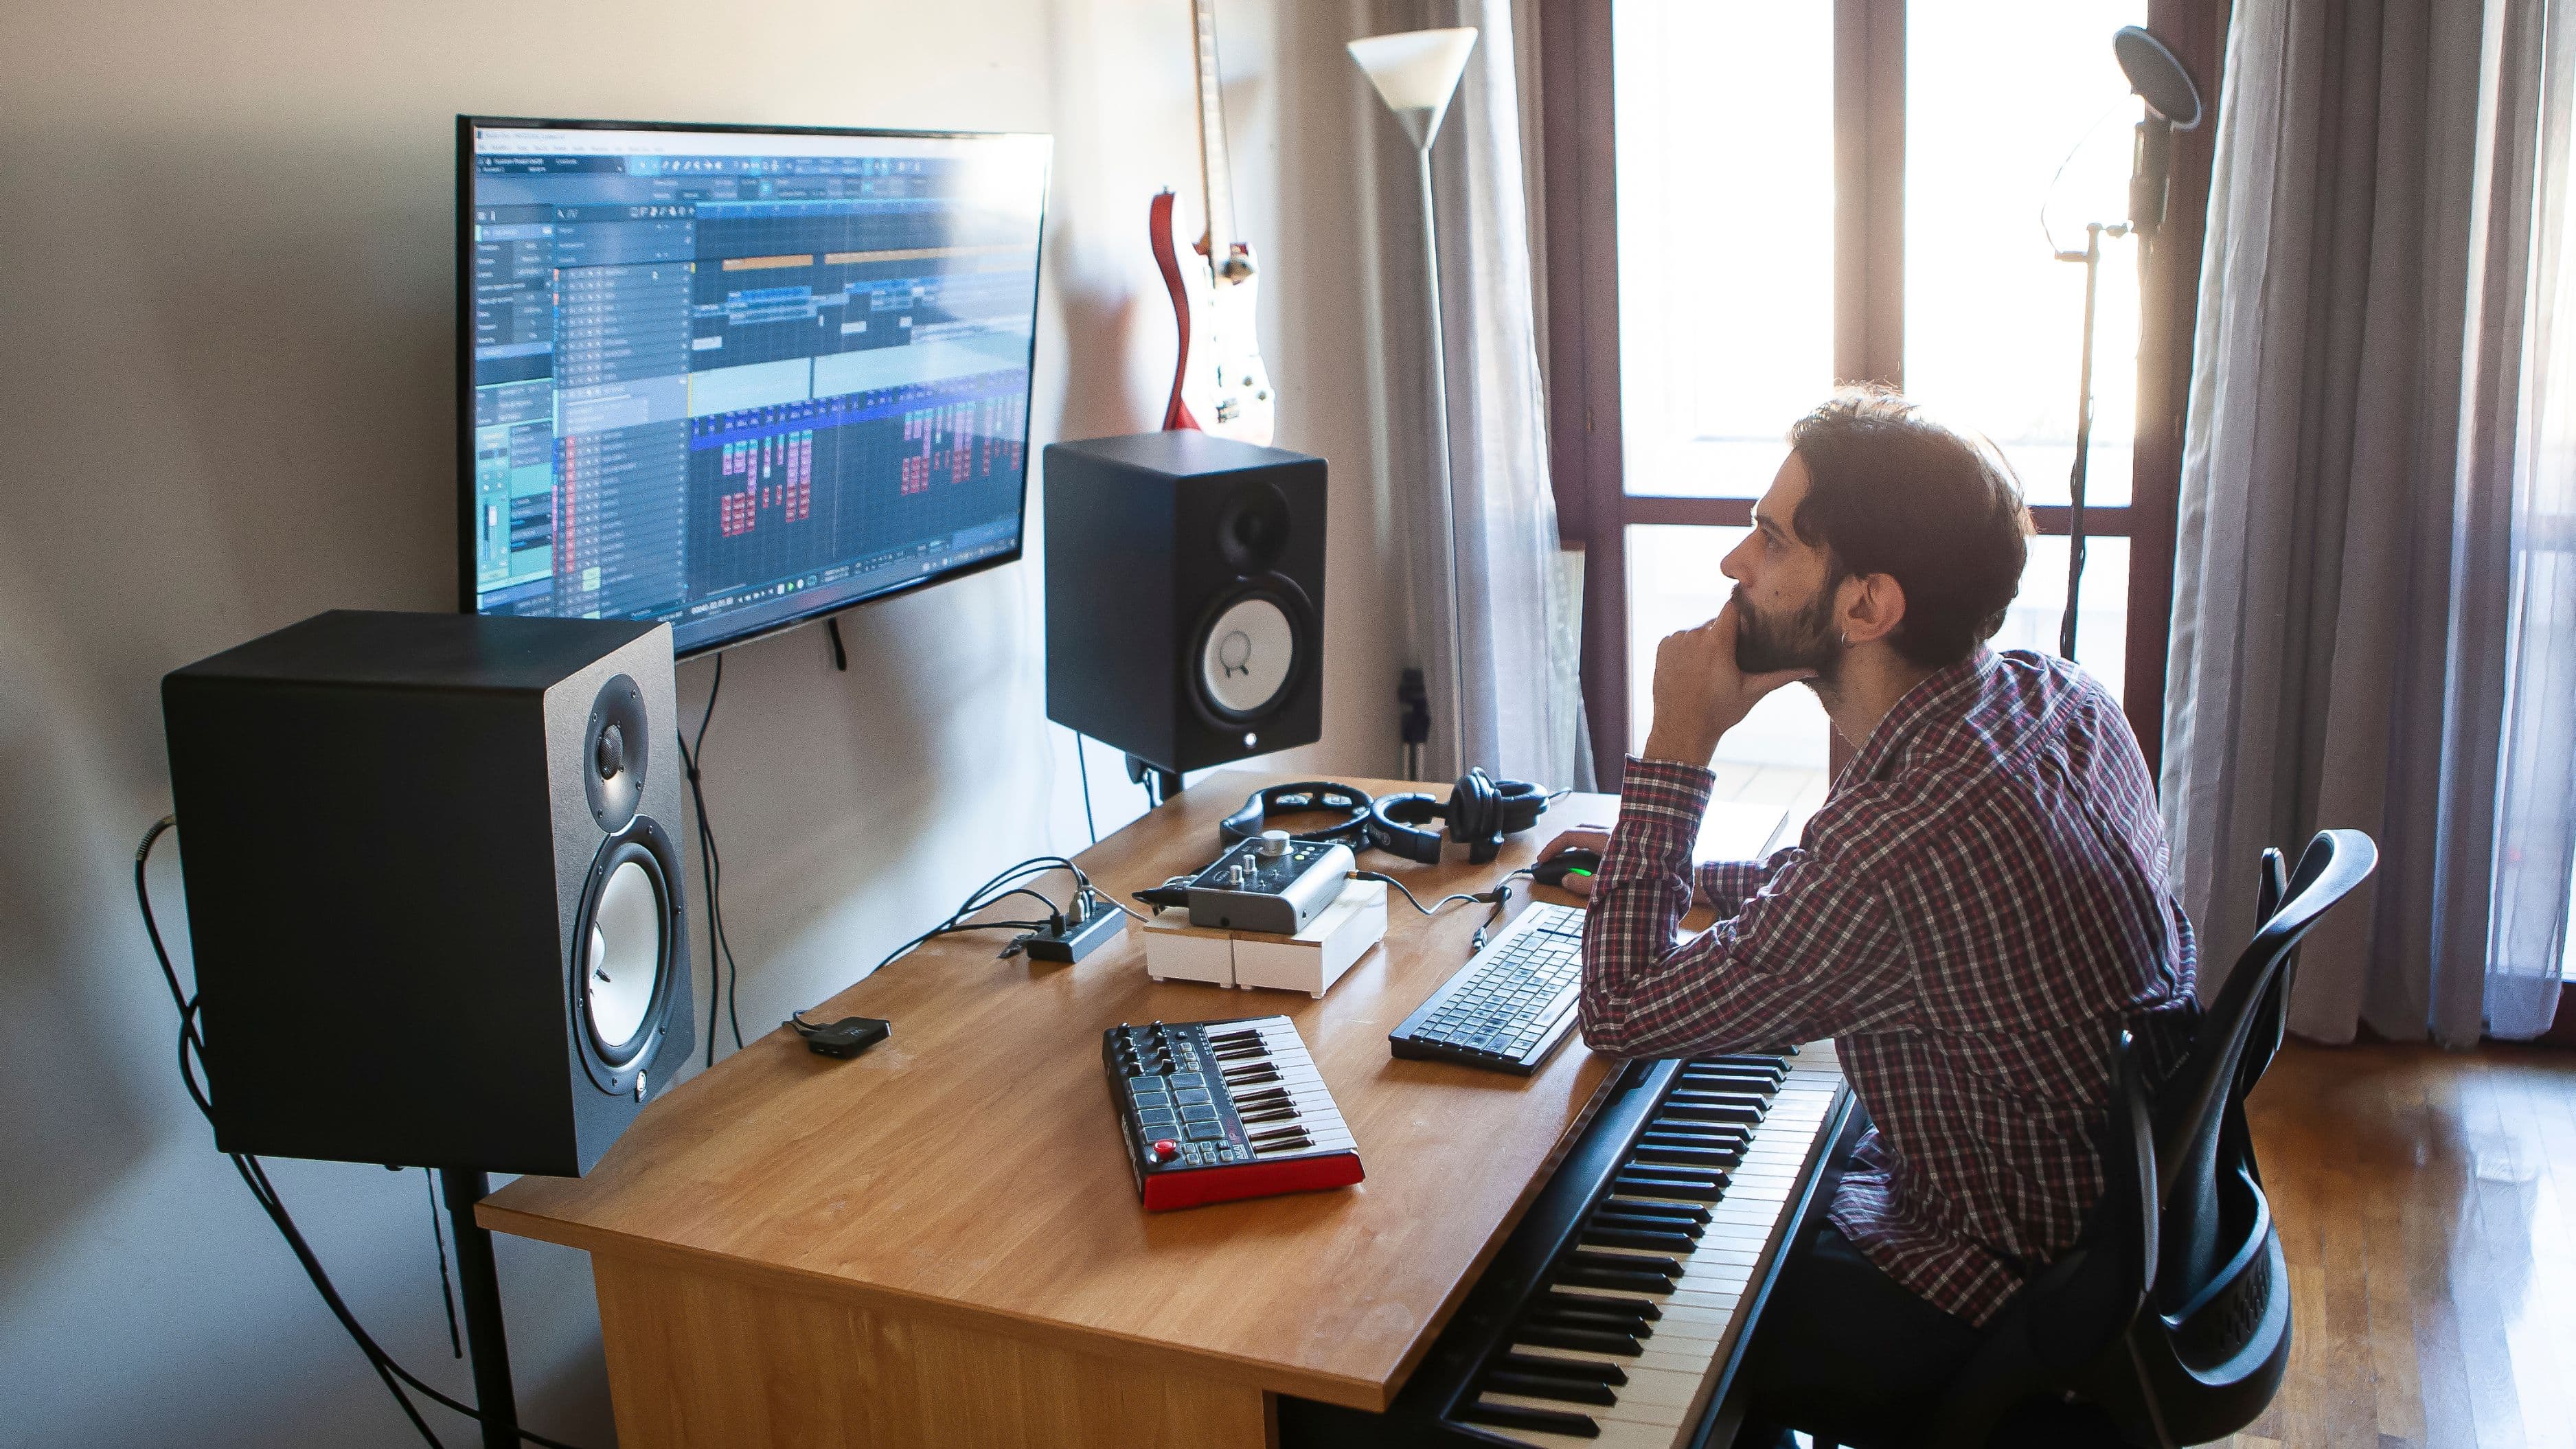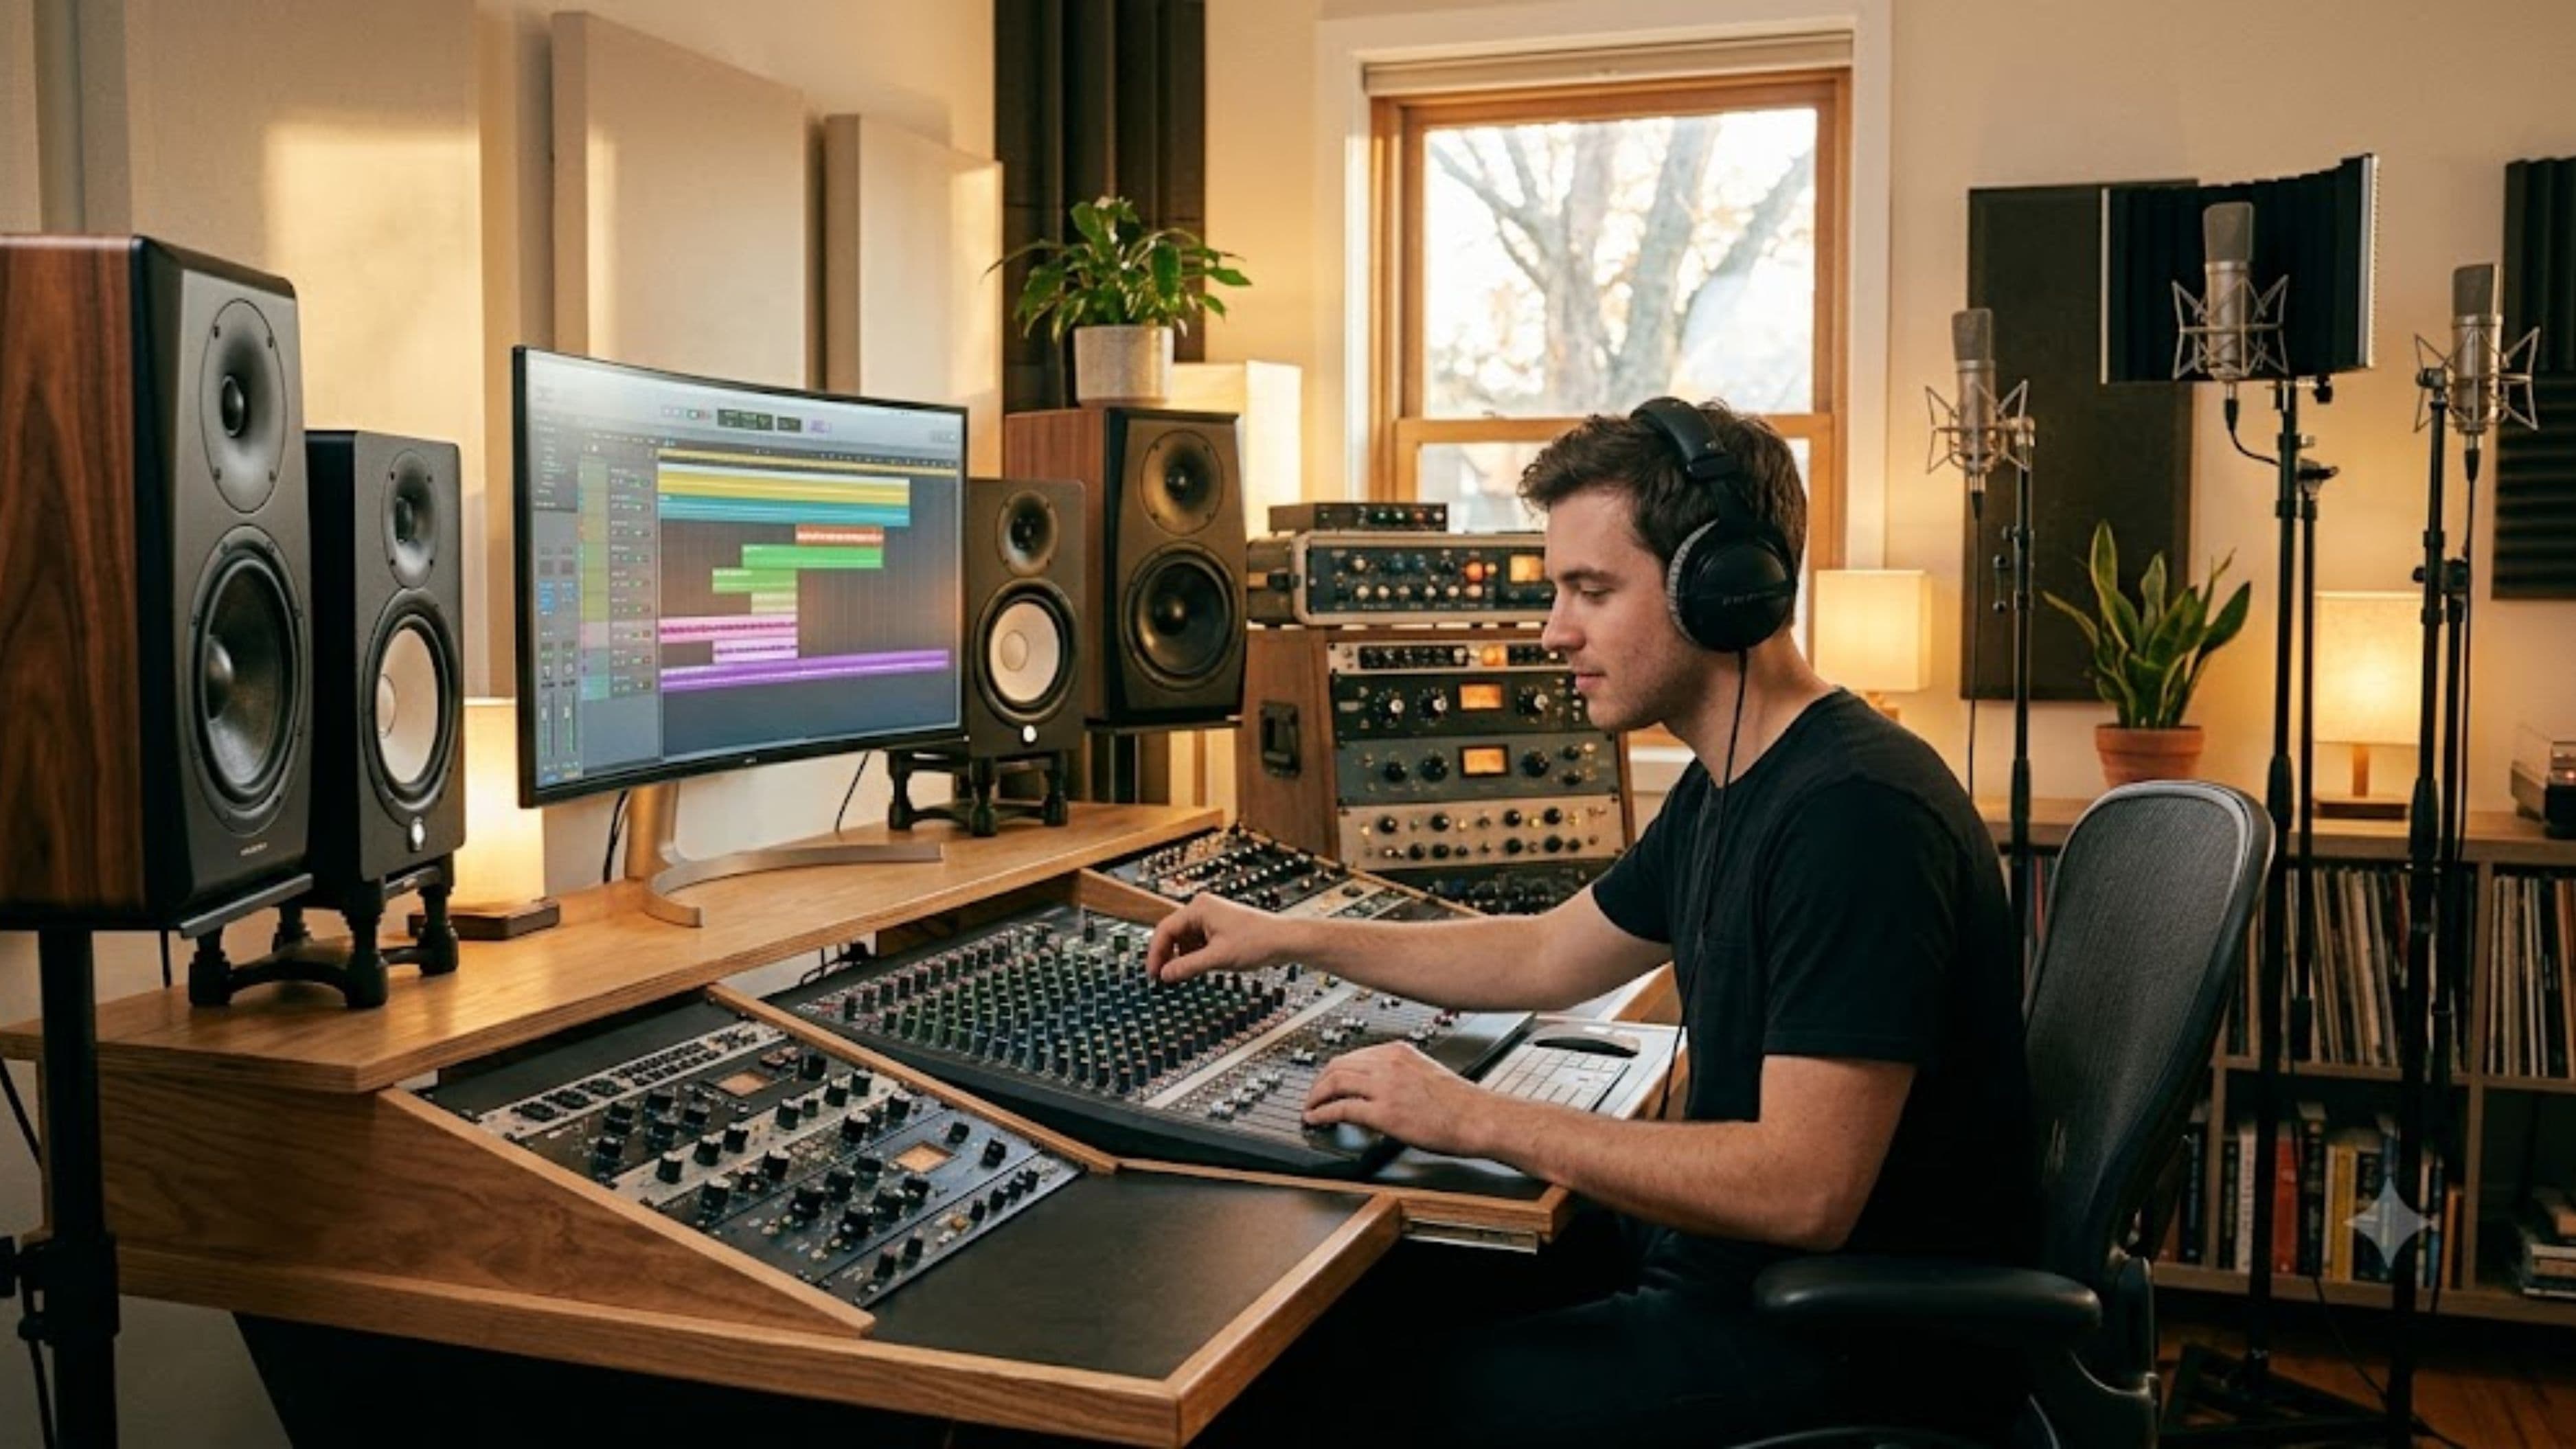
This isn't just about cheaper foam. The materials, the science behind the products, and the DIY knowledge available to everyday creators have all evolved. Here's what's actually changed and what it means for you.
The Old Problem With Home Studio Acoustics
Recording at home has never just been about having a good microphone. The room itself is half the equation. Untreated rooms introduce reflections – sound bouncing off hard walls, ceilings, and floors – that layer on top of what you're actually recording and muddy the result. If you've ever listened back to a vocal recording and heard a subtle echo or a phasey, hollow quality that wasn't there in the performance, that's the room talking.
The traditional solution was expensive. Professional acoustic treatment – proper broadband absorbers, diffusion panels, and bass traps installed in a purpose-built or heavily modified room – was the domain of commercial studios for a reason. The materials cost a lot, and the physics of controlling low-frequency sound in particular require mass, depth, and strategic placement that most home setups couldn't accommodate. Many home producers simply worked around the problem: recording dry with heavy close-mic technique, relying on noise gates and EQ to clean things up, and hoping the mix would translate.
That workaround culture is still common, but it's increasingly unnecessary. The tools available now make it realistic to build a genuinely treated space on a budget that would have been laughable a decade ago.
What's Actually Changed
Mass-loaded vinyl (MLV) is now accessible to regular buyers. MLV is a dense, flexible material that blocks sound transmission between spaces – meaning it reduces how much sound escapes your room and how much outside noise bleeds in. It used to be primarily a construction material sold in bulk quantities through specialty suppliers. Now it's widely available through standard retail channels at prices most creators can work with, running roughly $1–$2 per square foot. Lining a wall, a door, or a ceiling section with MLV and drywall creates a meaningful barrier without full-scale construction. For home producers dealing with neighbor noise or recording next to a street, this is a practical and increasingly affordable option.
Acoustic foam quality has improved substantially. Early consumer acoustic foam panels were often too thin and too porous to do much beyond treating mid and high frequencies superficially. Better understanding of the physics, combined with improved manufacturing, has produced panels that perform at densities and thicknesses that actually matter acoustically. Products marketed with verified NRC (Noise Reduction Coefficient) ratings – a standardized measure of absorption – give creators something real to compare rather than just marketing language. A properly specced 2-inch or 4-inch panel from a credible supplier genuinely treats a room differently than the cheap thin tiles that used to define budget acoustic treatment.
Rockwool and rigid fiberglass DIY builds have gone mainstream. The most effective acoustic absorbers – the kind used in professional studios – are built from rigid mineral wool or fiberglass insulation wrapped in breathable fabric. These materials have always been relatively affordable; the knowledge of how to build panels with them has just become more widely distributed. A DIY broadband absorber panel built from Rockwool Safe'n'Sound or OC703 rigid fiberglass and framed in simple lumber can outperform most commercial acoustic panels at a fraction of the cost. A panel that would cost $80–$150 retail can be built for $15–$30. Detailed tutorials, cut sheets, and acoustic performance data for these builds are now freely available and detailed enough that someone with basic tools and a weekend can produce professional-quality results.
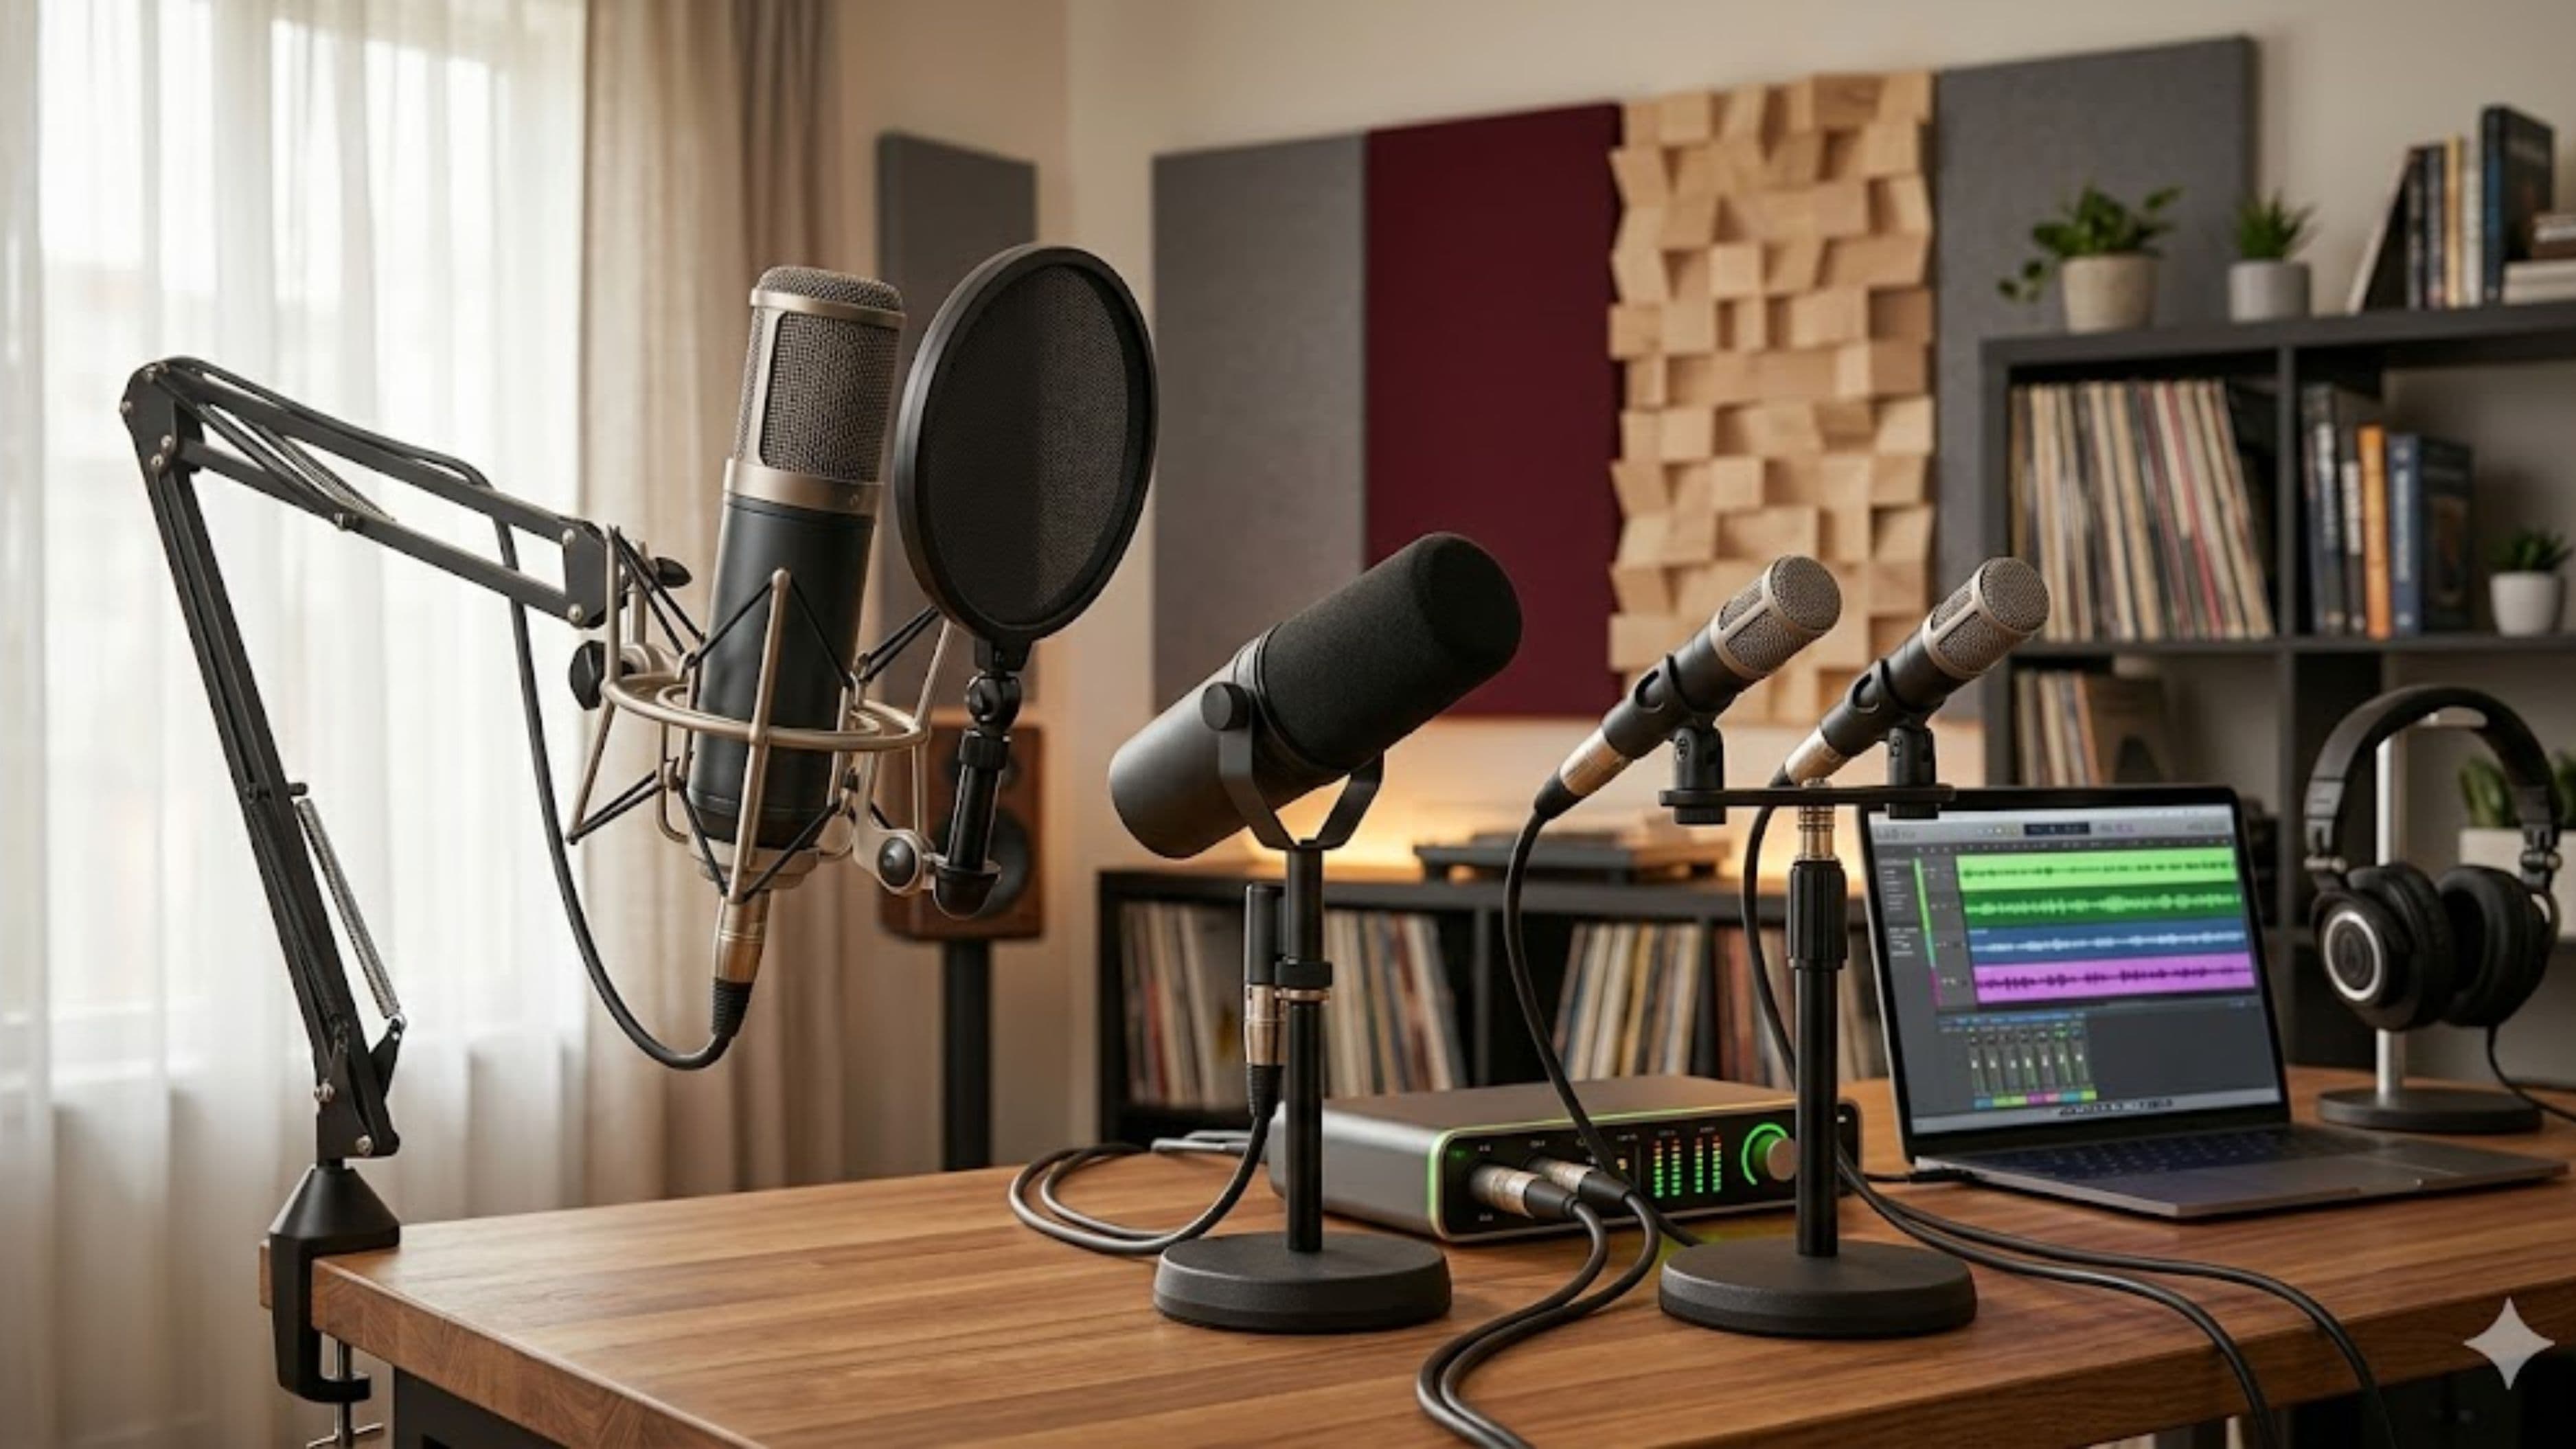
Portable acoustic solutions have become viable. Freestanding acoustic panels, portable vocal booths, and acoustic reflection filters that mount on a microphone stand have evolved from gimmicks to genuinely functional tools for creators who can't modify their space permanently. Products like the Kaotica Eyeball, the Marantz Professional MPM-2000U's included shield, or reflection filters from sE Electronics create a localized treated environment around the microphone capsule that meaningfully reduces early reflections in the recording. They're not a substitute for a fully treated room, but for vocals and voiceover work in particular, they've changed the equation for apartment dwellers and renters who have no ability to mount anything to their walls.
Software analysis tools are free and detailed. Understanding what your room is actually doing acoustically used to require professional measurement equipment and expertise. Now, free tools like Room EQ Wizard (REW) combined with a calibrated measurement microphone (available for $75–$100) give any producer a detailed picture of their room's frequency response, modal problems, and reverb characteristics. Knowing exactly what your room is doing lets you treat it strategically rather than guessing – targeting the problematic frequencies with appropriate absorption instead of covering every surface in foam and hoping for the best.
Why This Matters for Independent Artists and Producers
The practical impact of better, cheaper acoustic treatment compounds across everything you do in a recording space. Cleaner recordings mean less time cleaning up tracks in post, less reliance on corrective processing, and better results when the track reaches a mastering engineer. Listeners can tell the difference between a recording made in a properly treated room and one made in an untreated bedroom, even if they couldn't articulate exactly why – the former sits in a mix cleanly, the latter fights for space with its own room noise.
For independent artists self-producing releases, the room is often the limiting factor that better equipment alone can't fix. Upgrading from a $200 microphone to a $500 one in an untreated room often produces a marginal improvement. The same $300 spent on proper acoustic treatment frequently produces a more significant change in recording quality than any equipment upgrade would.
Podcasters and content creators benefit in the same way. Dialogue recorded in a treated space requires dramatically less noise reduction processing, which is one of the more audibly destructive tools in audio post-production. Reducing the need for heavy noise reduction keeps voices sounding natural and professional.
What to Prioritize if You're Starting From Scratch
If you're treating a room for the first time, the order of priorities matters. Bass treatment comes first – low-frequency buildup in corners is the most problematic acoustic issue in small rooms and the hardest to fix with surface-level treatment. Thick broadband absorbers or bass traps placed in floor-to-ceiling corners address this. DIY builds with thick Rockwool are the most cost-effective approach here.
First reflection points come second. These are the surfaces directly to the left, right, above, and in front of your listening position where early reflections from your monitors arrive. Treating these specific points with absorptive material makes the biggest difference in monitoring accuracy and is where acoustic foam or DIY panels at a standard 2-inch depth are most useful.
Diffusion comes later, once the room isn't overly dead. Diffusers scatter sound rather than absorbing it and help maintain a sense of liveness without the harsh reflections of a bare wall. They're a refinement rather than a foundation, and most home studios don't need them until the basic absorption is handled.
What to Watch Out For
Over-treating a room is a real problem that's worth flagging. A room covered entirely in absorption – especially high-frequency-biased foam – sounds artificially dead, which makes mixing decisions harder, not easier. You want a room that's controlled, not anechoic. Balance matters.
Cheap thin foam without verified acoustic ratings is often money wasted. Panels that are too thin to absorb mid-bass frequencies don't address the root problem in most rooms, and their performance claims often aren't backed by measurement data. Spending a bit more for panels with published NRC ratings, or going DIY with Rockwool, produces genuinely different results.
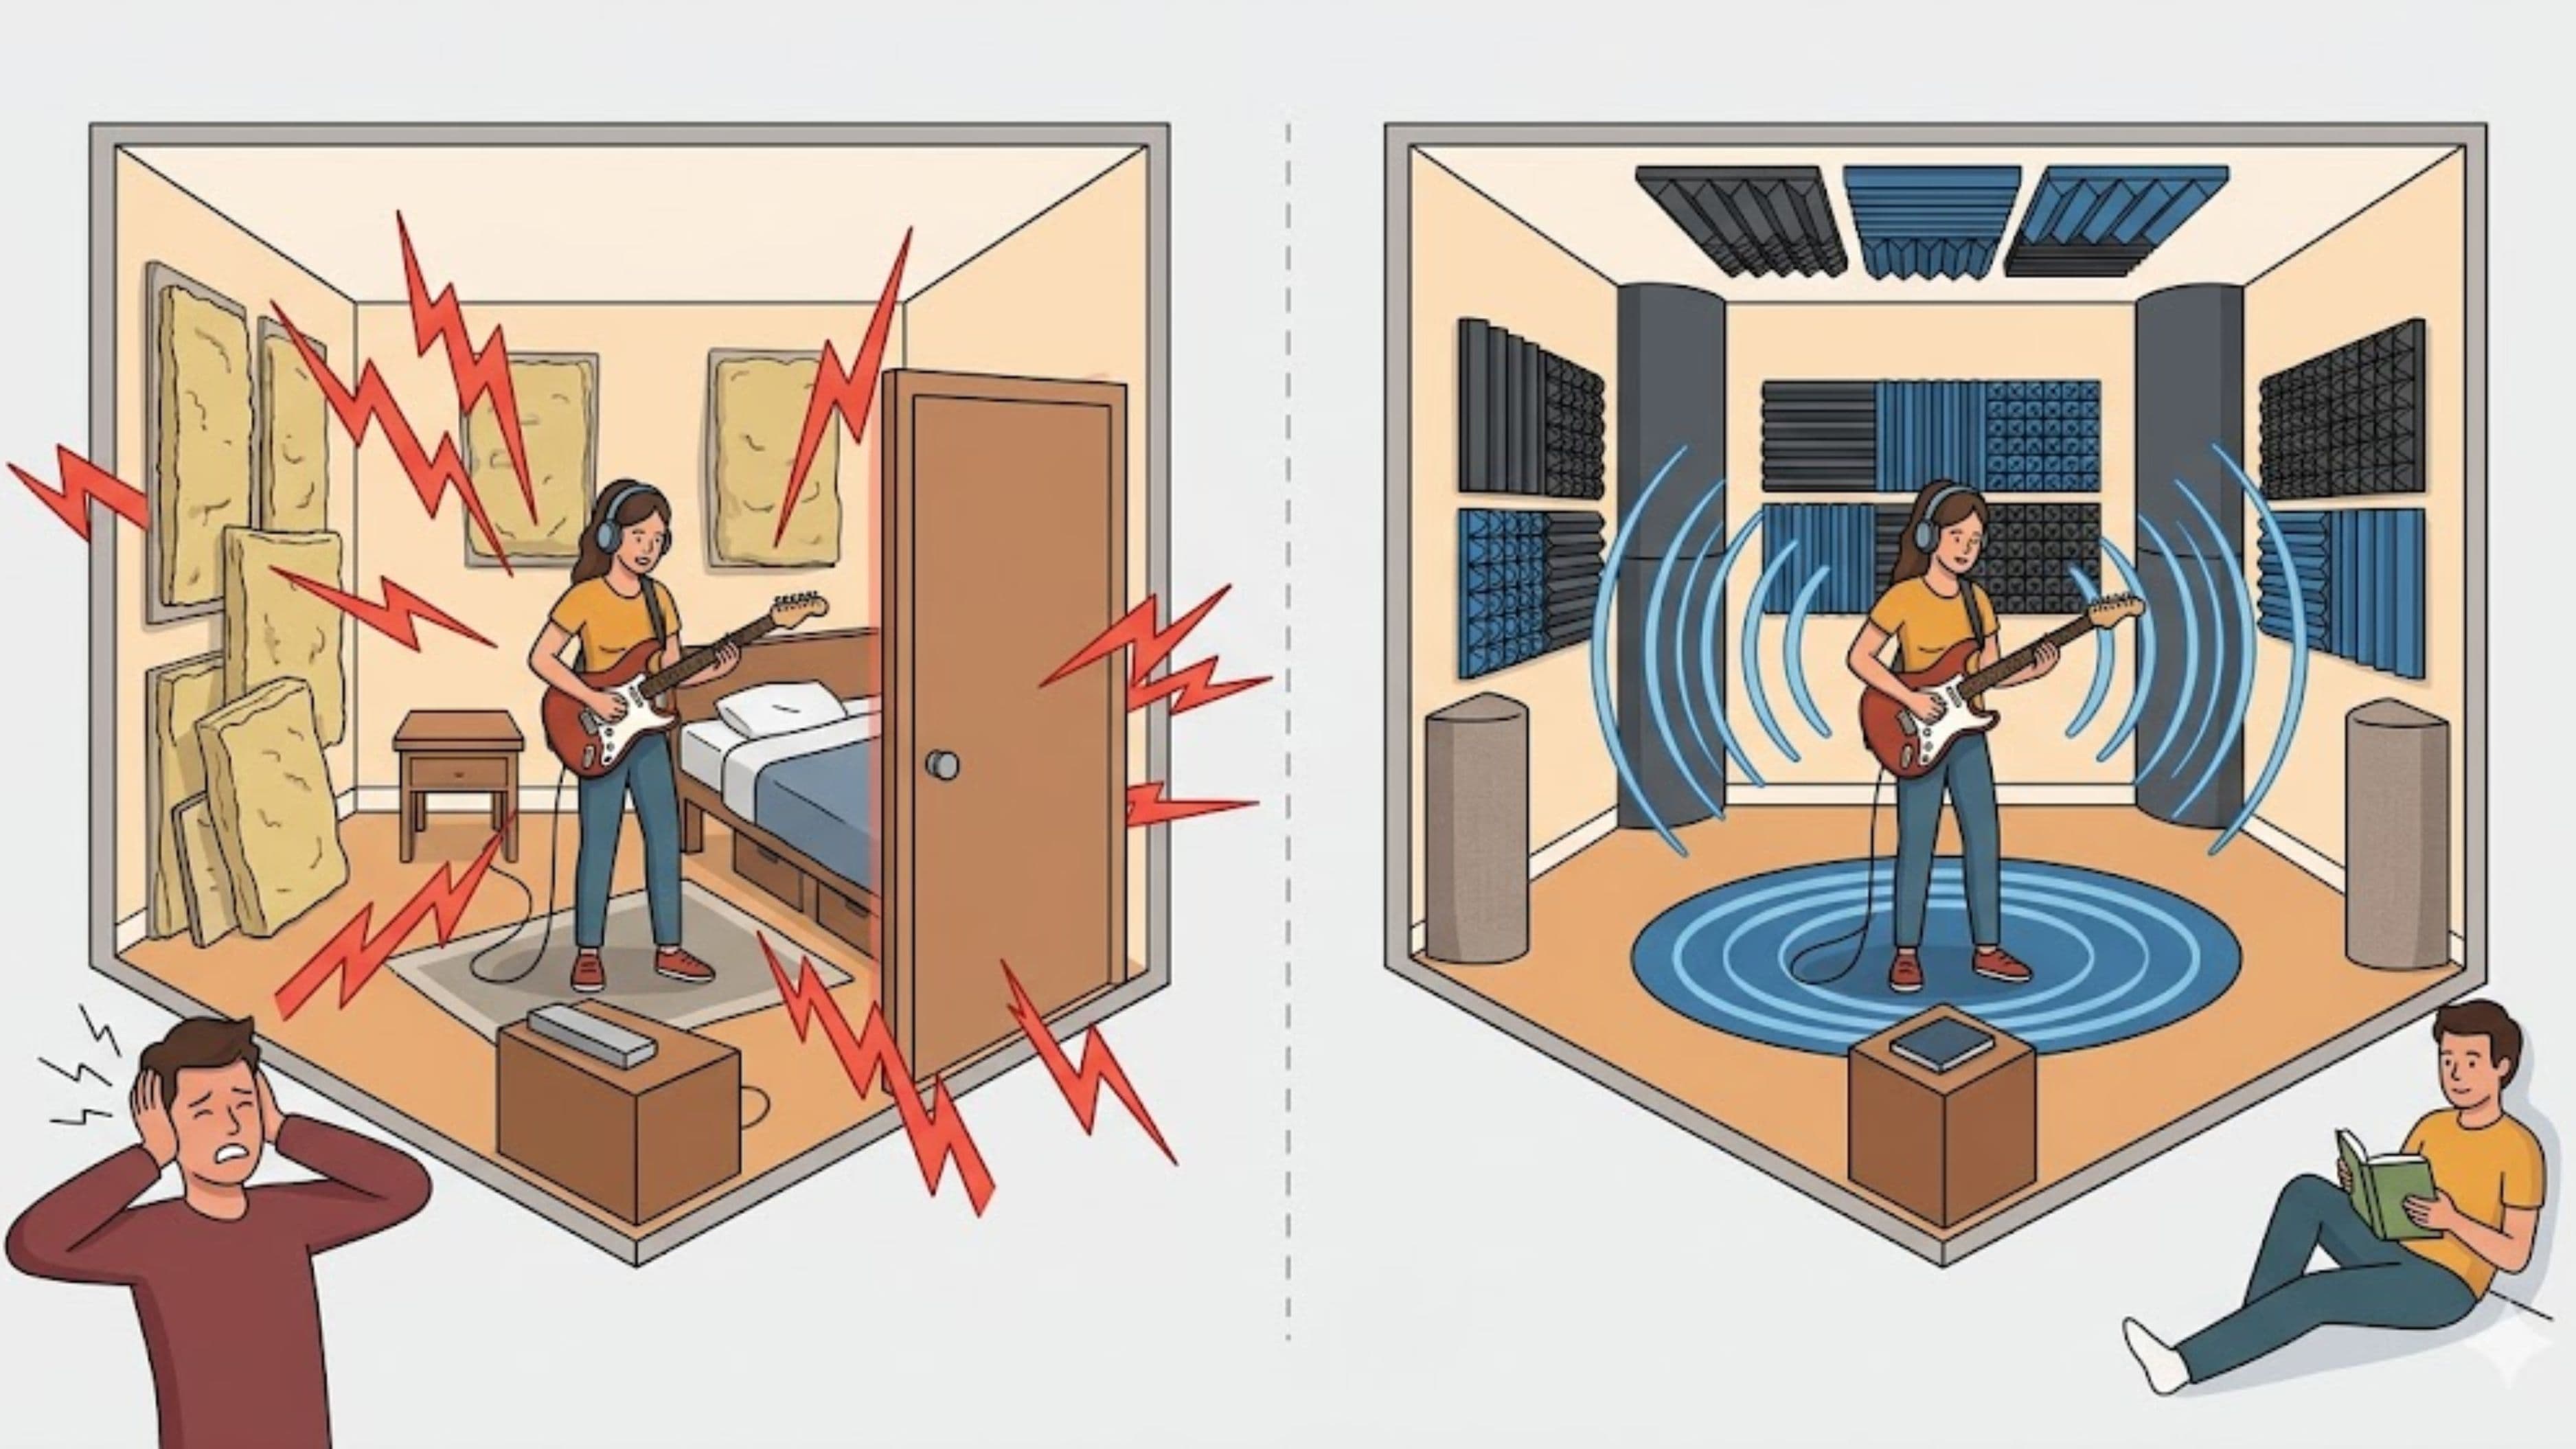
Soundproofing and acoustic treatment are different things, and conflating them leads to misaligned expectations. Acoustic treatment controls what sound does inside your room. Soundproofing controls whether sound travels between your room and adjacent spaces. Most creators need acoustic treatment far more than soundproofing, but the products are often marketed interchangeably. Understand which problem you're solving before spending money.
FAQ
How much should I expect to spend to meaningfully treat a small home studio? A genuinely functional treatment for a standard bedroom-sized space is achievable for $200–$500 using a combination of DIY panels built from Rockwool and commercial products for specific applications. This gets you bass traps in corners, treatment at first reflection points, and enough absorption to record vocals and mix with reasonable confidence. A fully professional treatment level costs more, but the quality jump from untreated to modestly treated is larger than the jump from modestly treated to fully treated.
Do acoustic panels actually block sound from leaving the room? No – standard acoustic panels treat the room's internal sound characteristics; they don't block transmission to adjacent rooms. Blocking sound from escaping or entering a room requires mass and decoupling – mass-loaded vinyl, additional drywall layers, and structural isolation – which is a different (and more involved) category of project.
Is a vocal booth worth it for a home setup? A purpose-built or converted vocal booth can produce very clean, dry recordings, but poorly built ones create their own problems – they often become bass-heavy boxes that need significant treatment of their own. A well-treated open room frequently outperforms a small untreated booth. If space and budget allow a properly treated dedicated booth, it's excellent. If not, treating the room itself is the better investment.
What's the single most effective change a home producer can make for acoustic quality? Corner bass traps, consistently. Most small rooms have significant low-frequency buildup in corners that affects every mixing decision you make. Thick broadband absorbers placed floor-to-ceiling in corners address the most common and most impactful acoustic problem in home studios before any other treatment.
How do I know if my room needs treatment? Clap your hands once sharply in the middle of the room and listen carefully. A metallic ringing decay – sometimes called flutter echo – means your parallel surfaces are reflecting sound and the room needs treatment. A more diffuse, short decay indicates better natural characteristics. A free measurement with Room EQ Wizard and a calibrated mic gives you objective data on exactly what's happening across the frequency range.
📚 Sources
Acoustical Society of America – Room Acoustics Fundamentals: https://acousticalsociety.org/room-acoustics/
Room EQ Wizard – Free Acoustic Measurement Software: https://www.roomeqwizard.com/
Gearslutz (Gearspace) – Studio Building, Acoustics and Isolation Forum: https://gearspace.com/board/studio-building-acoustics-and-isolation/
Ethan Winer – The Acoustics of Small Rooms (AES Paper): https://ethanwiner.com/acoustics.html
Recording Magazine – DIY Acoustic Treatment Guide: https://www.recordingmag.com/resources/resourceDetail/366.html
Sound On Sound – Home Studio Acoustics Explained: https://www.soundonsound.com/techniques/acoustics-home-studio