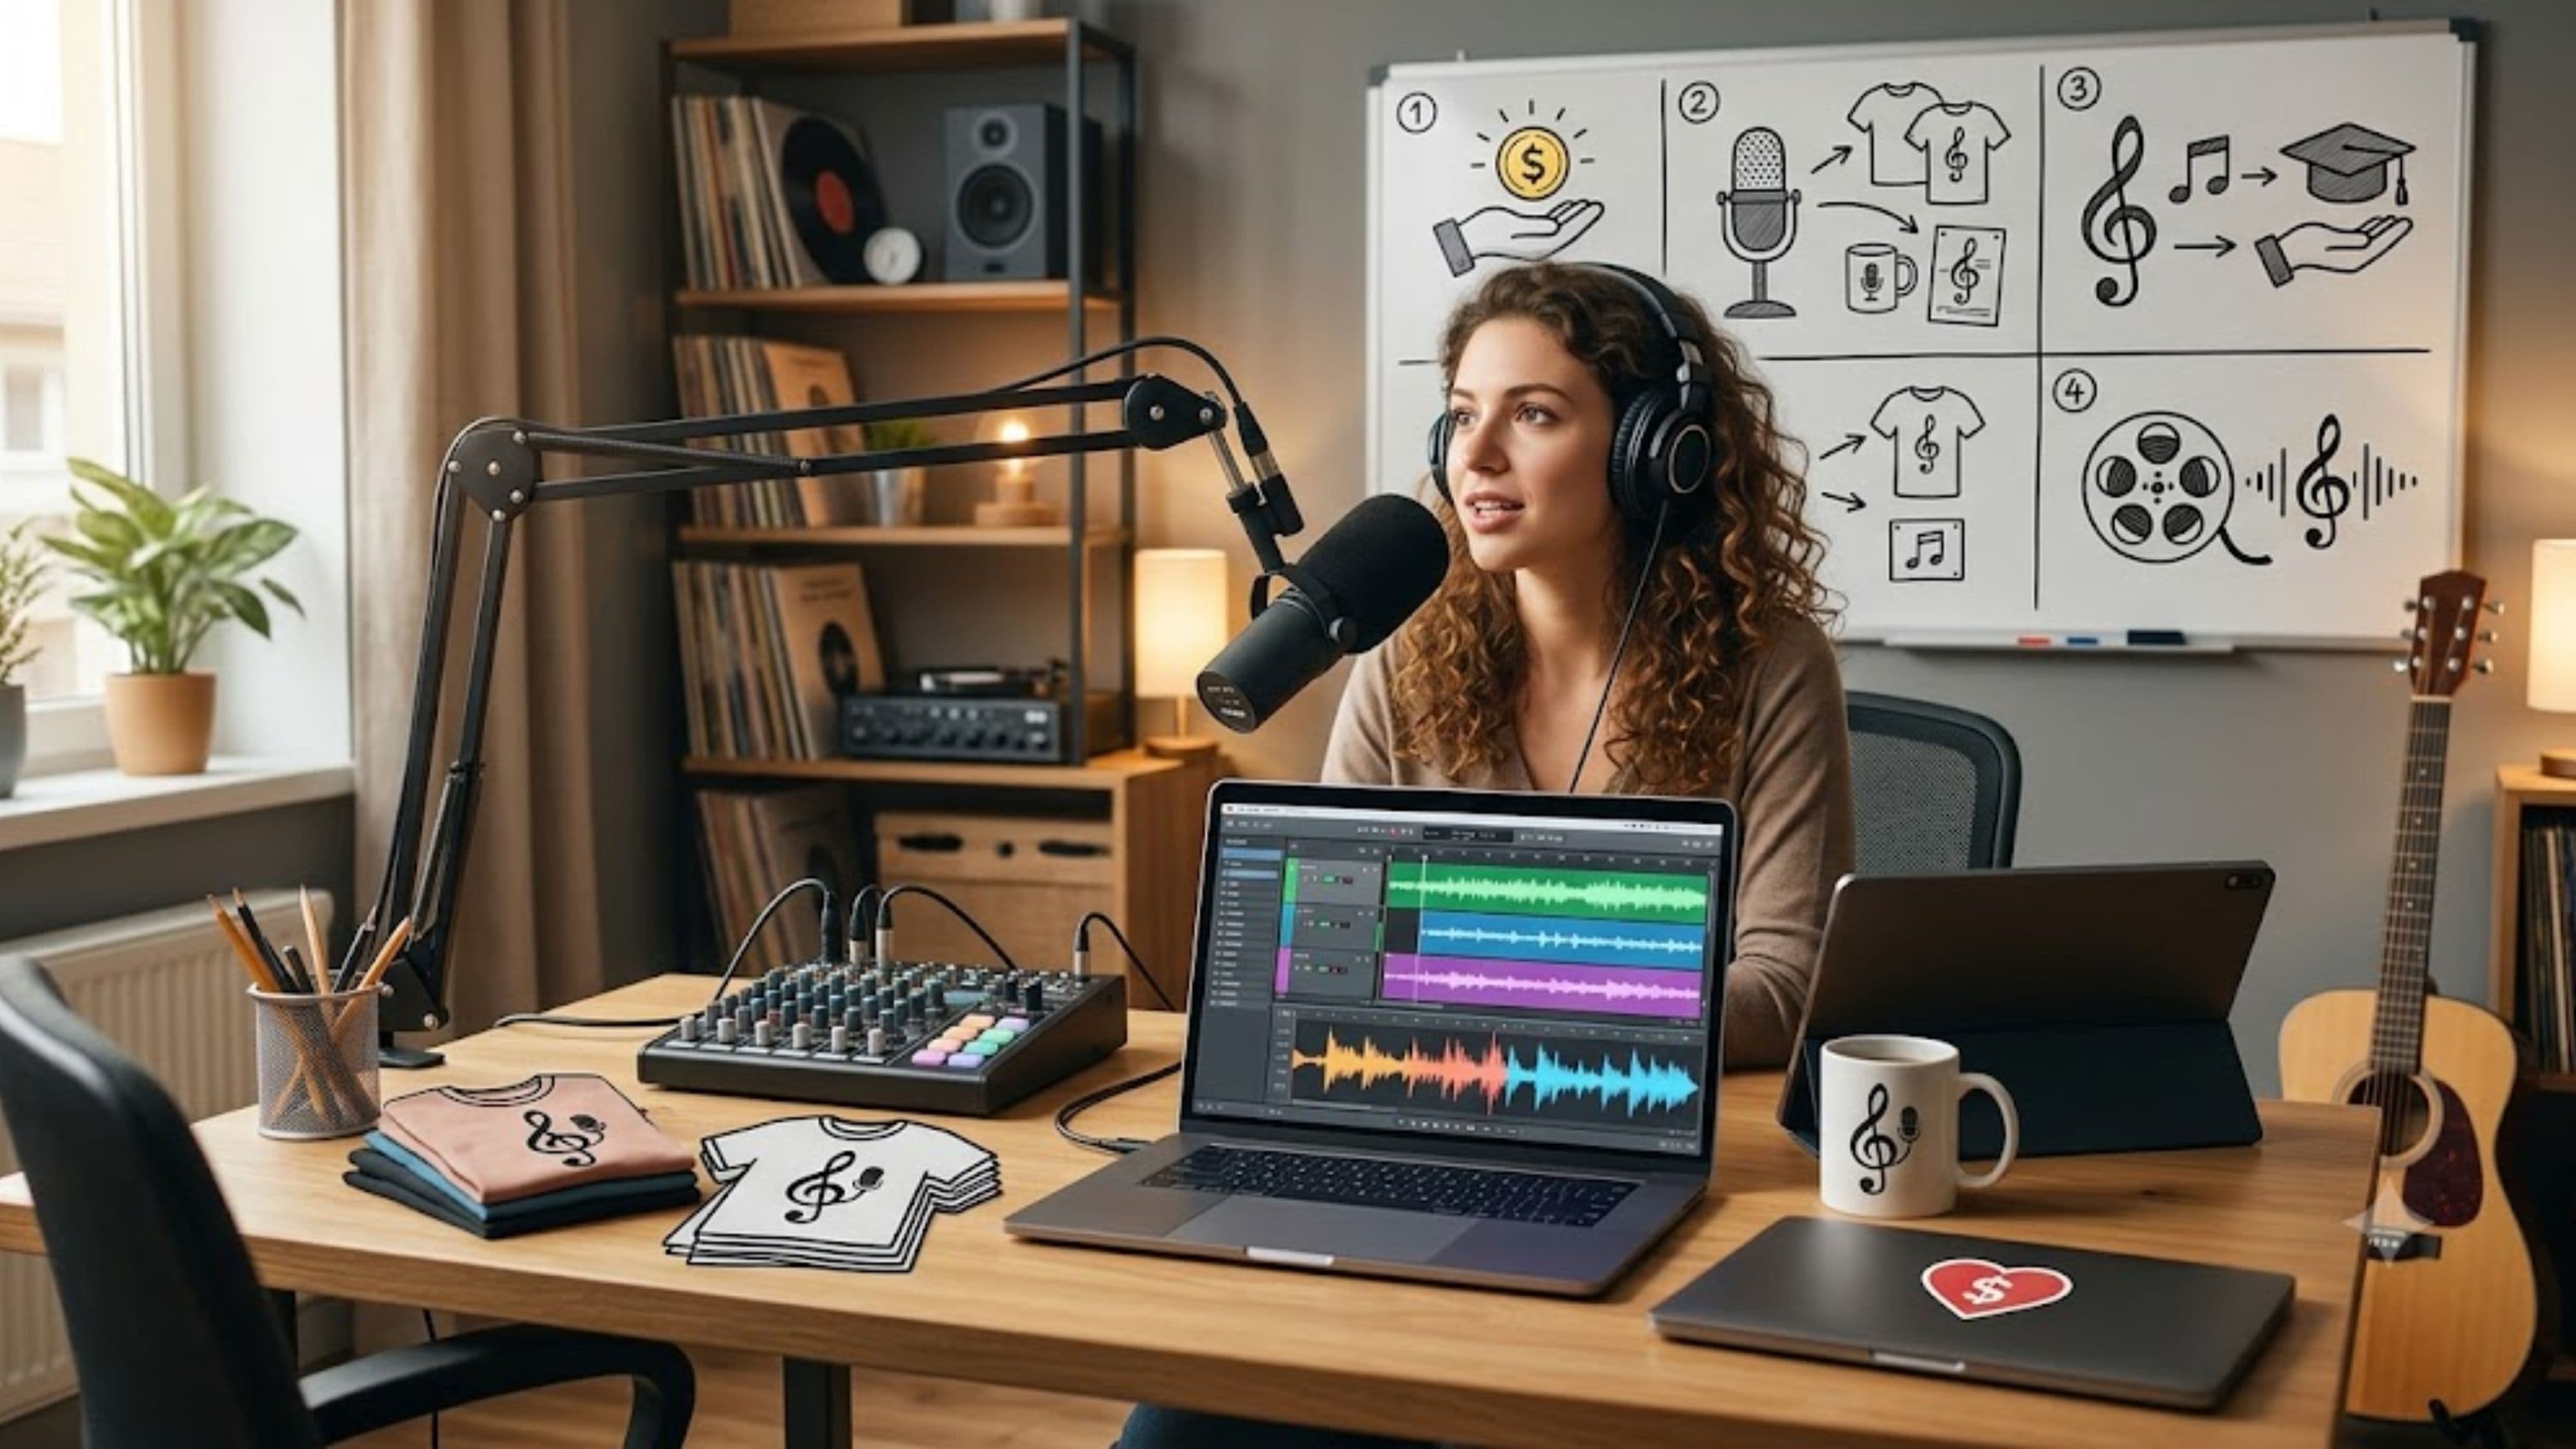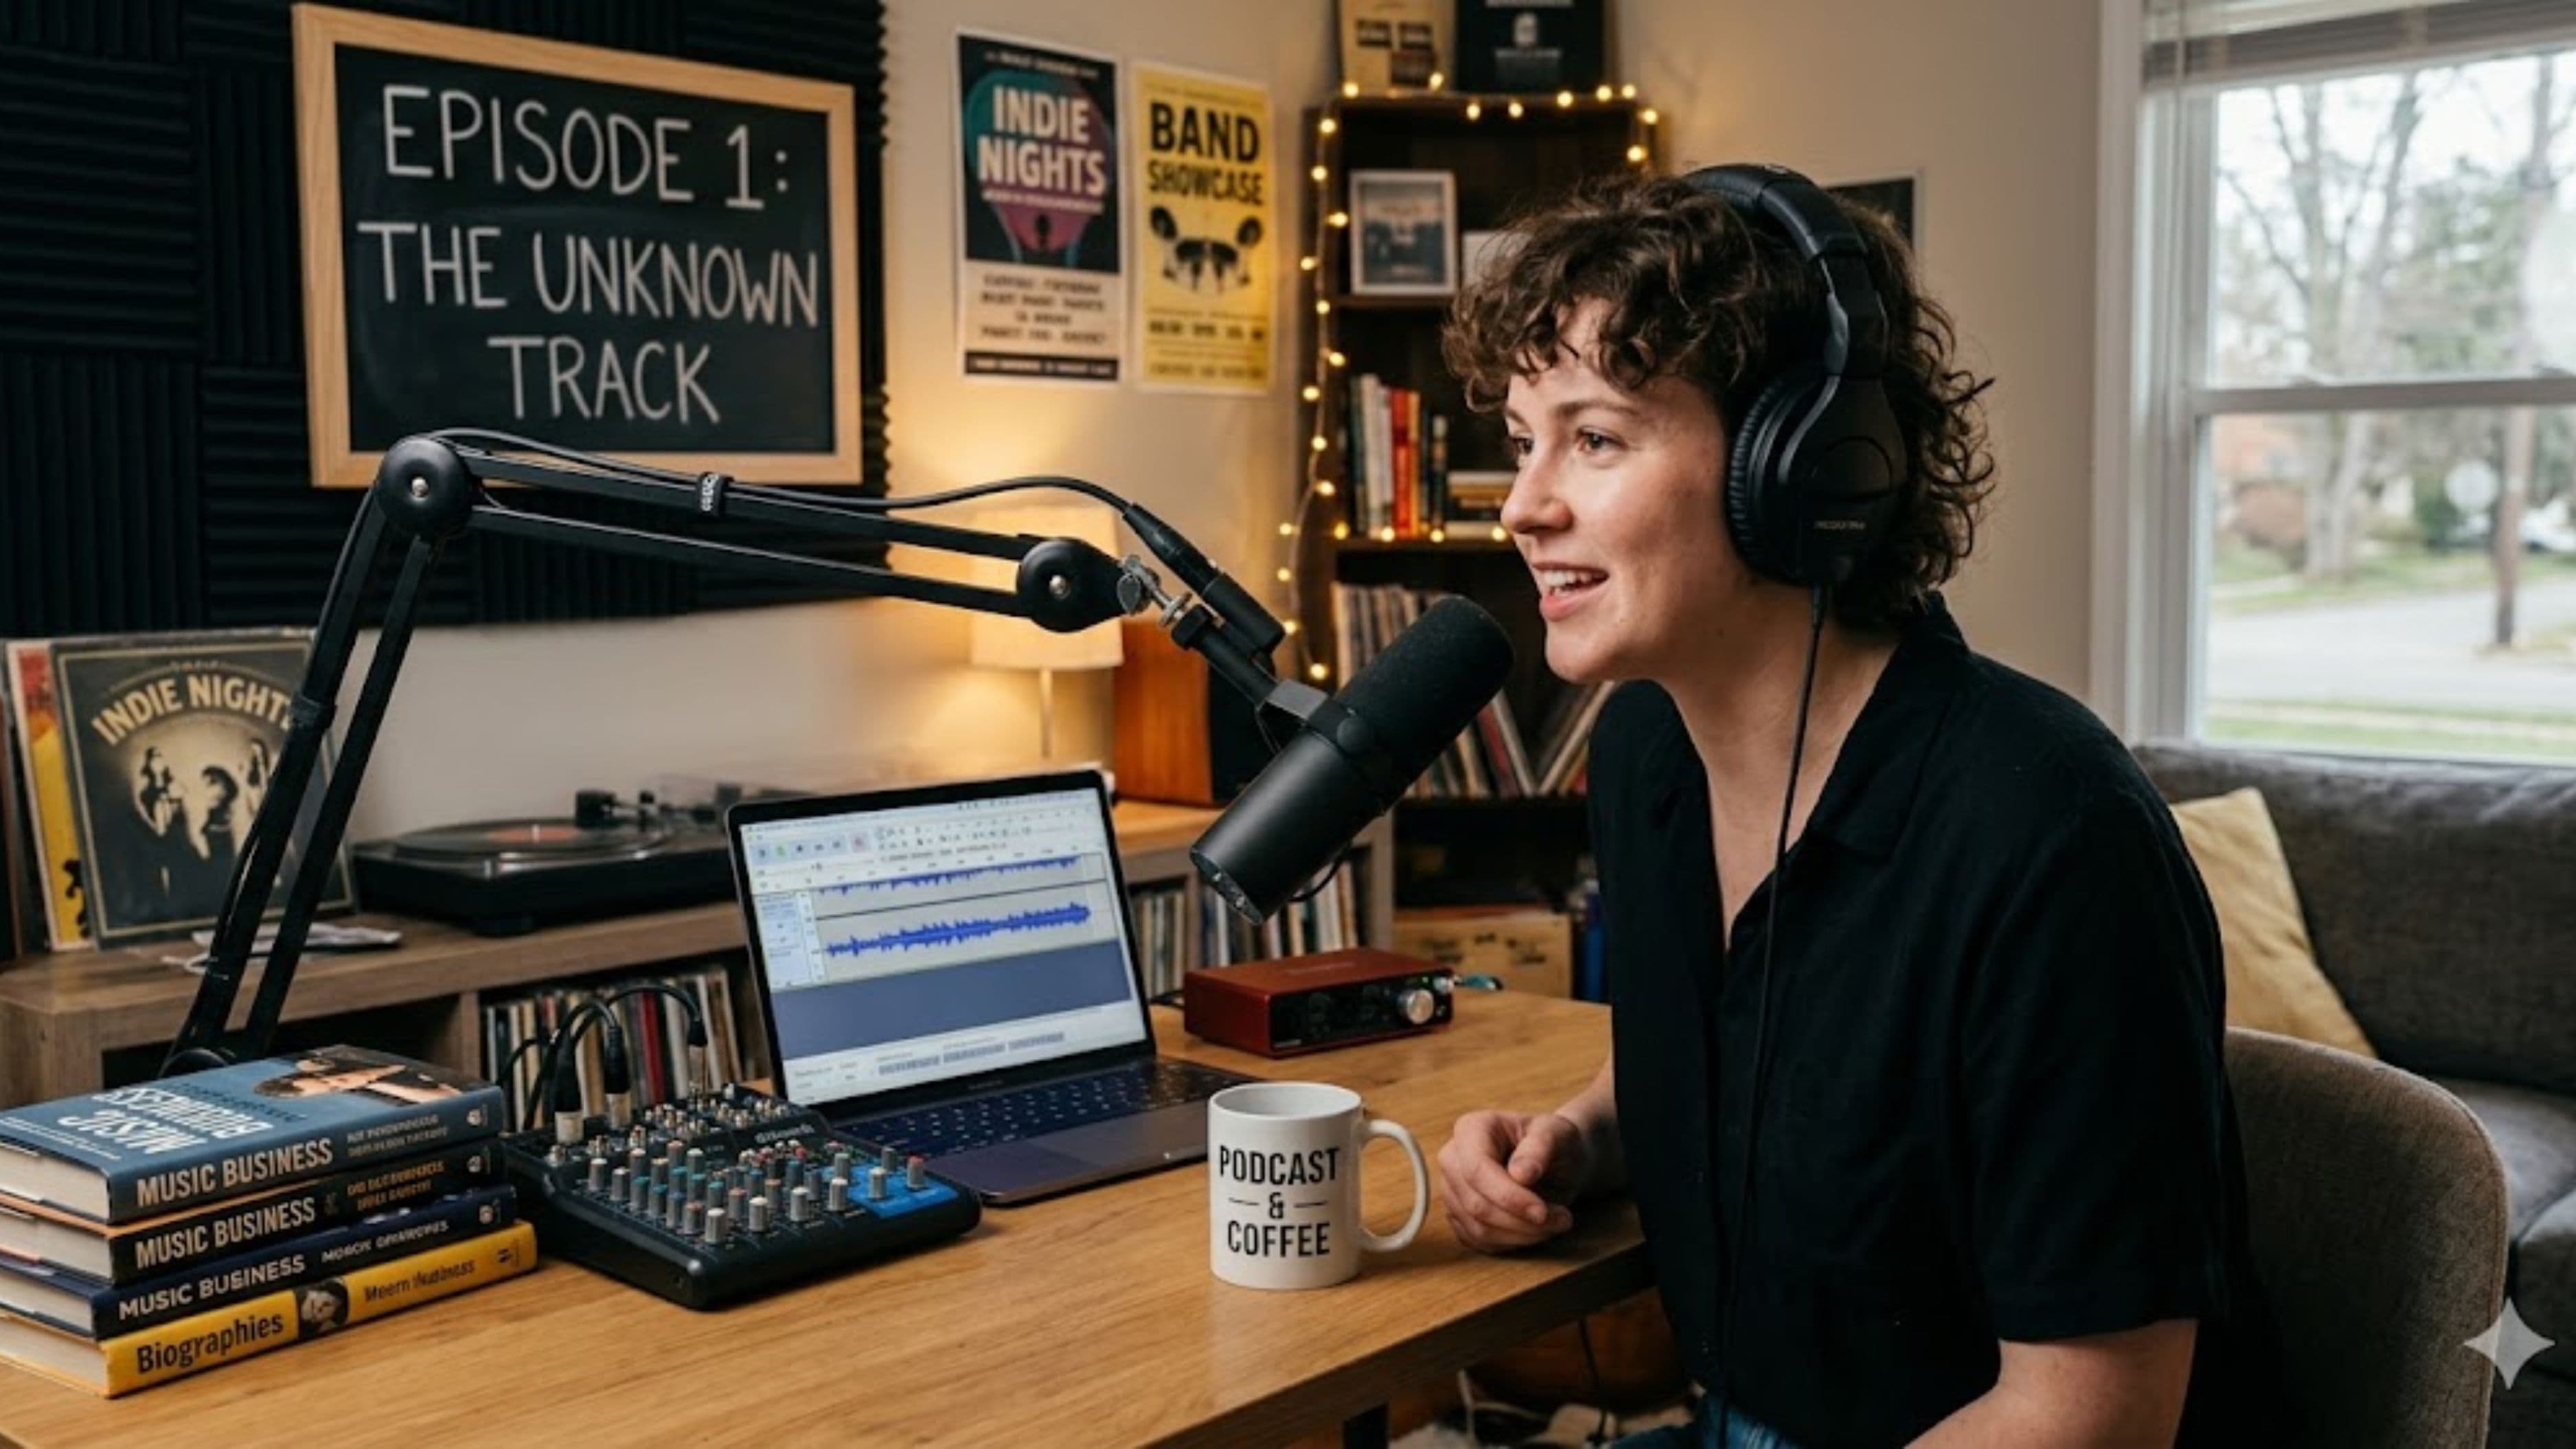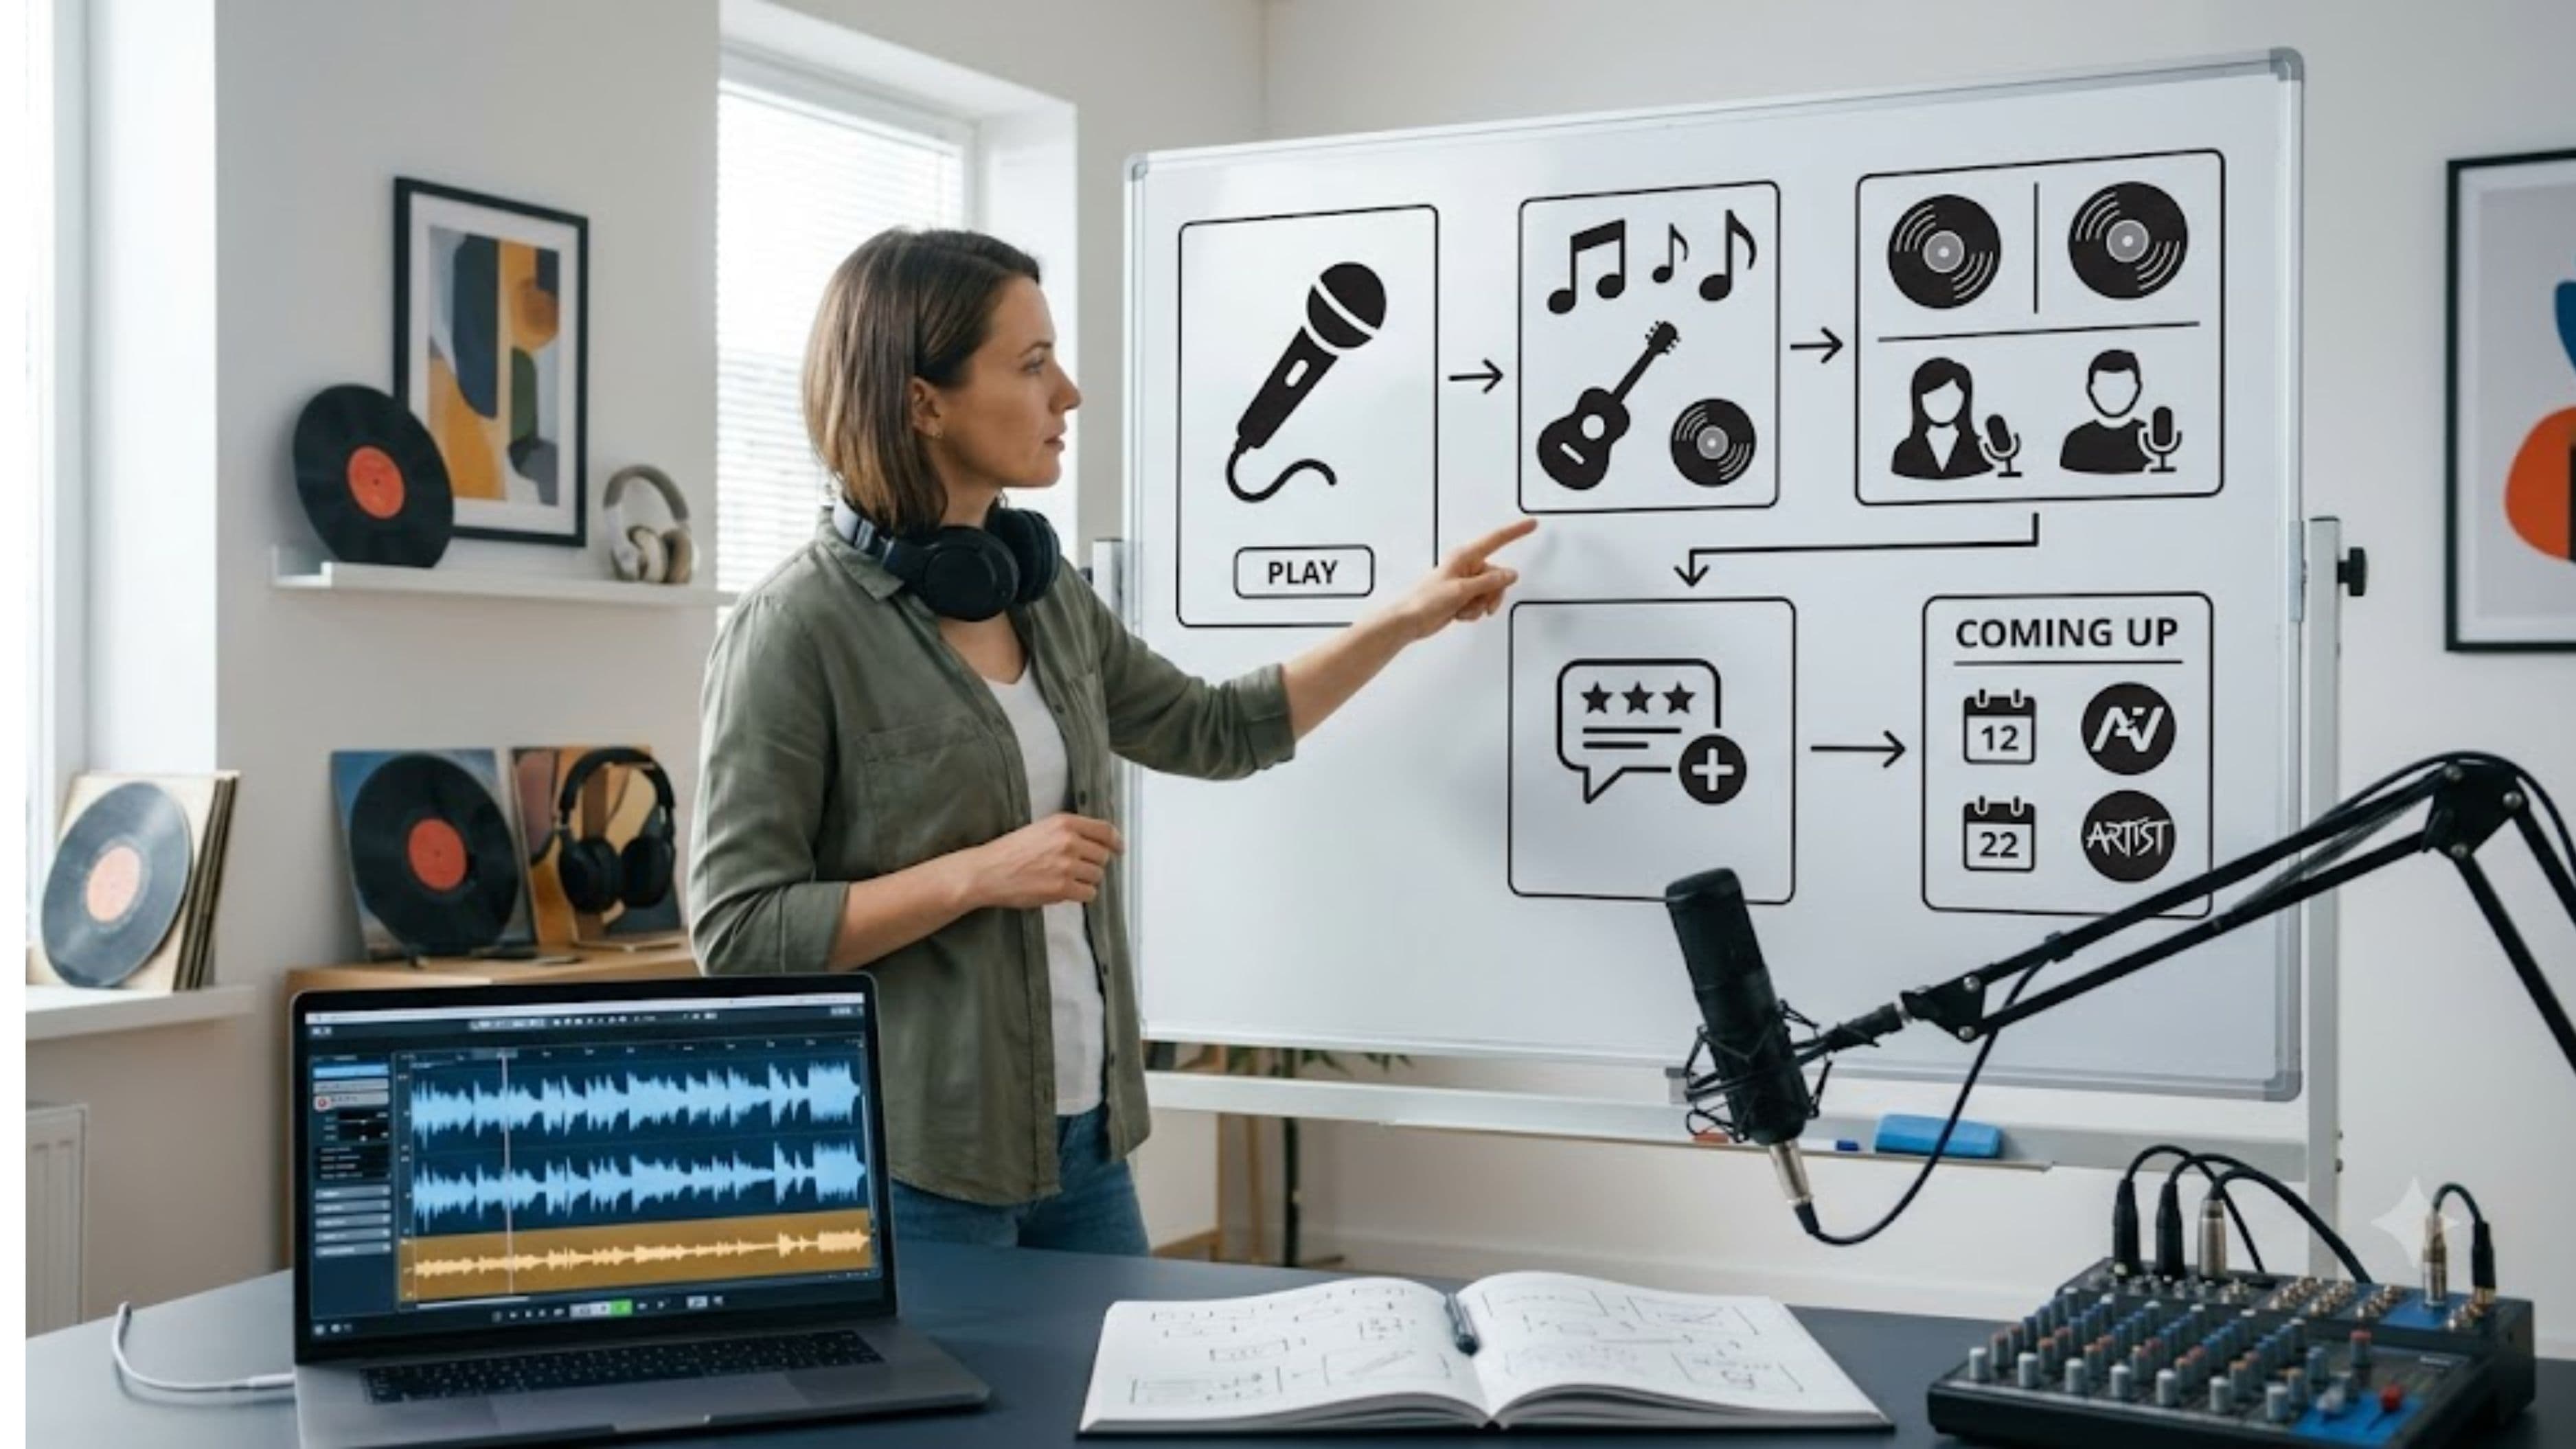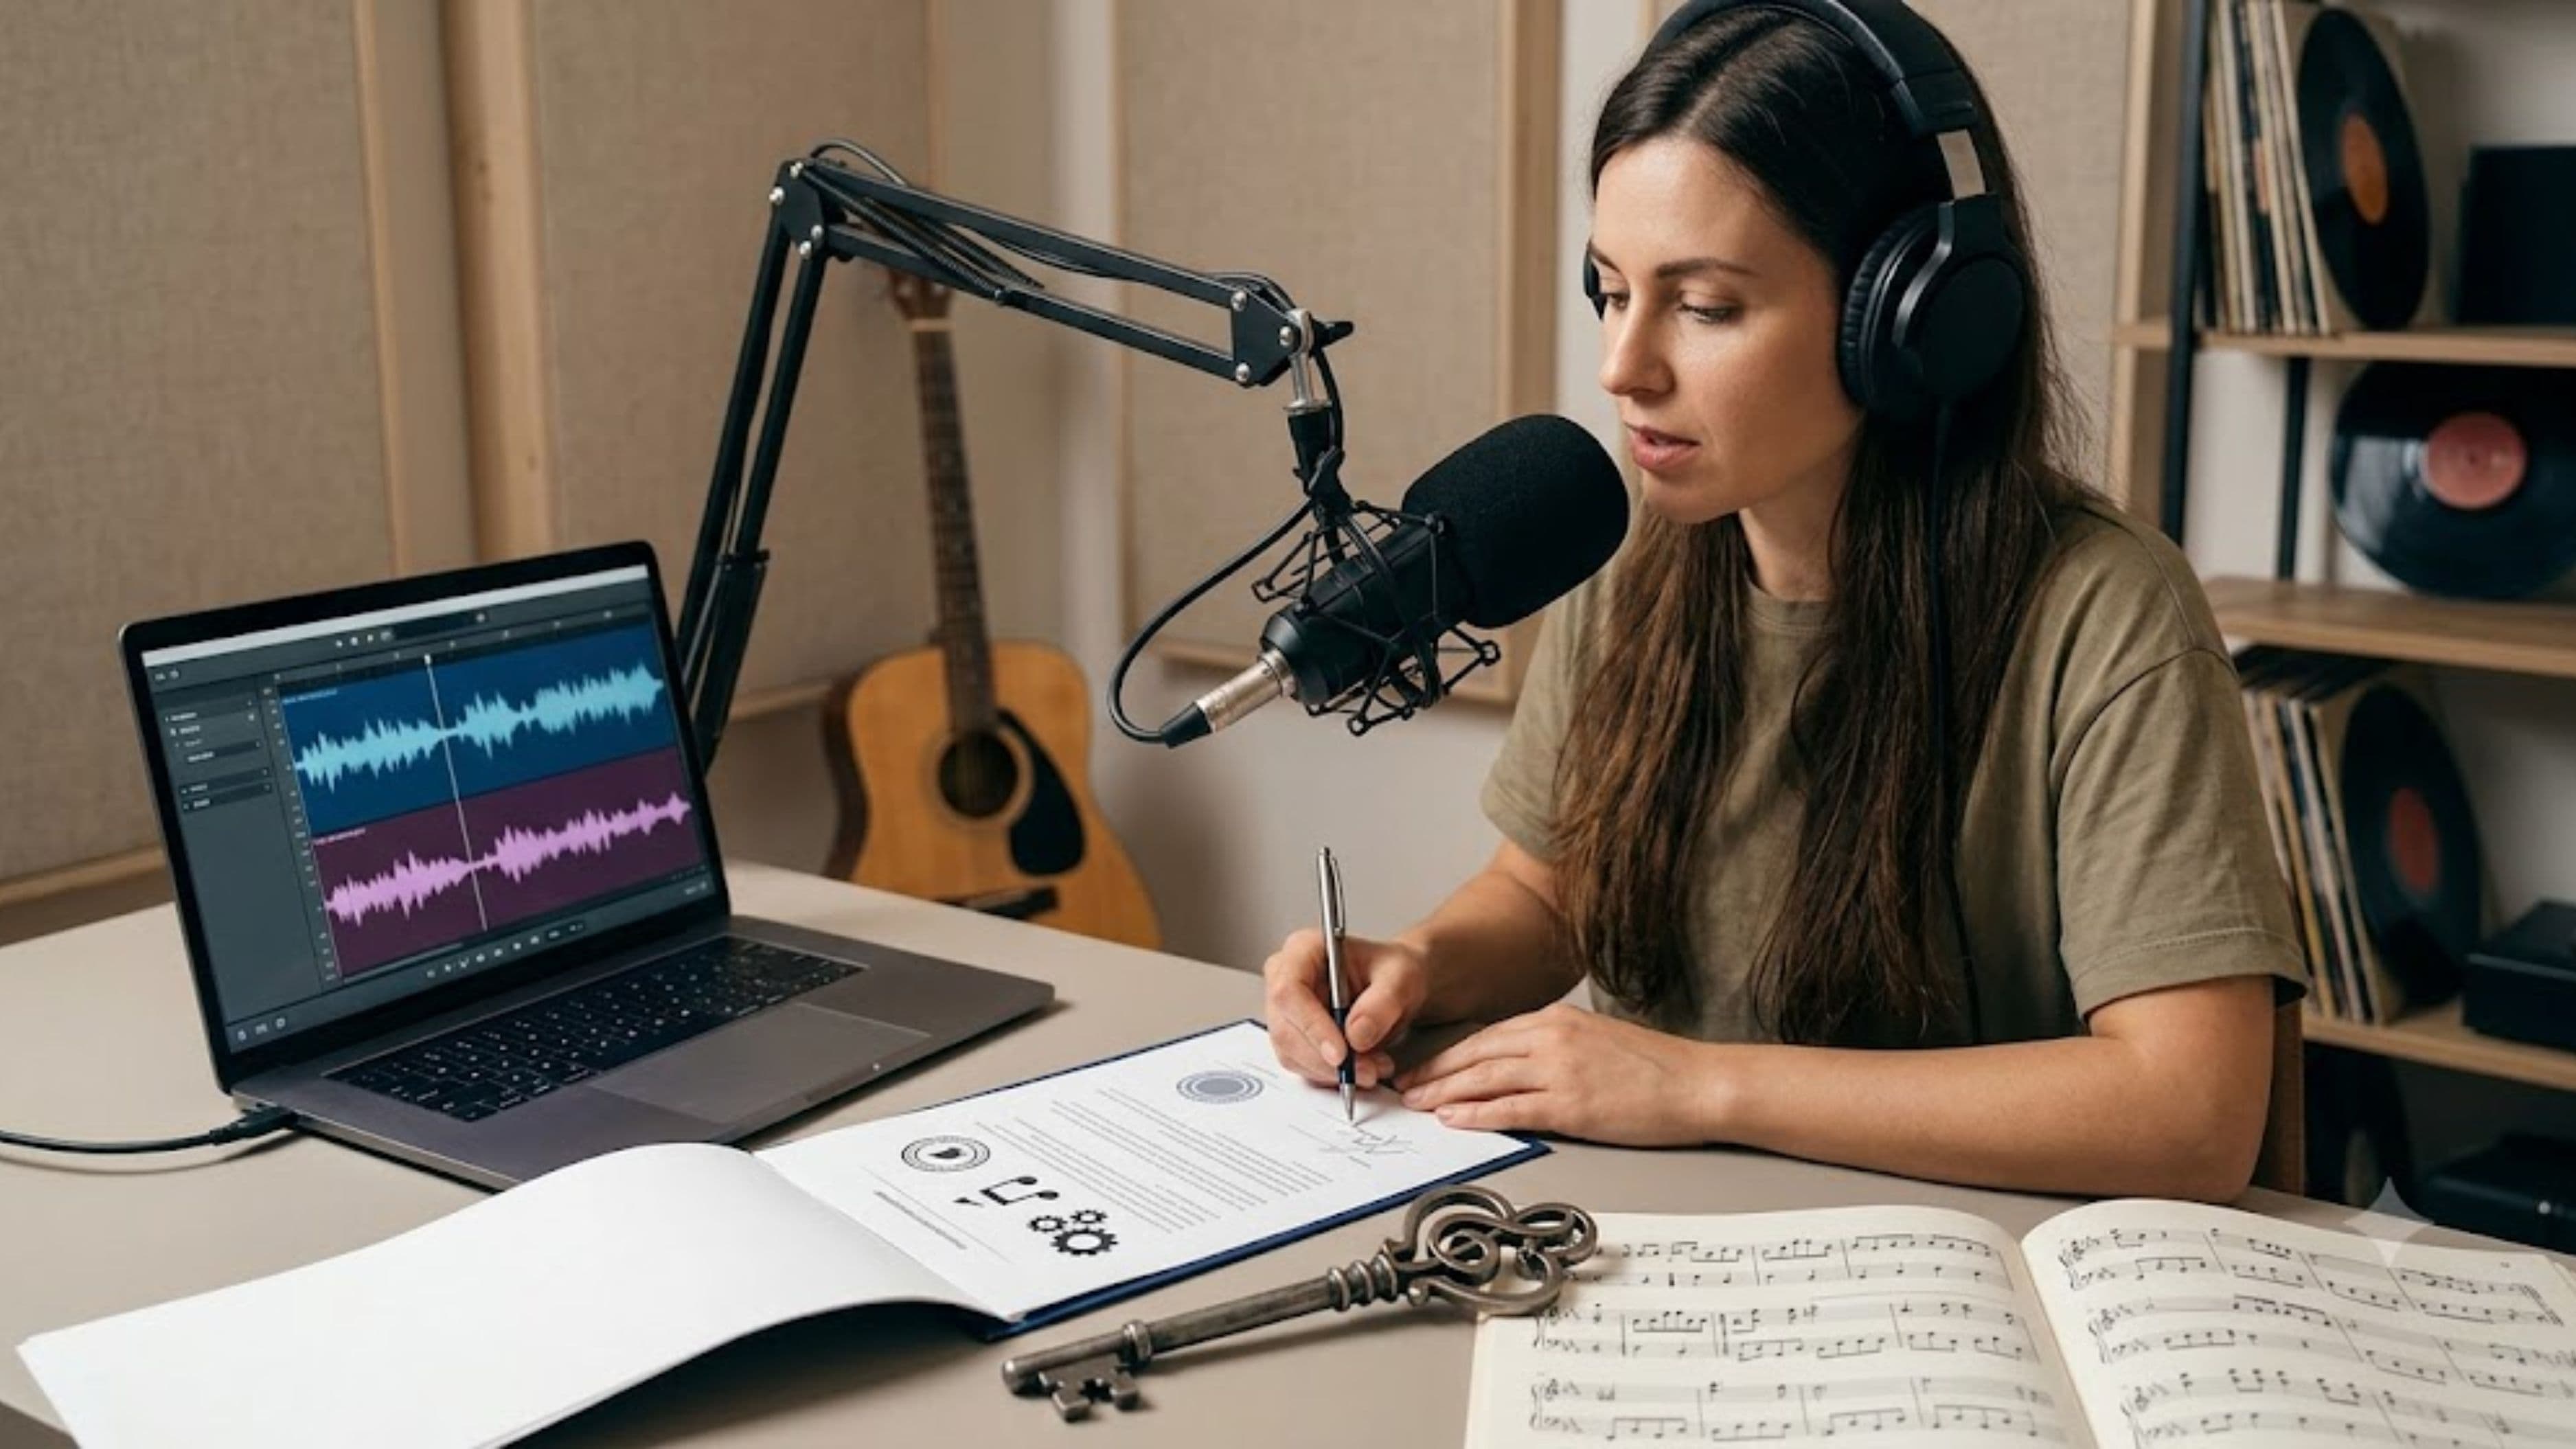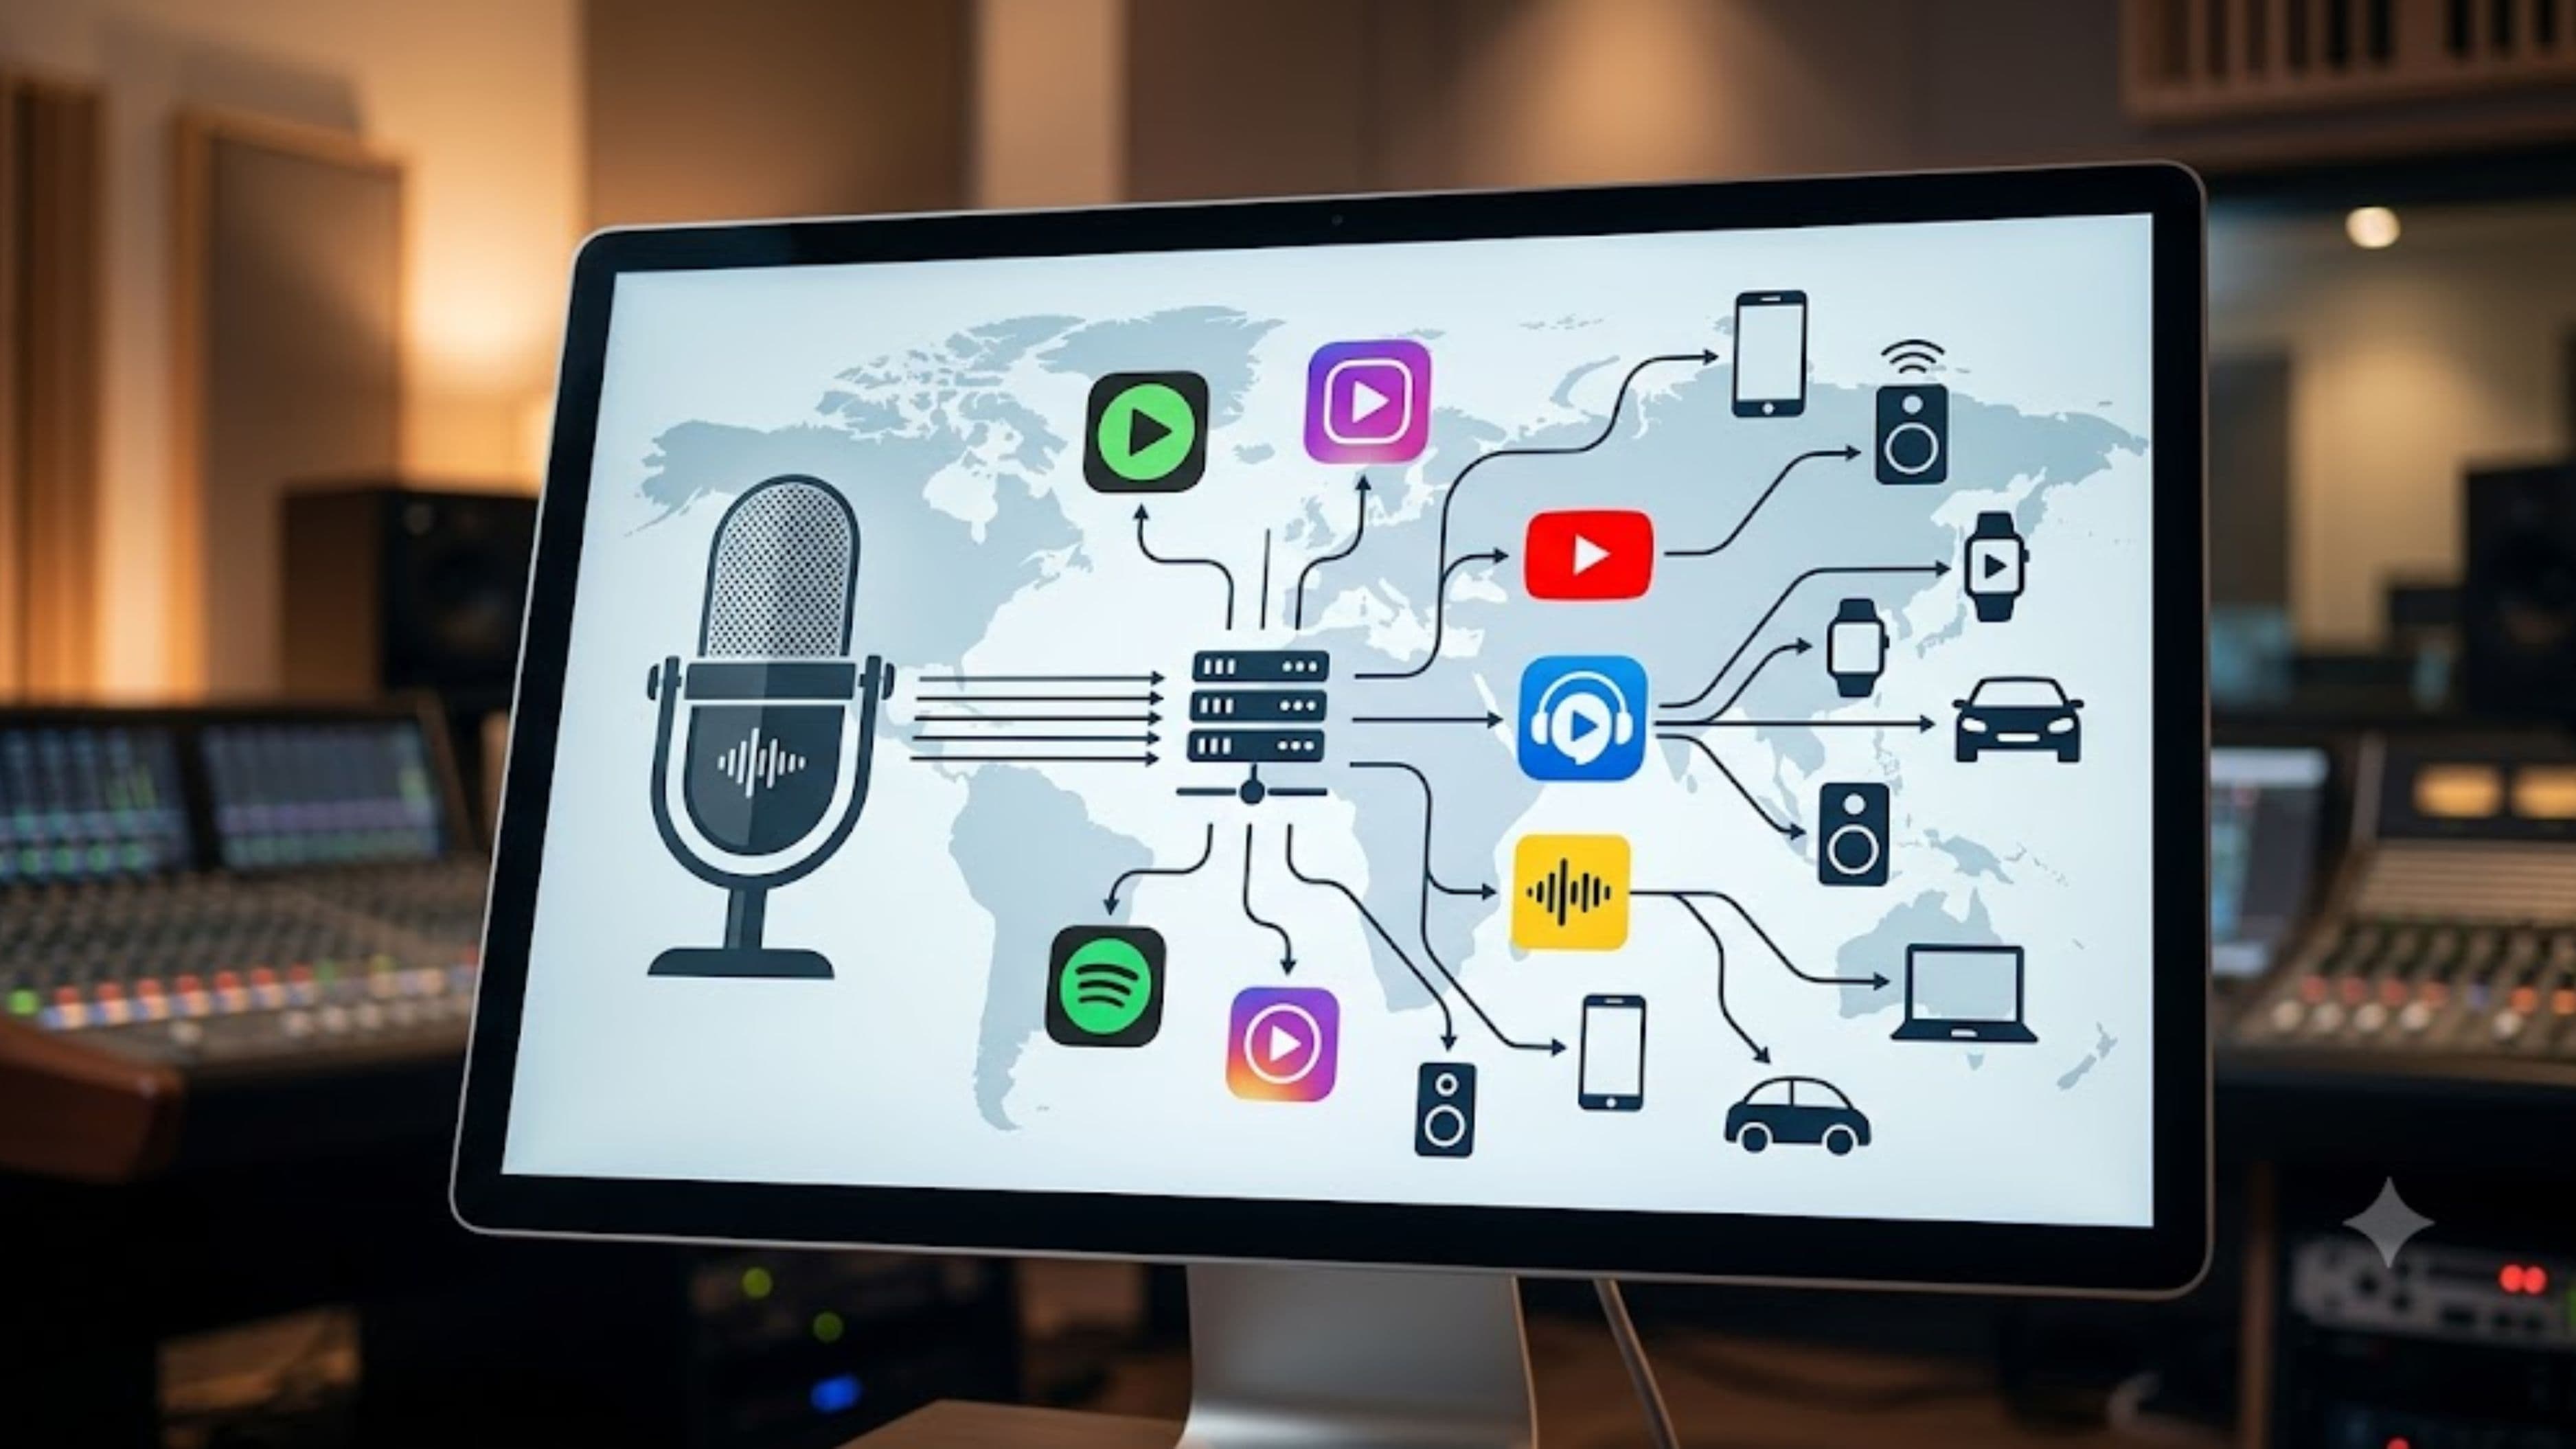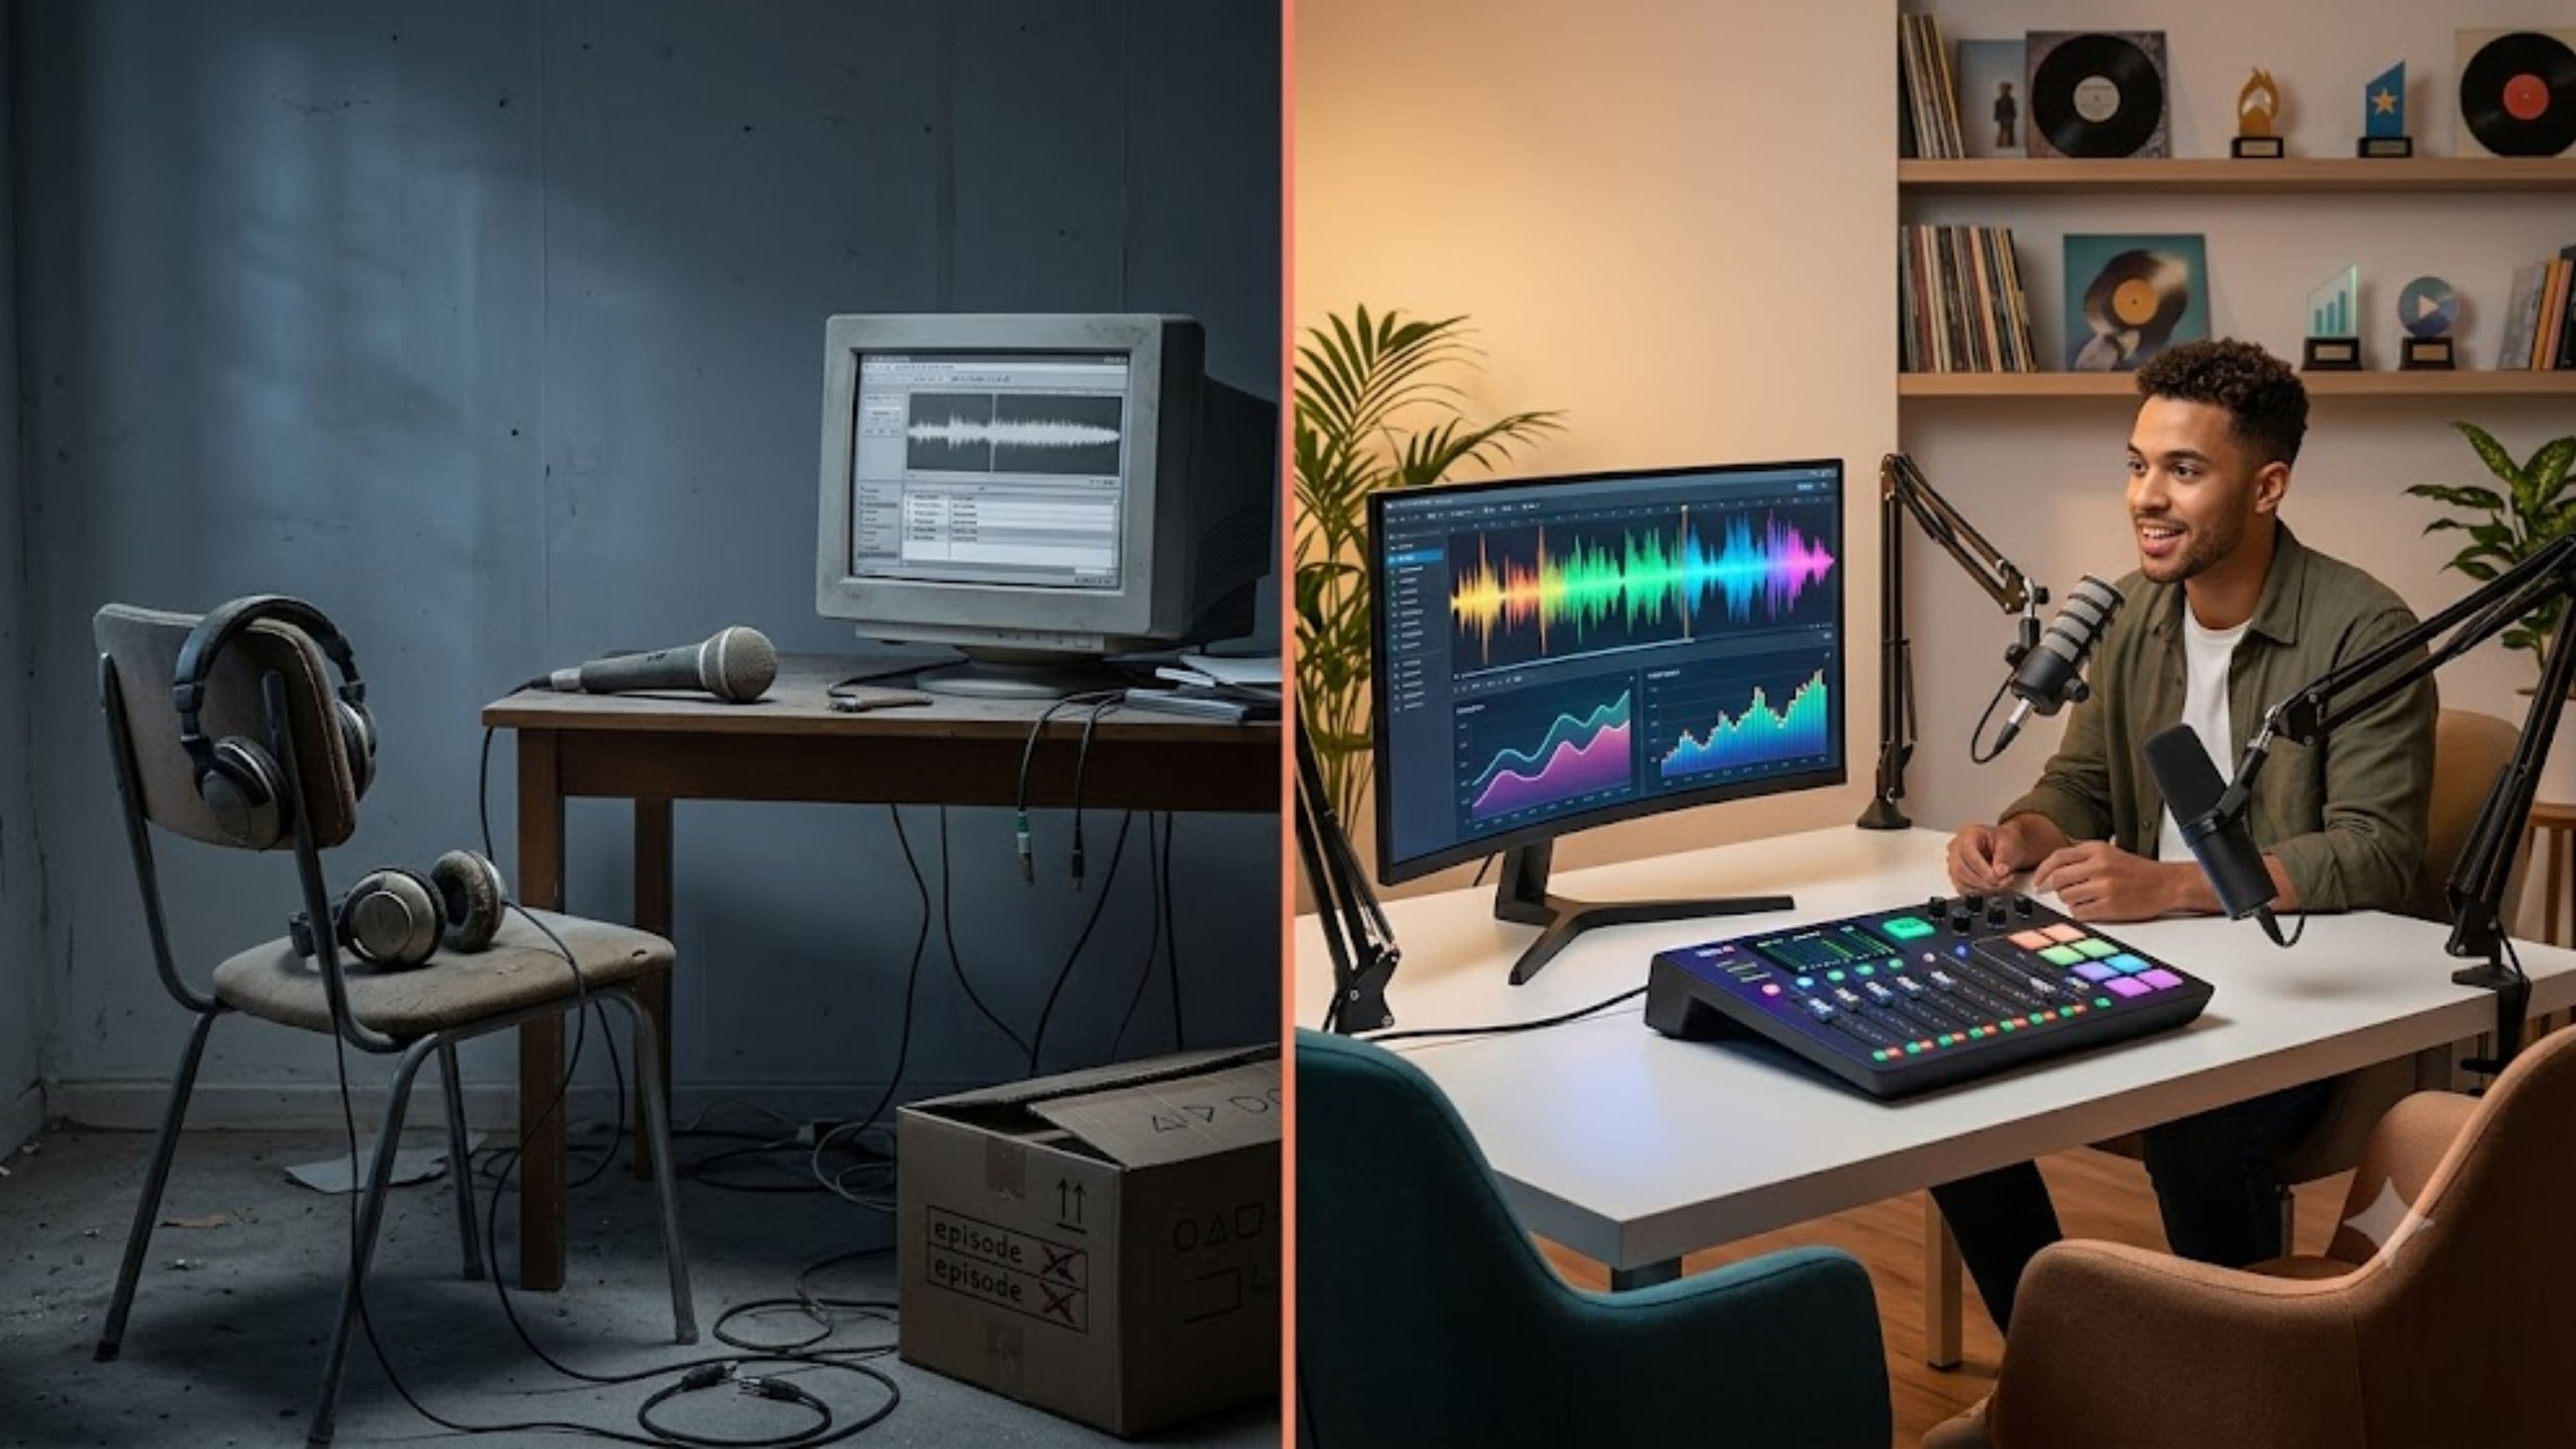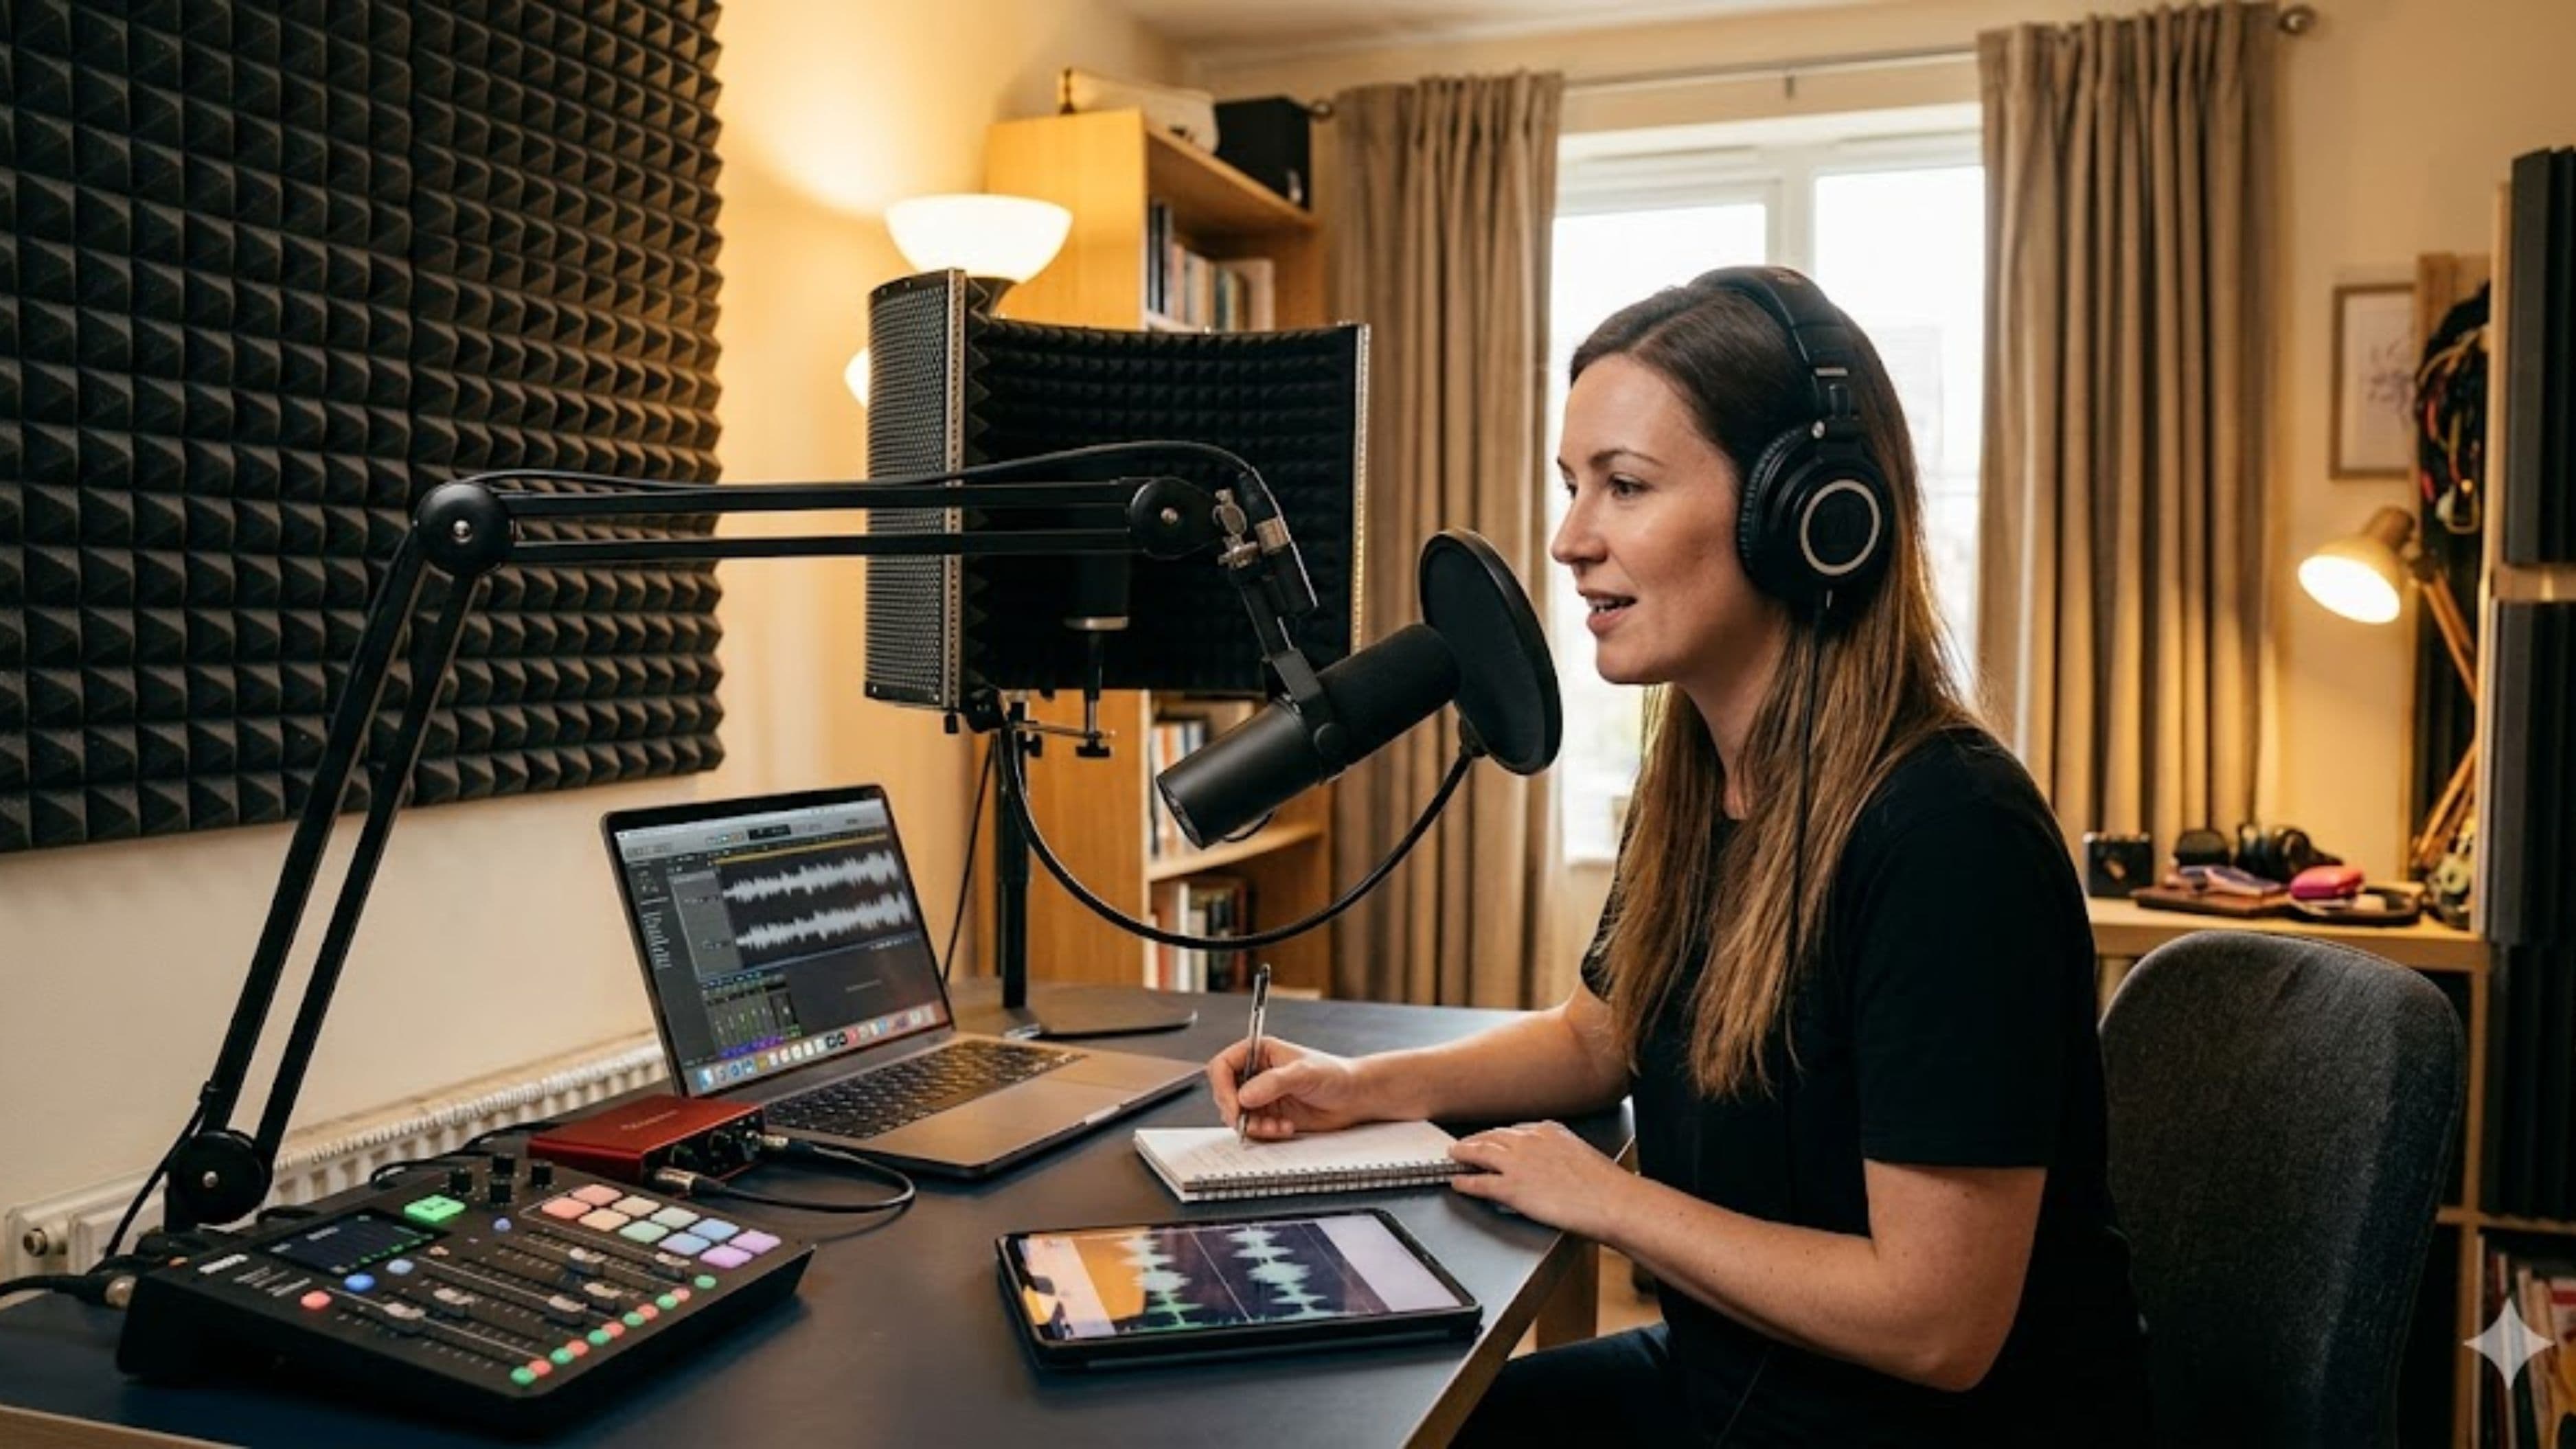
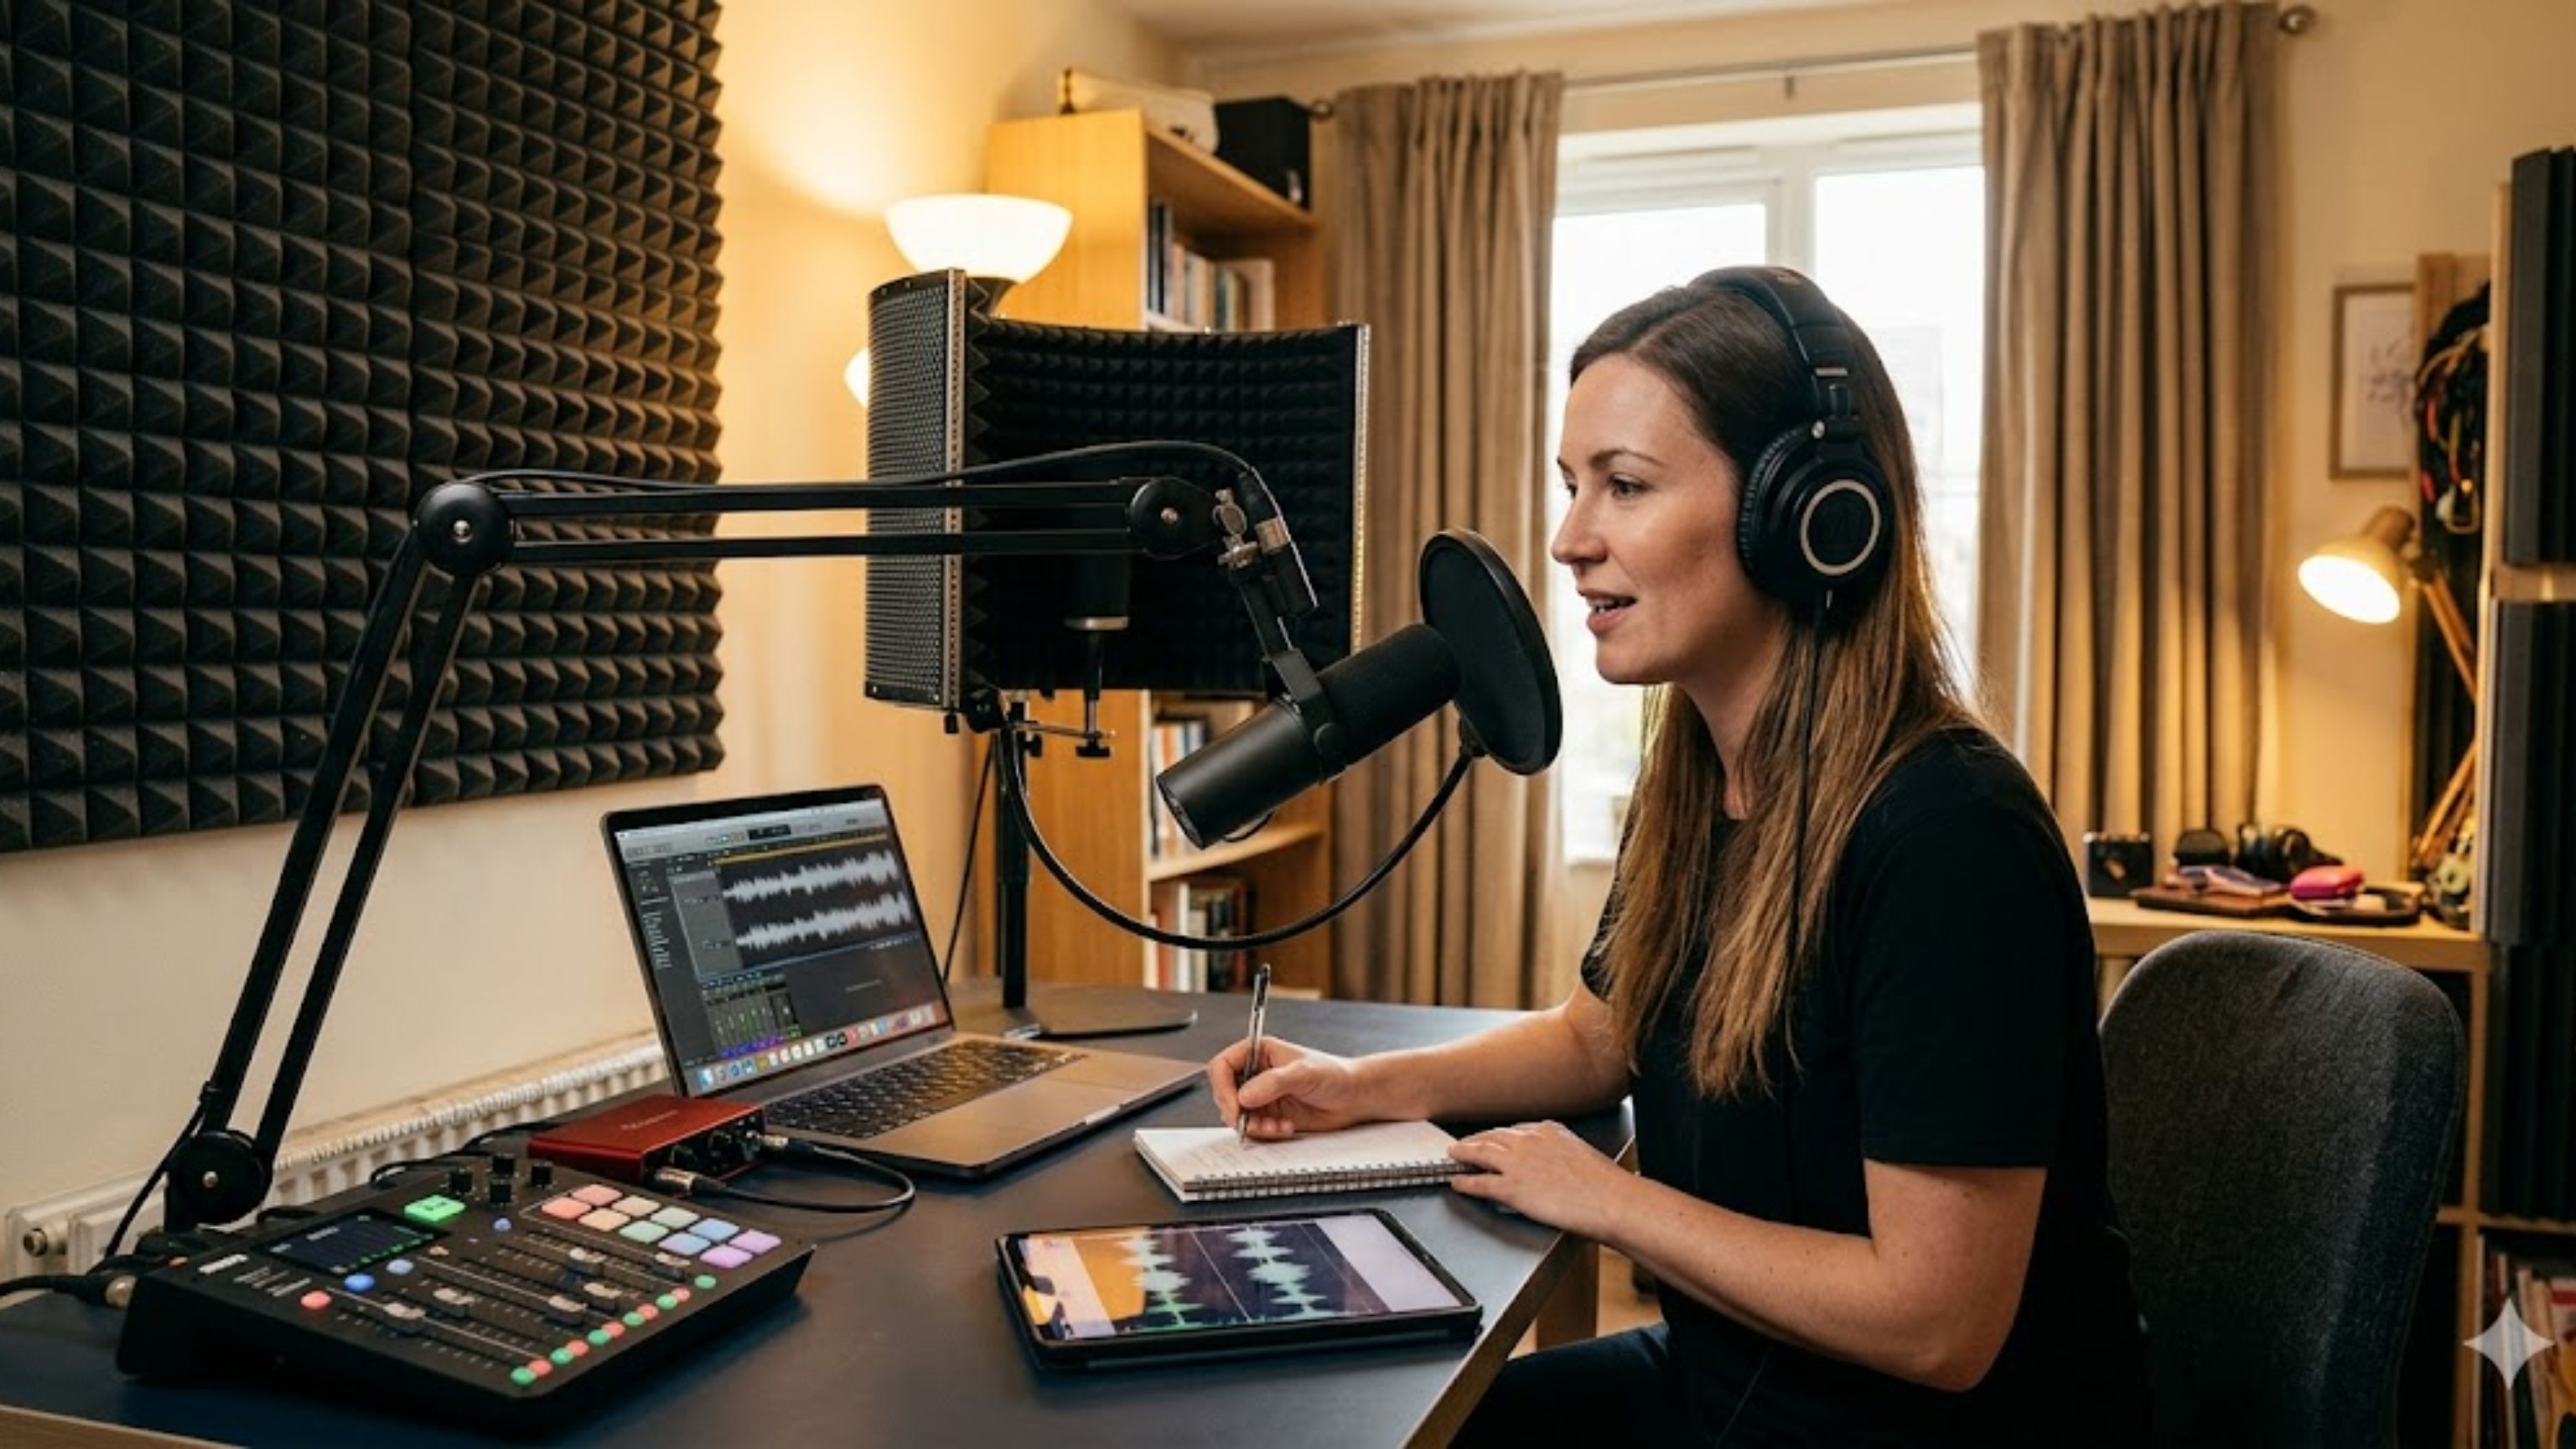
Here's a practical guide to recording audio at home that actually sounds professional, from the room you're in to the settings on your interface.
What "Studio-Quality" Actually Means
Before getting into process, it helps to define the target. Studio-quality podcast audio means audio that's clean (no background noise or hiss), dry (minimal room reverb), balanced (consistent volume, no plosives or sibilance), and clear (the voice sits forward in the mix without sounding processed or compressed to death). You've heard it on the top podcasts – the voice sounds like it's right in front of you, without any of the ambient noise that reminds you someone recorded this in an apartment.
Getting there requires four things working together: the right microphone type, an acoustically controlled space, correct mic technique, and a basic signal chain. You don't need to nail all four perfectly, but they all contribute, and fixing one while ignoring the others will only get you partway there.
Step 1: Fix the Room Before You Touch the Gear
This is the step that makes the biggest difference and gets skipped most often because it doesn't feel like the exciting gear-focused fix. The truth is that a $100 dynamic microphone recorded in a well-treated room will sound better than a $500 condenser microphone recorded in an untreated space. Rooms with hard surfaces – wood floors, bare walls, high ceilings, glass windows – reflect sound and create the reverb and echo that makes audio sound amateur.
You don't need to build a professional acoustic panel setup. The most effective home treatments are soft furnishings that already exist: thick rugs, upholstered furniture, bookshelves full of books (great diffusers), heavy curtains, and closets full of clothes. Recording in a walk-in closet surrounded by hanging clothes is genuinely one of the best home recording environments available because clothing absorbs sound almost as effectively as acoustic foam. If a closet isn't practical, a small room with carpeting and curtains is the next best thing.
If you want to go further without spending much, moving blankets draped around your recording area – over a music stand or a DIY frame – create a surprisingly effective absorption environment. Acoustic foam panels on the walls behind and to the sides of your mic position help reduce early reflections. The one surface that matters most is the one behind you relative to the mic – that's where reflections bounce off and come back into the capsule. Treat that first.
Step 2: Choose the Right Microphone Type for Your Space
Most podcasters default to condenser microphones because they're popular and tend to sound detailed and clear in ideal conditions. The problem is that condenser mics are sensitive – they pick up everything, including room noise, HVAC hum, street sounds, and the acoustic imperfections of an untreated space. In a professional studio with proper treatment, that sensitivity is an asset. In a typical home setup, it often works against you.
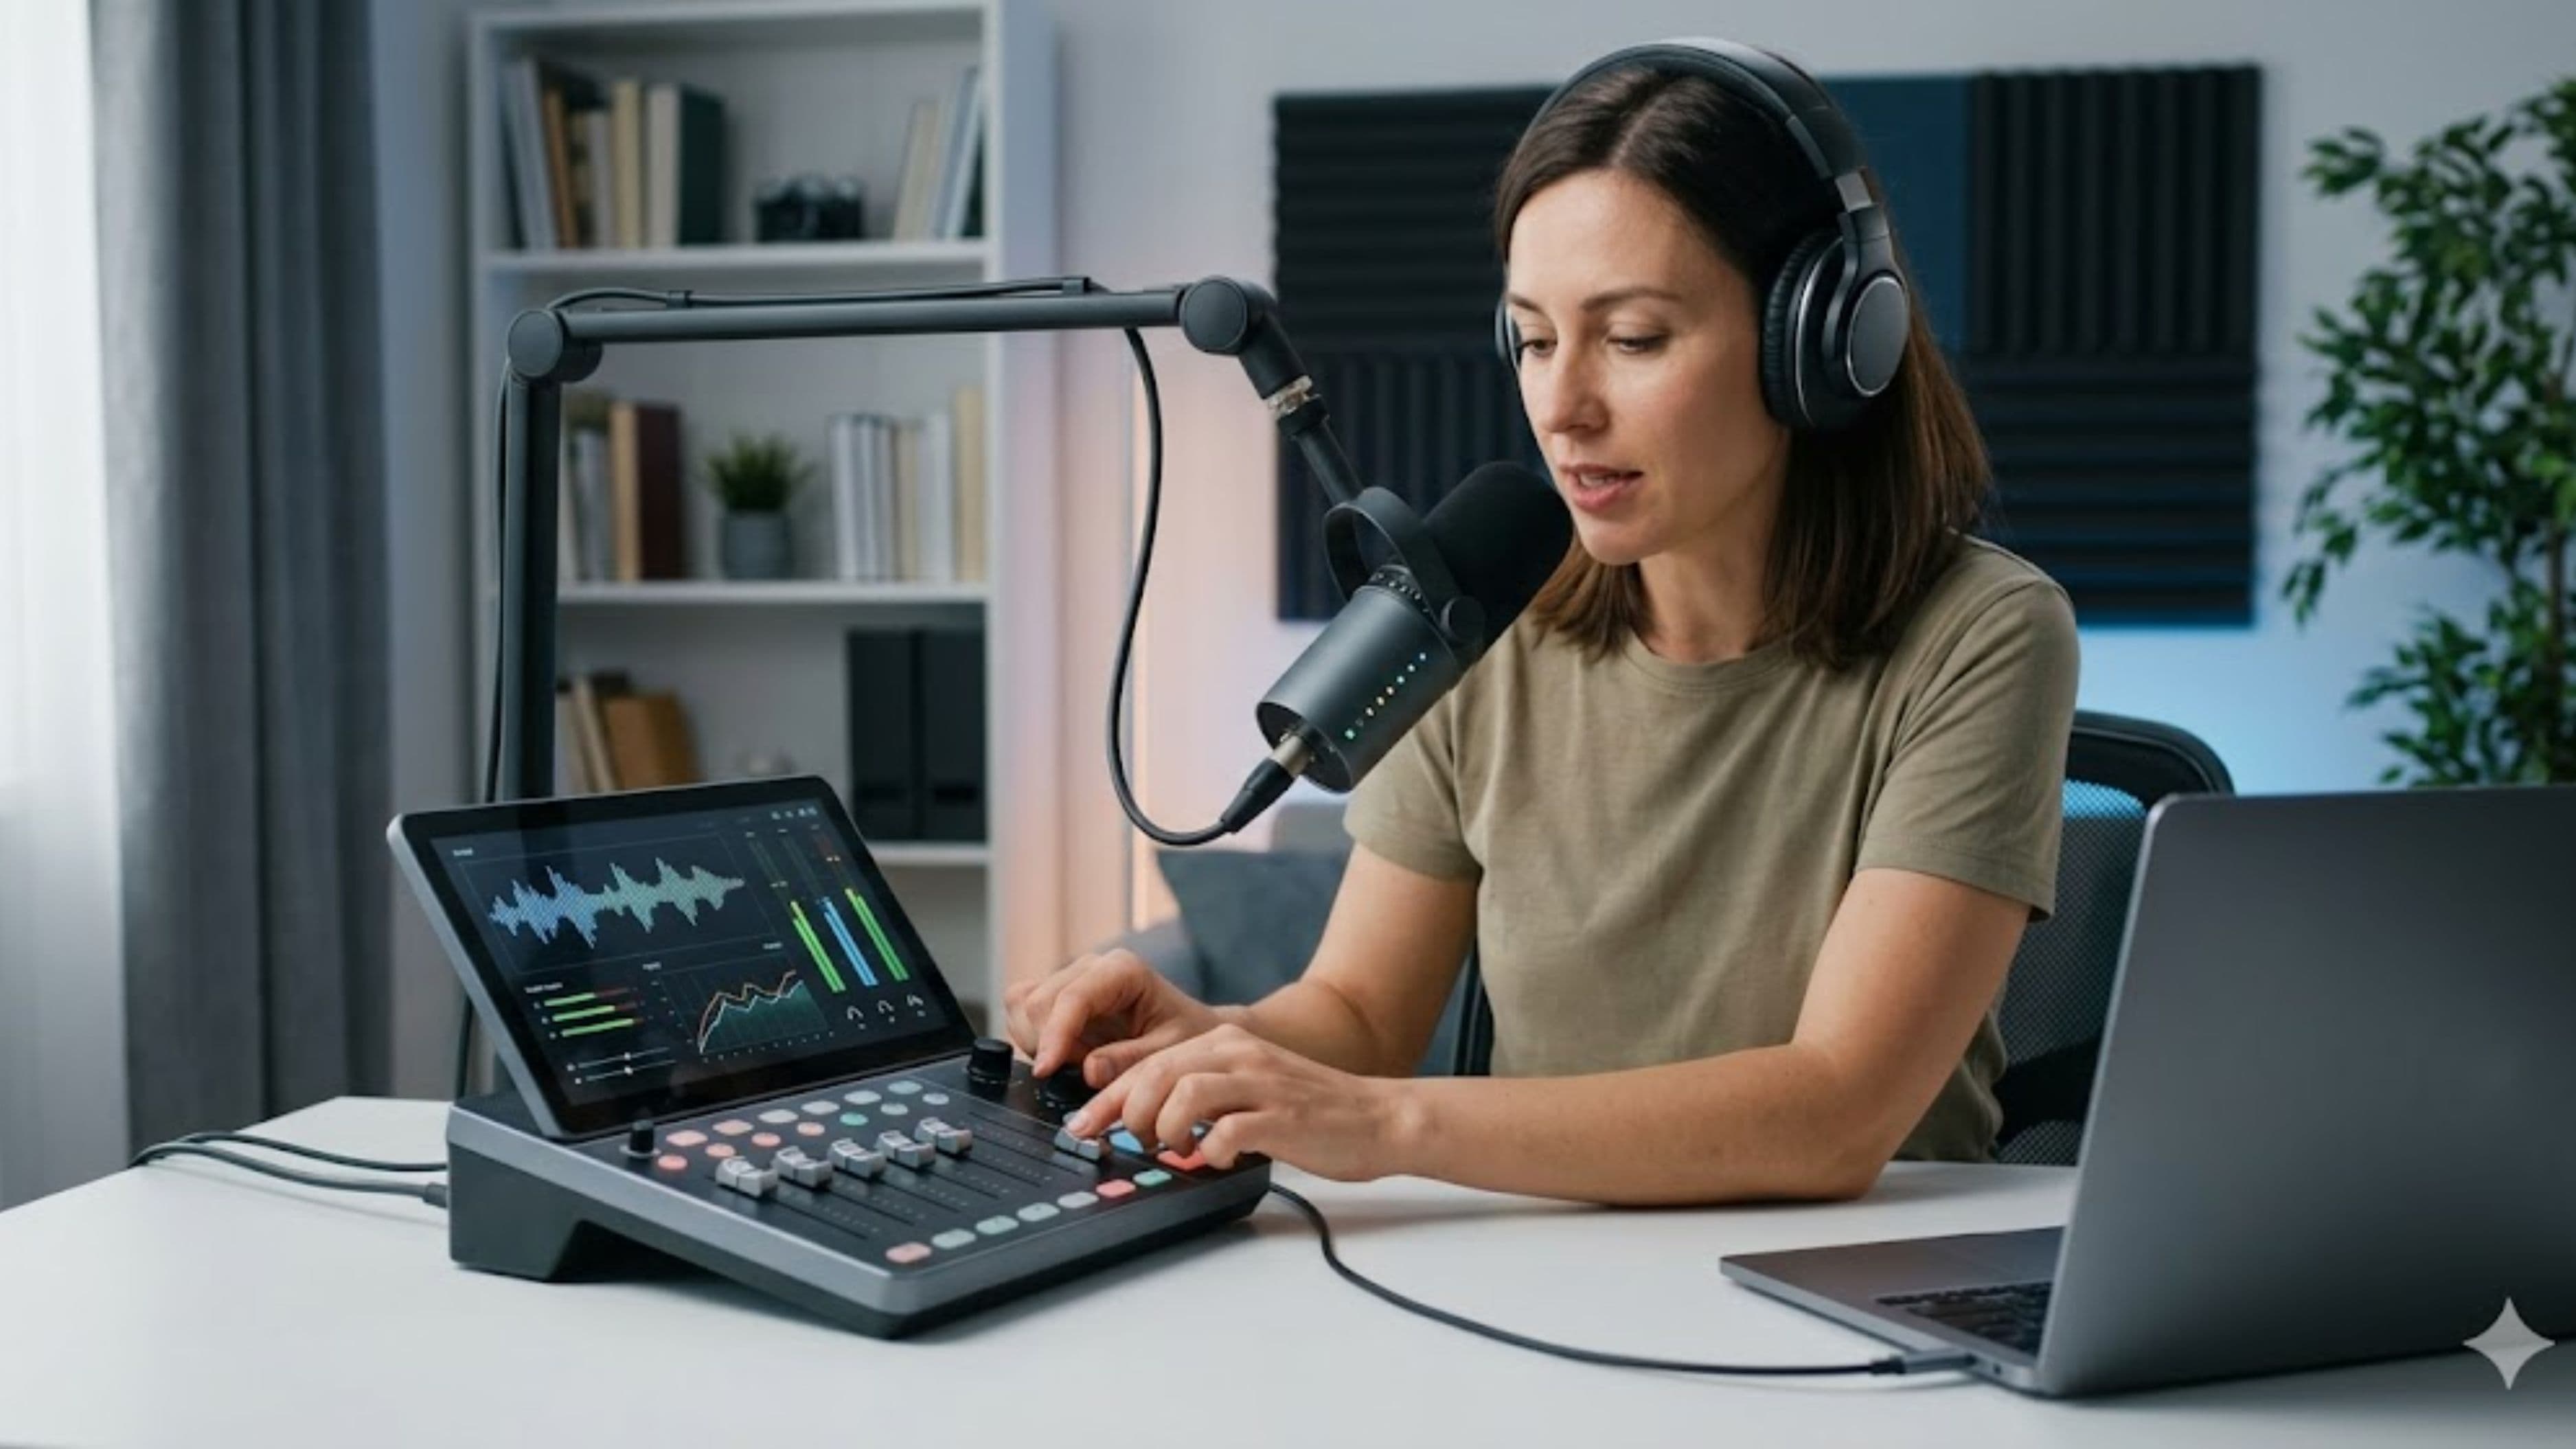
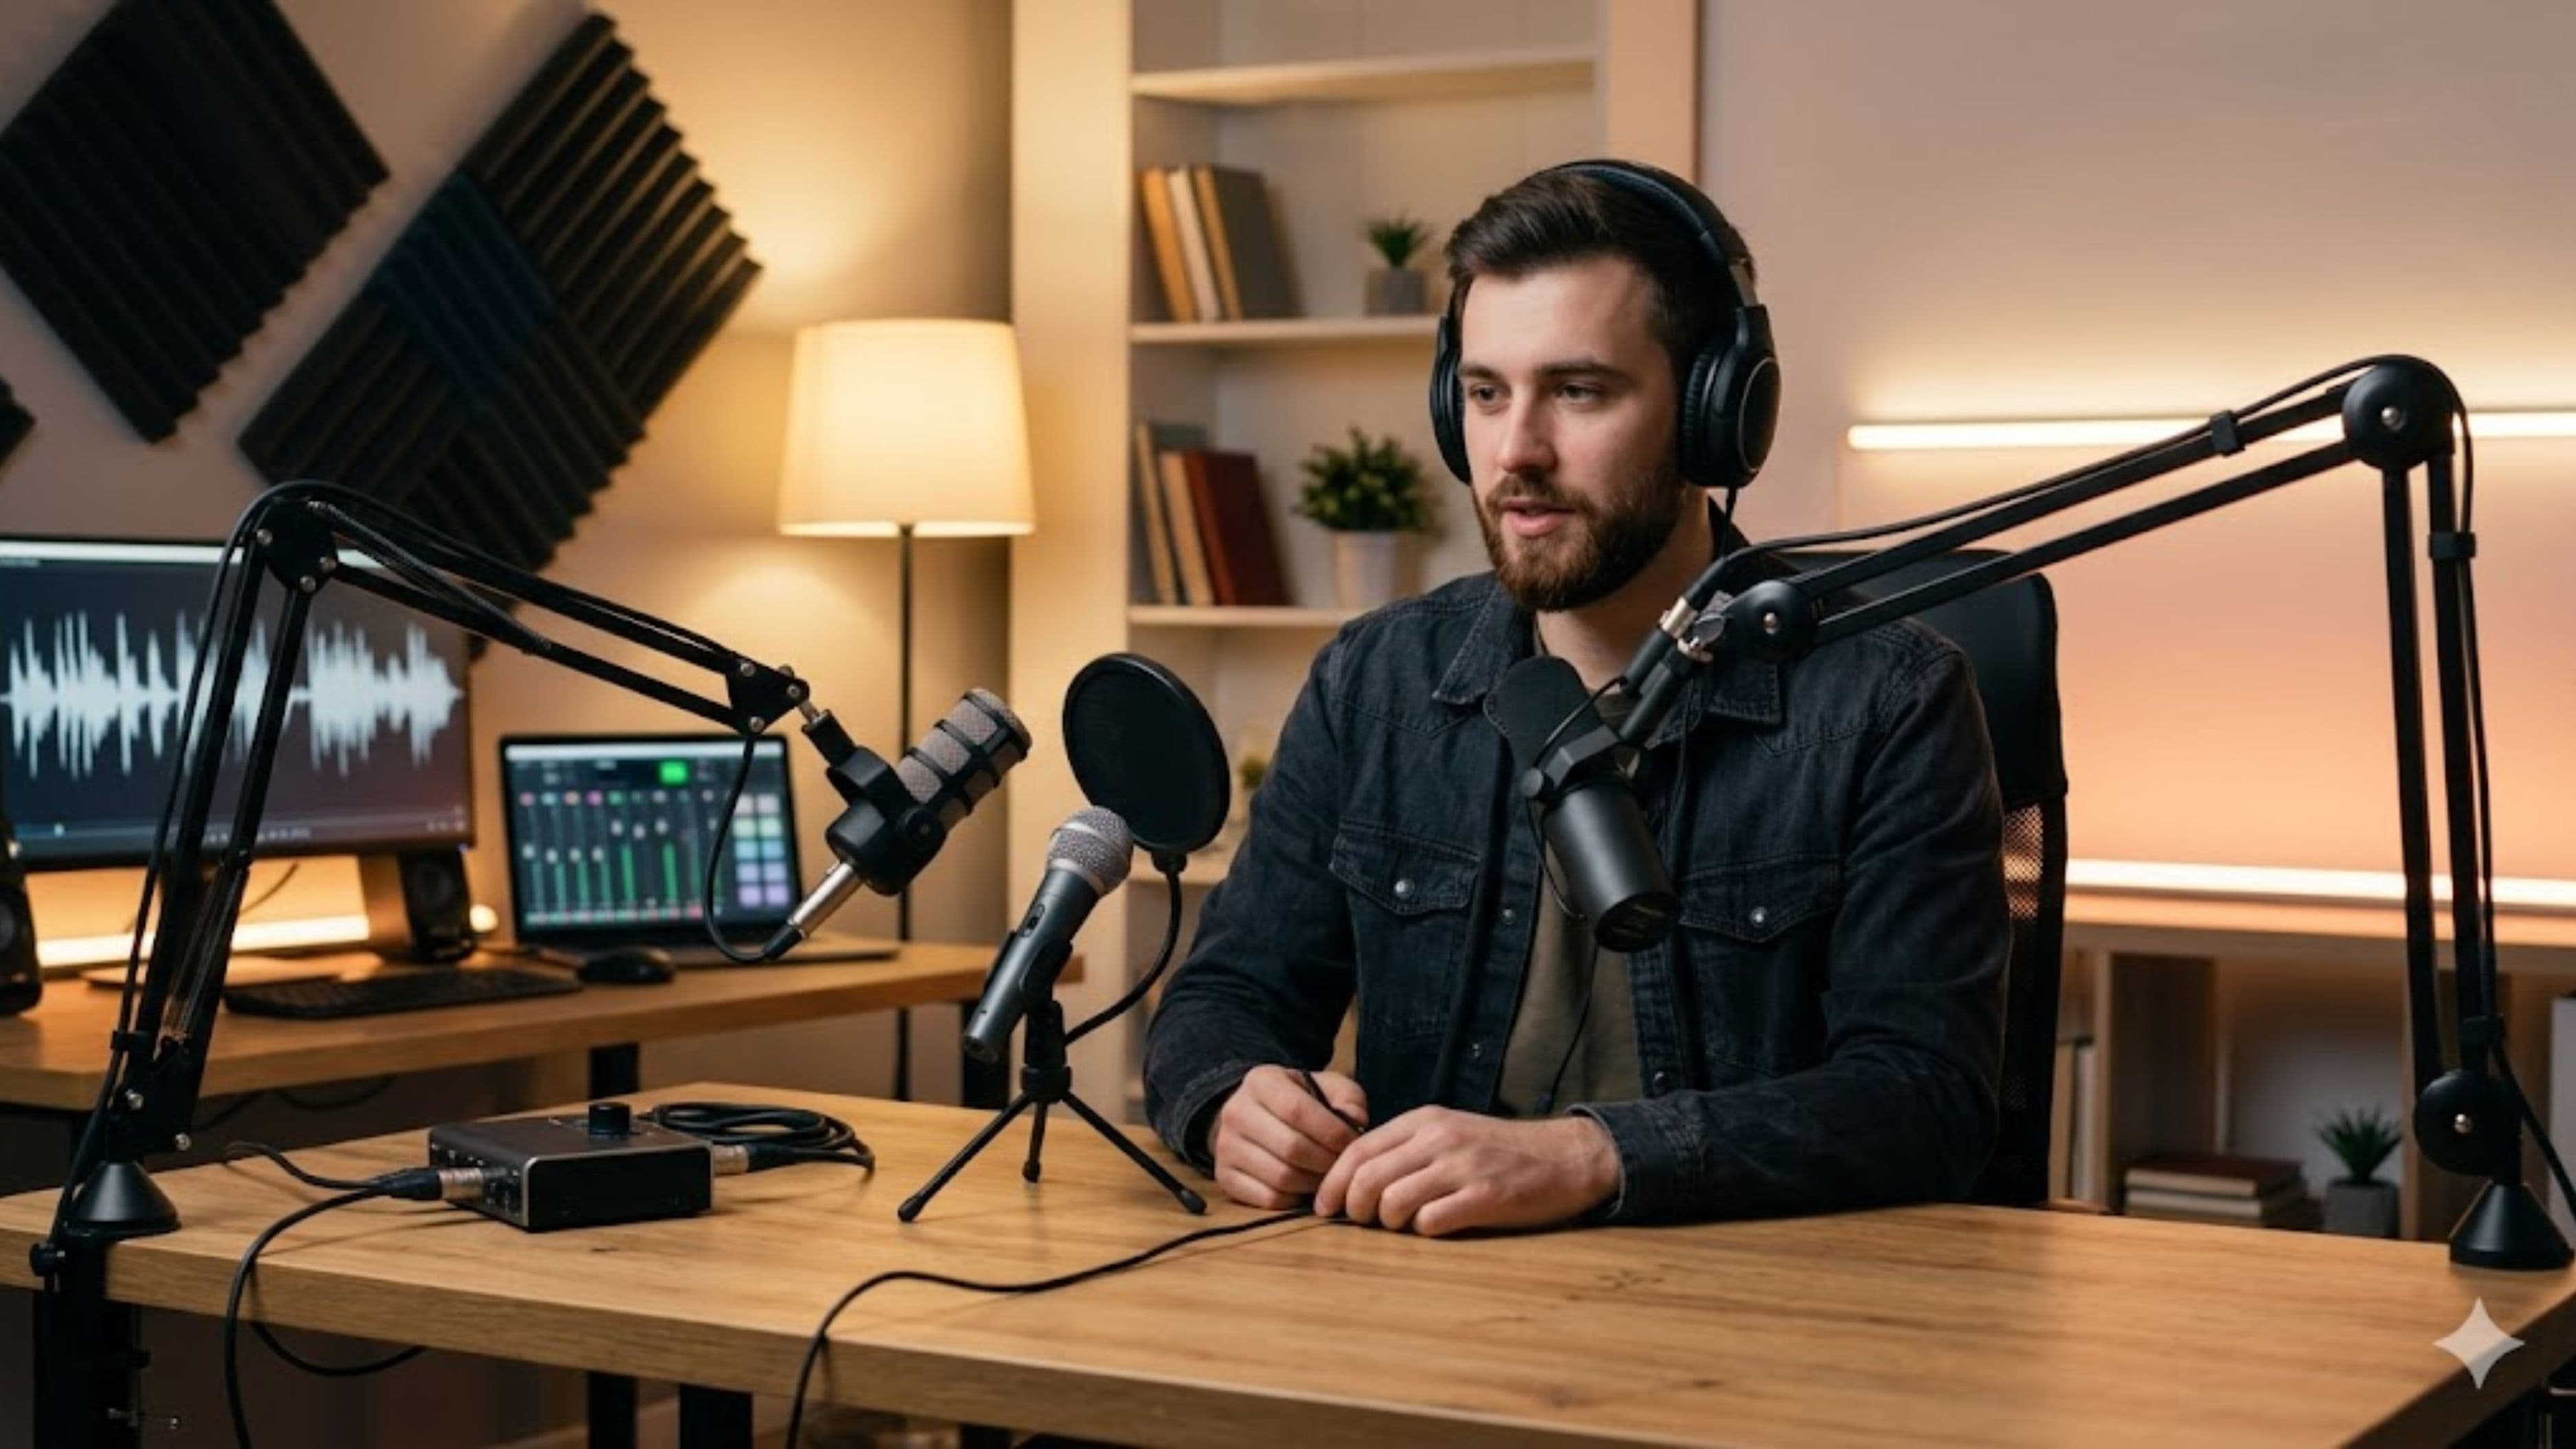
Dynamic microphones – the Shure SM7B, Electro-Voice RE20, Rode PodMic, and Shure MV7 are the most commonly used in podcasting – are far less sensitive to room noise and ambient sound. They're designed to capture what's directly in front of them and reject what's not. The result in an untreated or lightly treated room is cleaner, tighter audio with far less work in post. The SM7B in particular has become the de facto standard for professional podcasters not because it has the most impressive specs, but because it sounds consistently good in real-world home environments.
If your recording space is well-treated and quiet, a condenser like the Rode NT1, Audio-Technica AT2020, or Shure MV51 will give you a more detailed, airy sound that works beautifully for certain voices and styles. The honest recommendation: if you're not sure, start with a dynamic. You can always upgrade to a condenser once your room treatment is dialed in.
Step 3: Get a Proper Audio Interface (or Use USB, But Know the Trade-Offs)
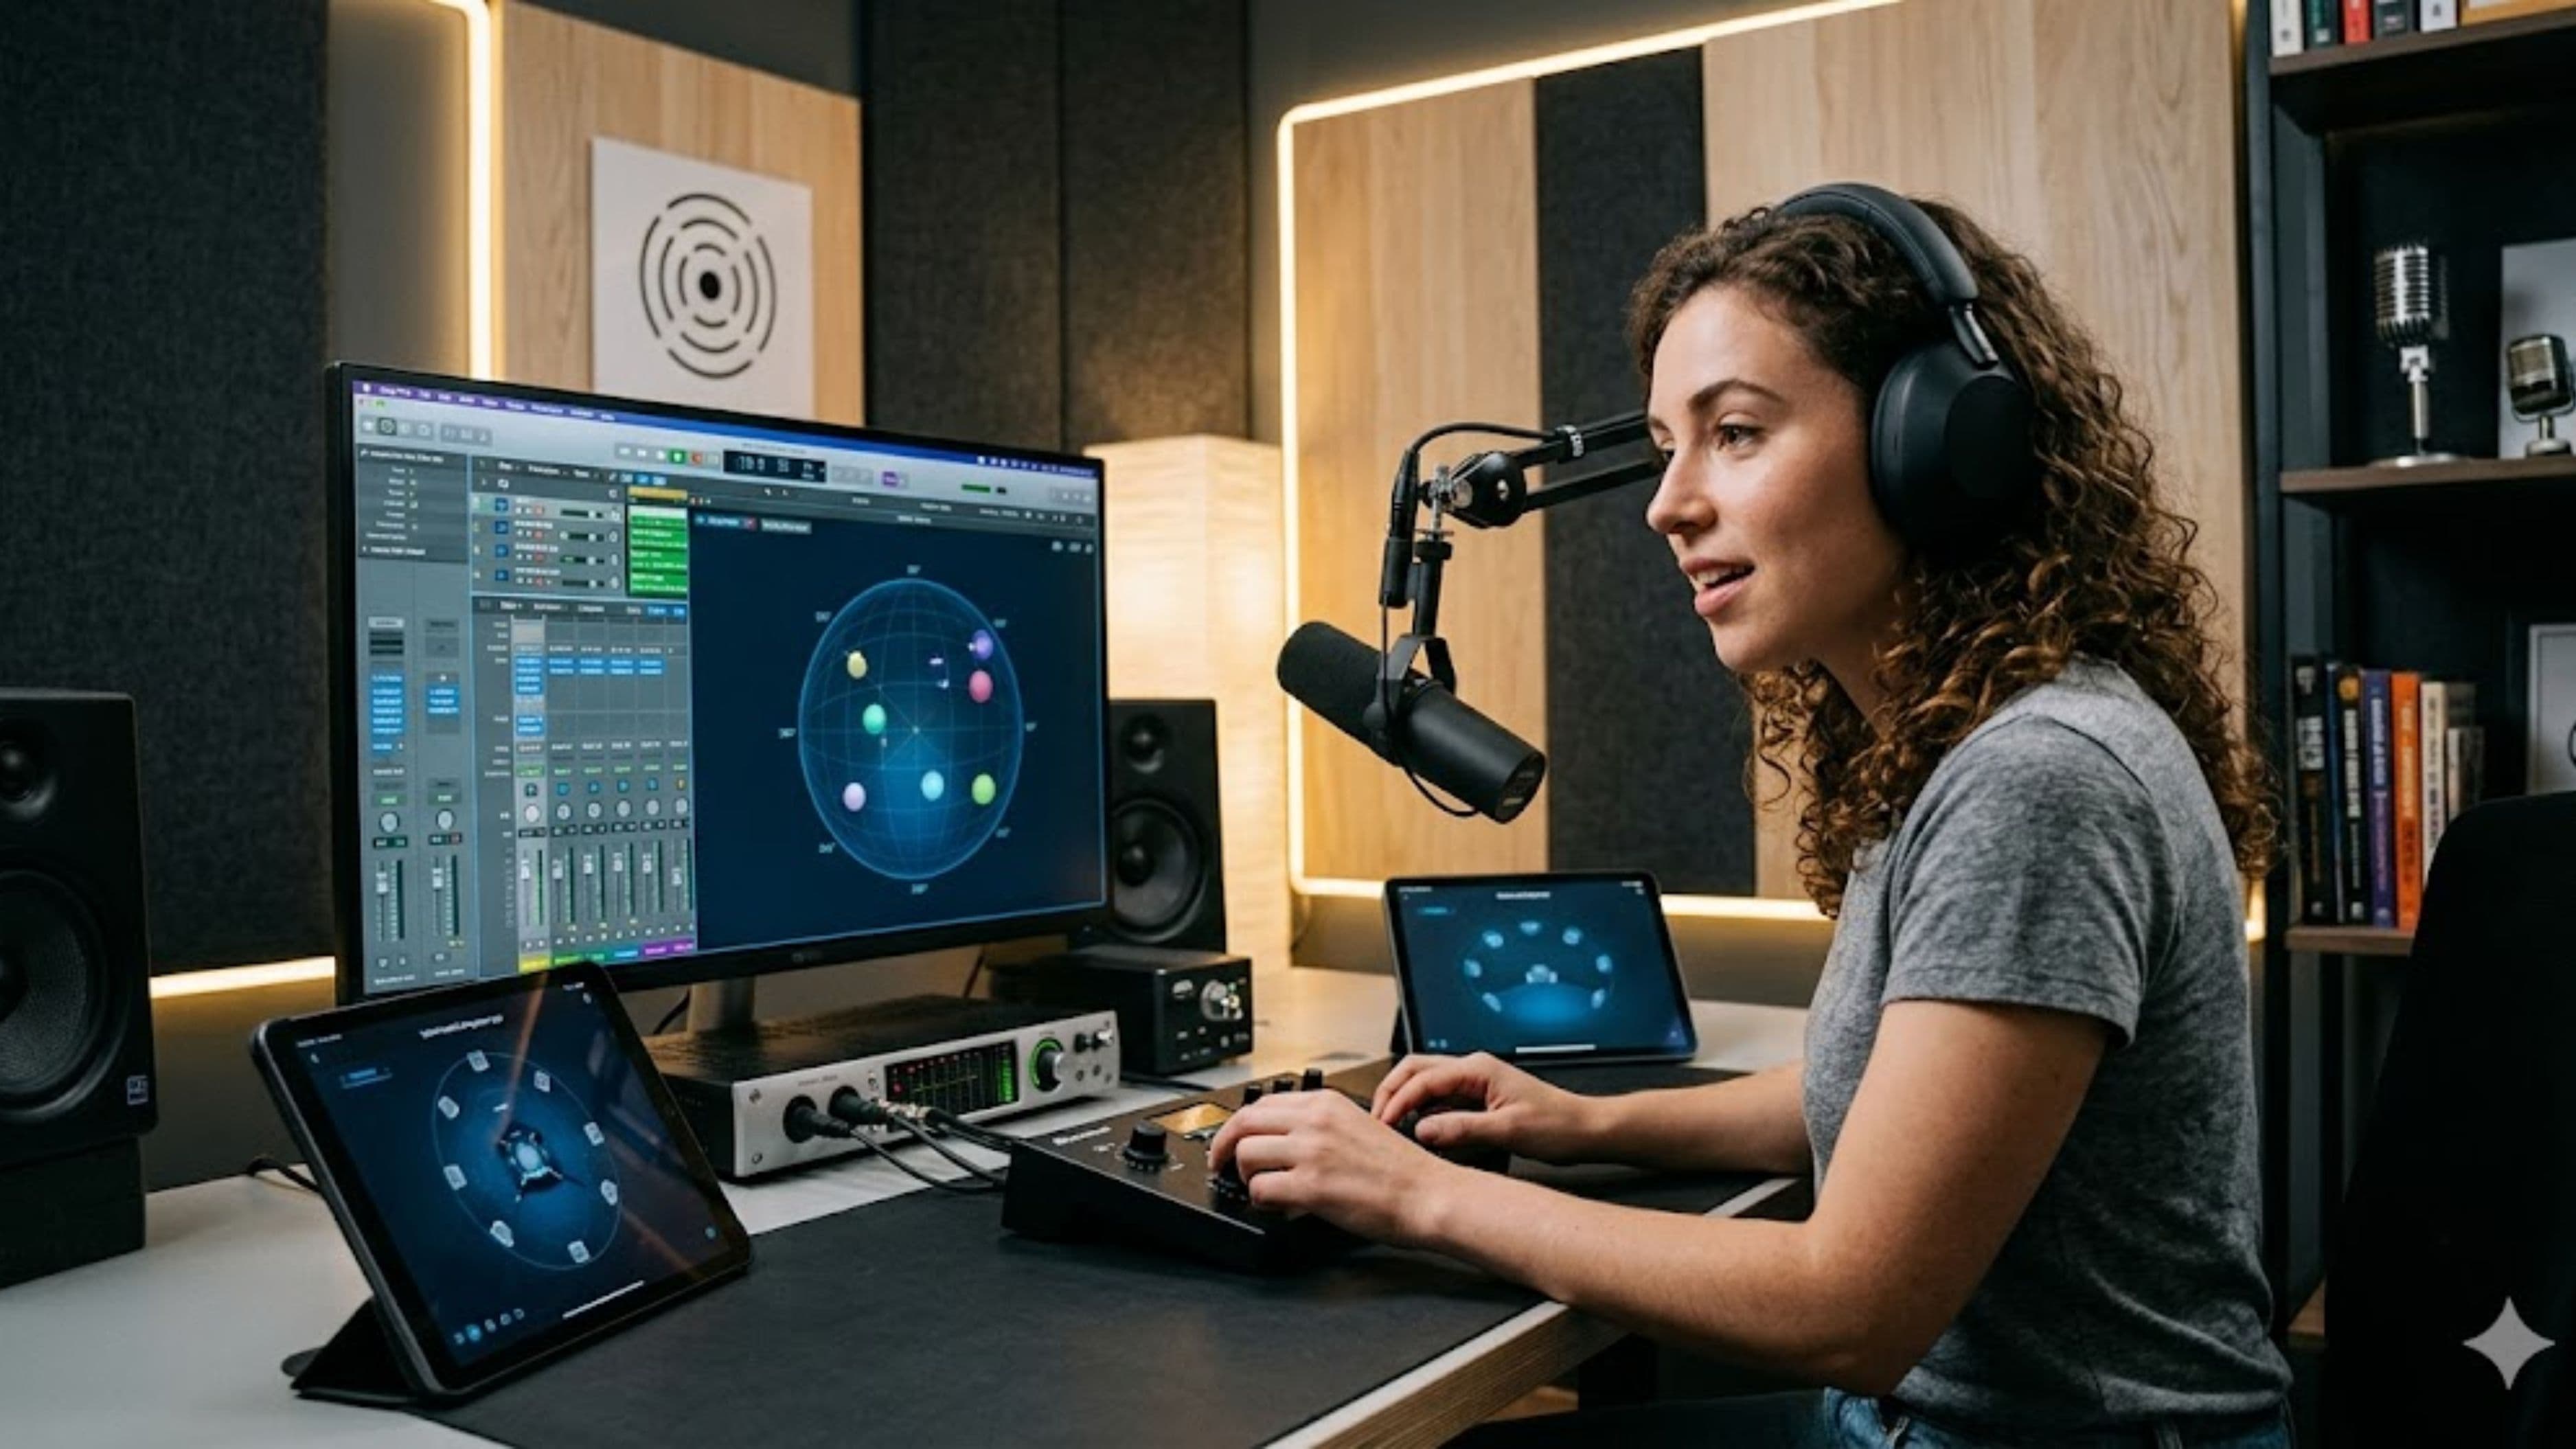
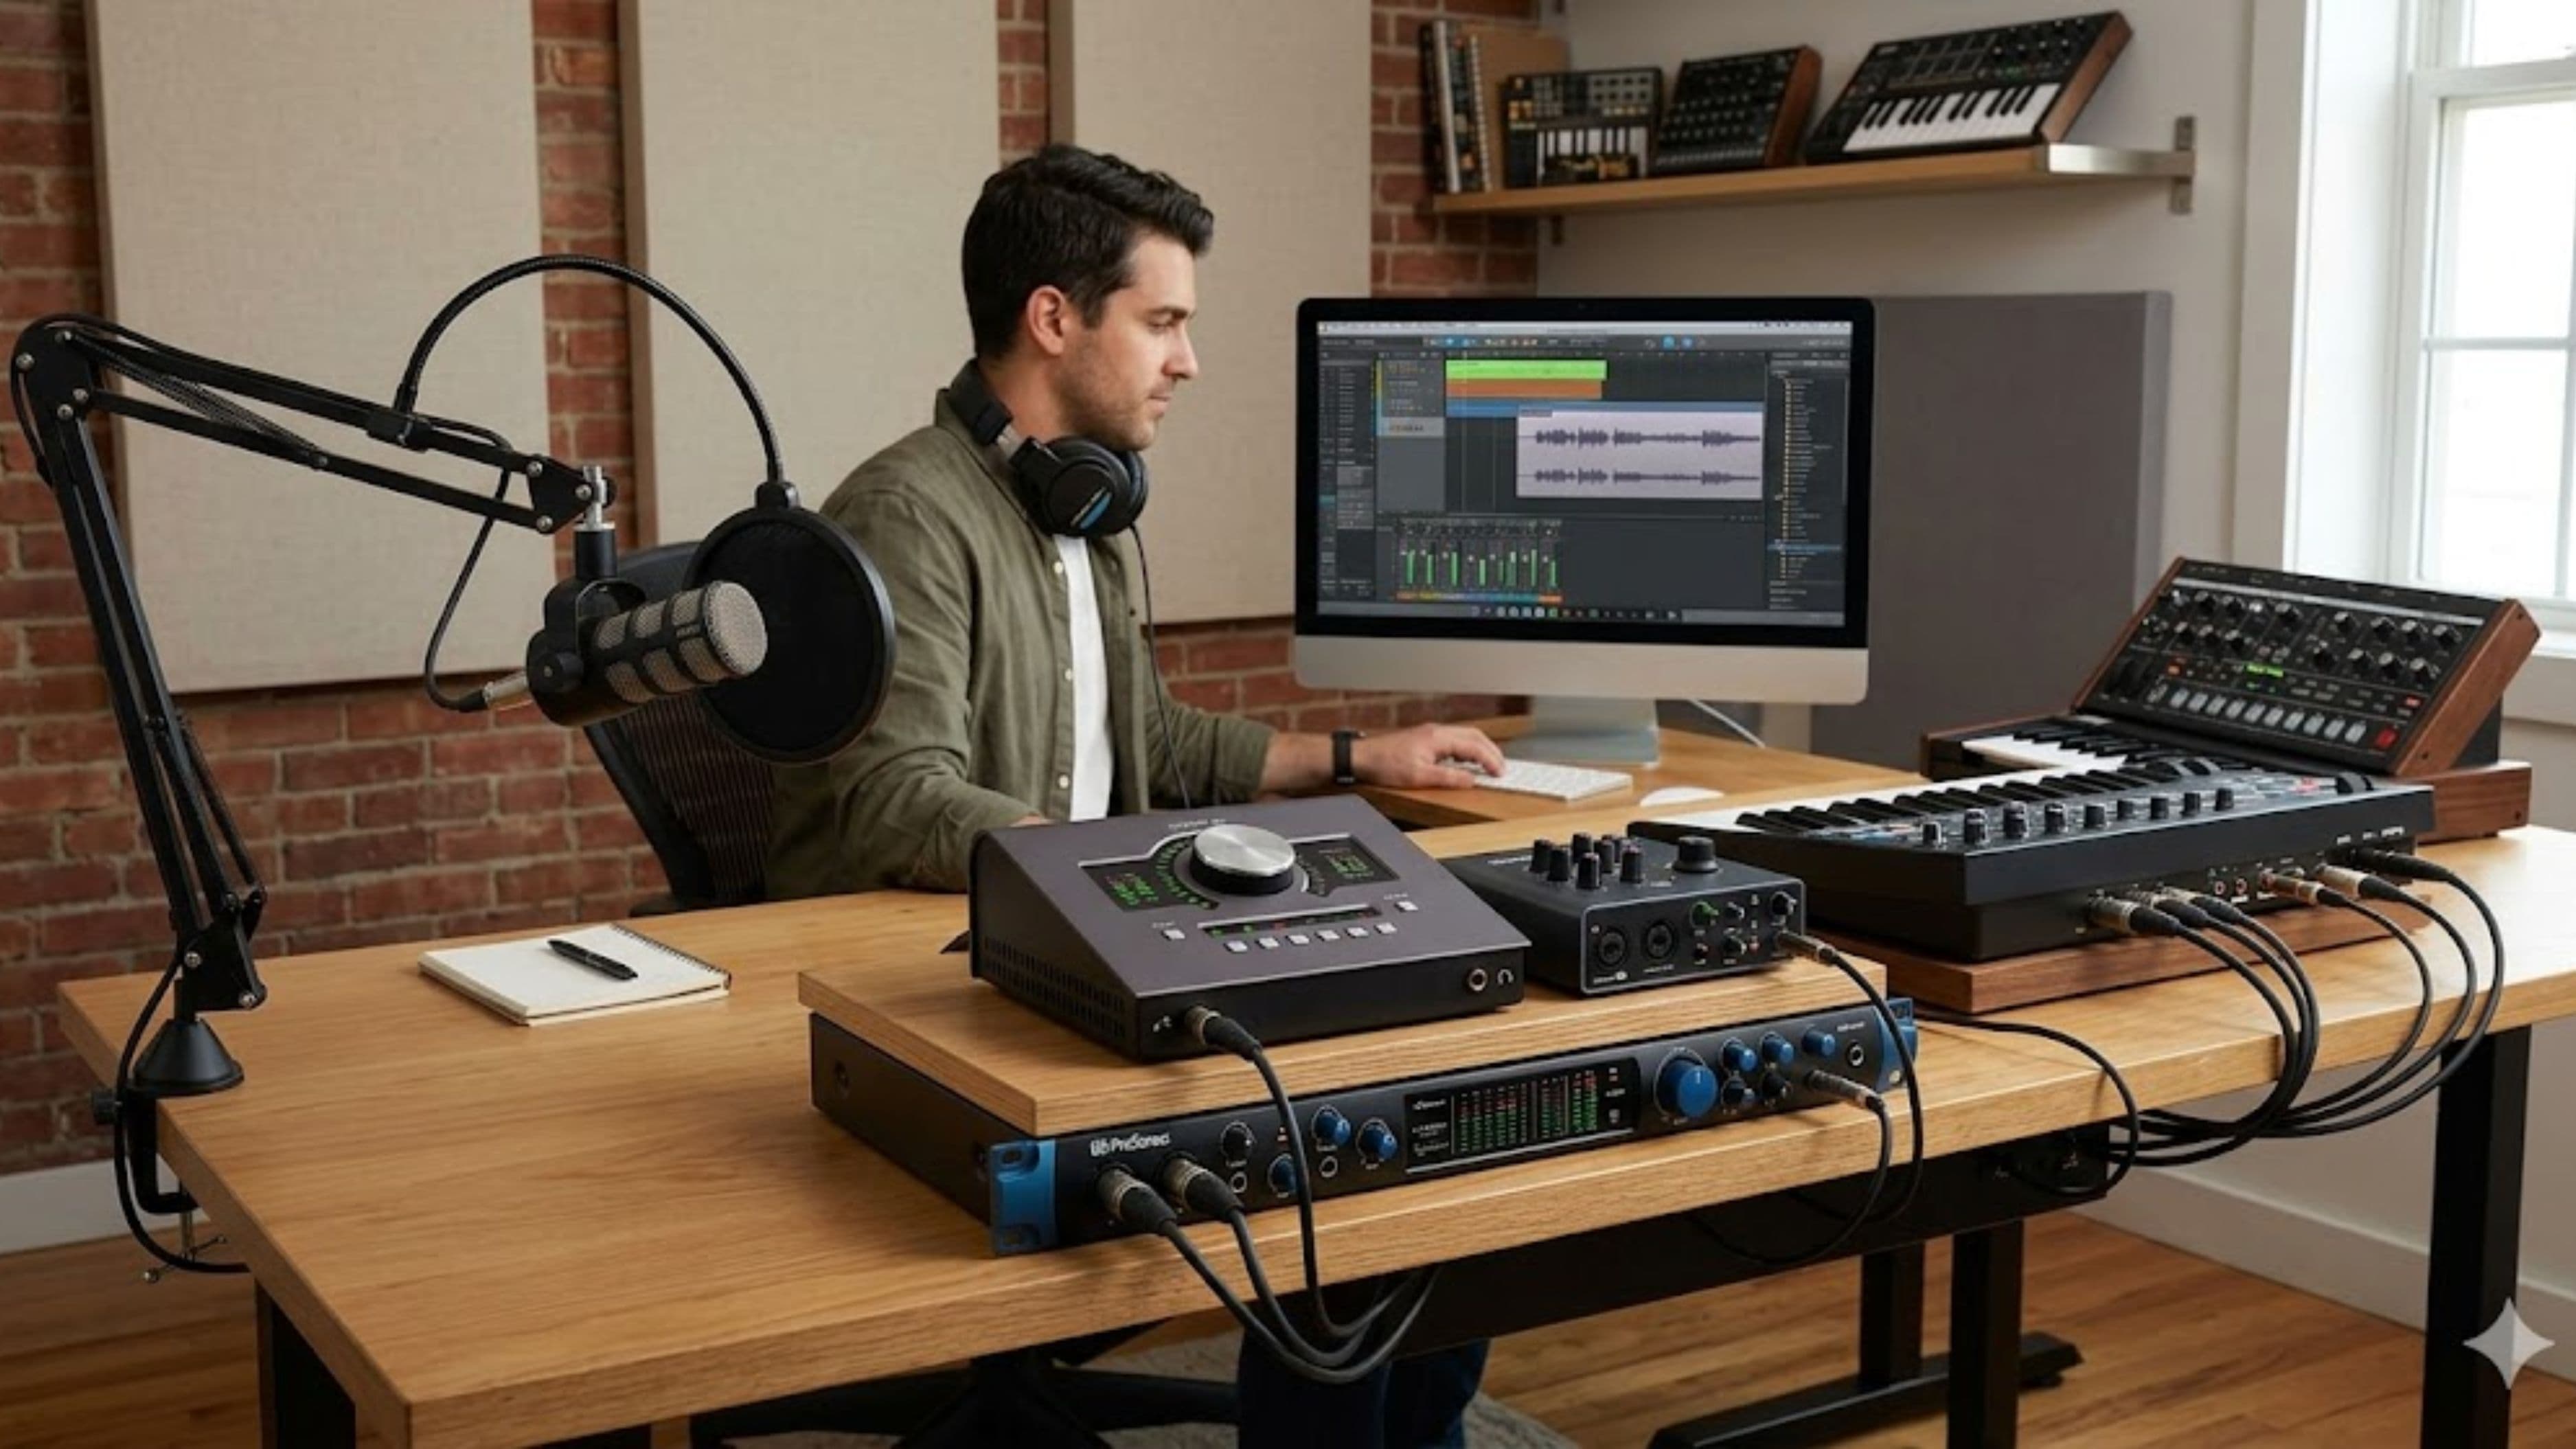
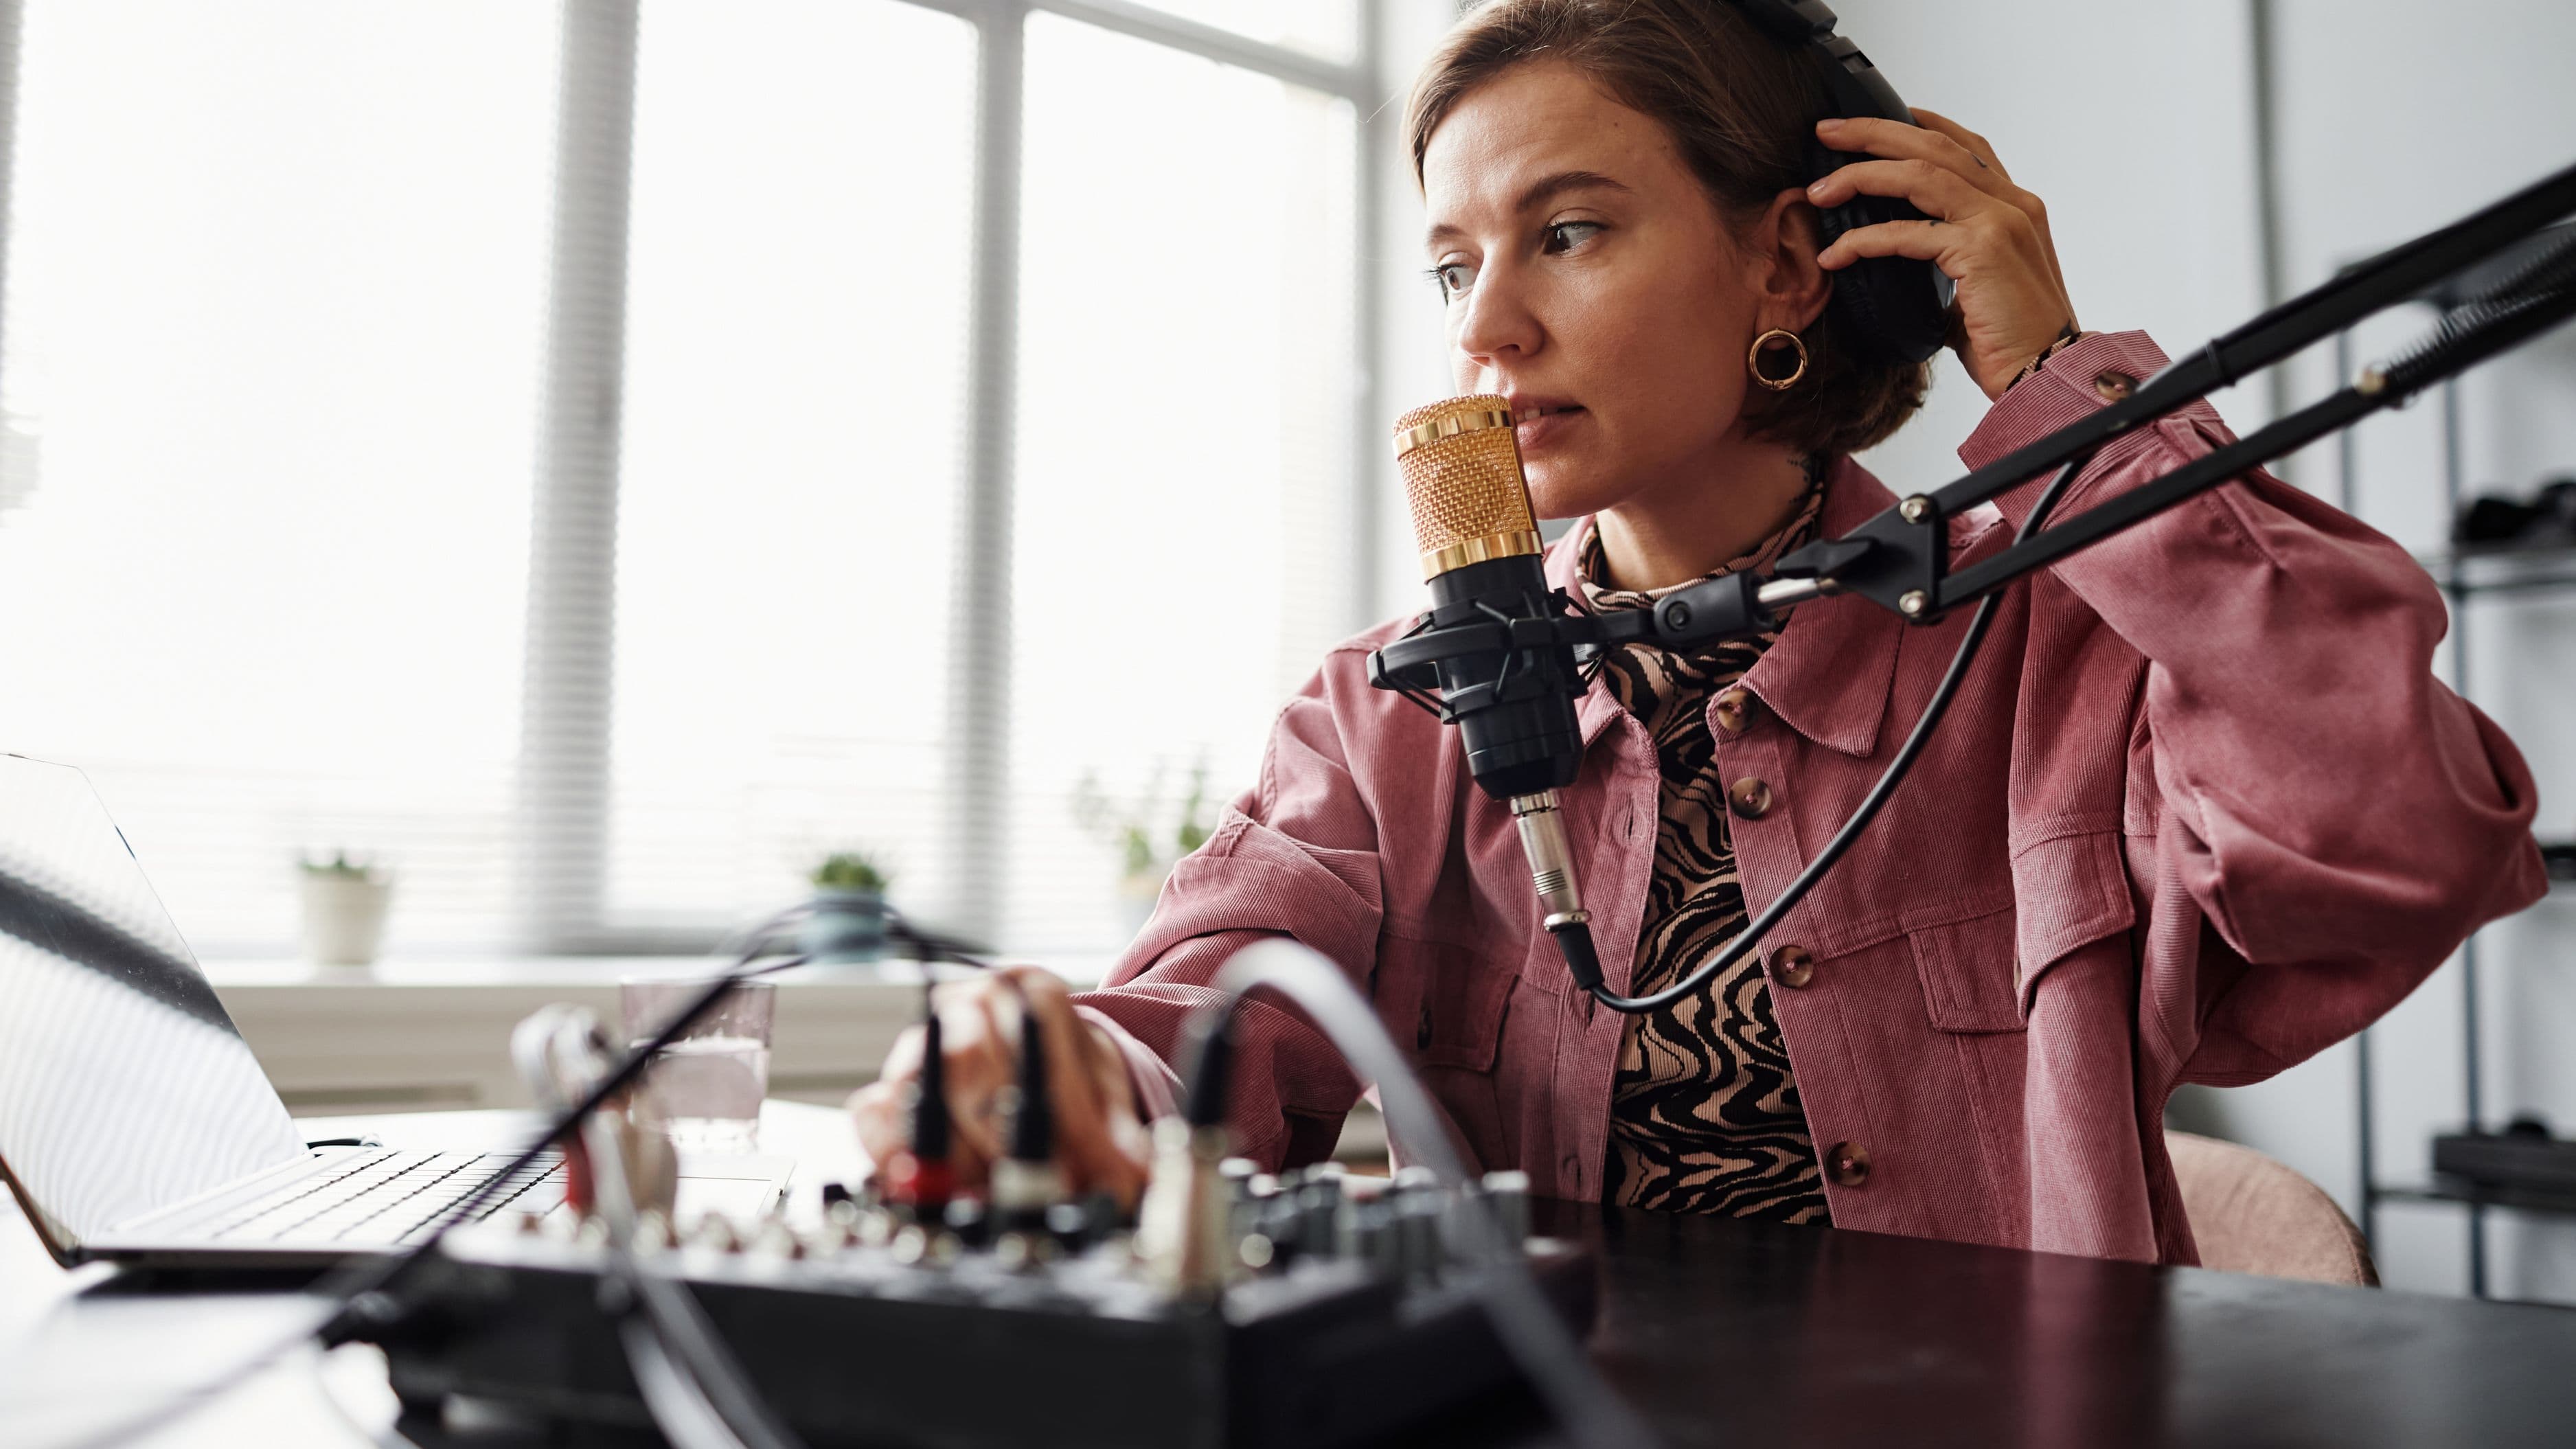
Microphones that use an XLR connection require an audio interface – a device that converts the analog signal from your mic into a digital signal your computer can record. This is not an optional piece of gear if you're using an XLR mic. The interface also provides phantom power for condenser mics and controls the gain (input level) of your signal.
The Focusrite Scarlett Solo and Scarlett 2i2 are the most widely recommended entry-level interfaces, and for good reason – they're reliable, clean, and affordable ($120–$180). The Universal Audio Volt series and SSL 2 are worth considering if you want to spend a bit more for marginally cleaner preamps. Any of these will handle podcast recording more than adequately.
USB microphones – the Rode NT-USB Mini, Blue Yeti, Shure MV7 (which has both XLR and USB), and Rode PodMic USB – are a legitimate option if simplicity is the priority. They plug directly into your computer without an interface. The trade-off is that you have less control over the signal and can't easily upgrade or mix multiple microphones later. For a solo podcaster who wants clean, simple audio without managing an interface, a quality USB mic is entirely viable. For anyone doing interviews or multi-person recording, XLR into an interface gives you more flexibility.
Step 4: Nail Your Mic Technique
This step is free and makes an immediate difference. The most common technical errors in home podcast recording are mic placement, gain staging, and not using a pop filter.
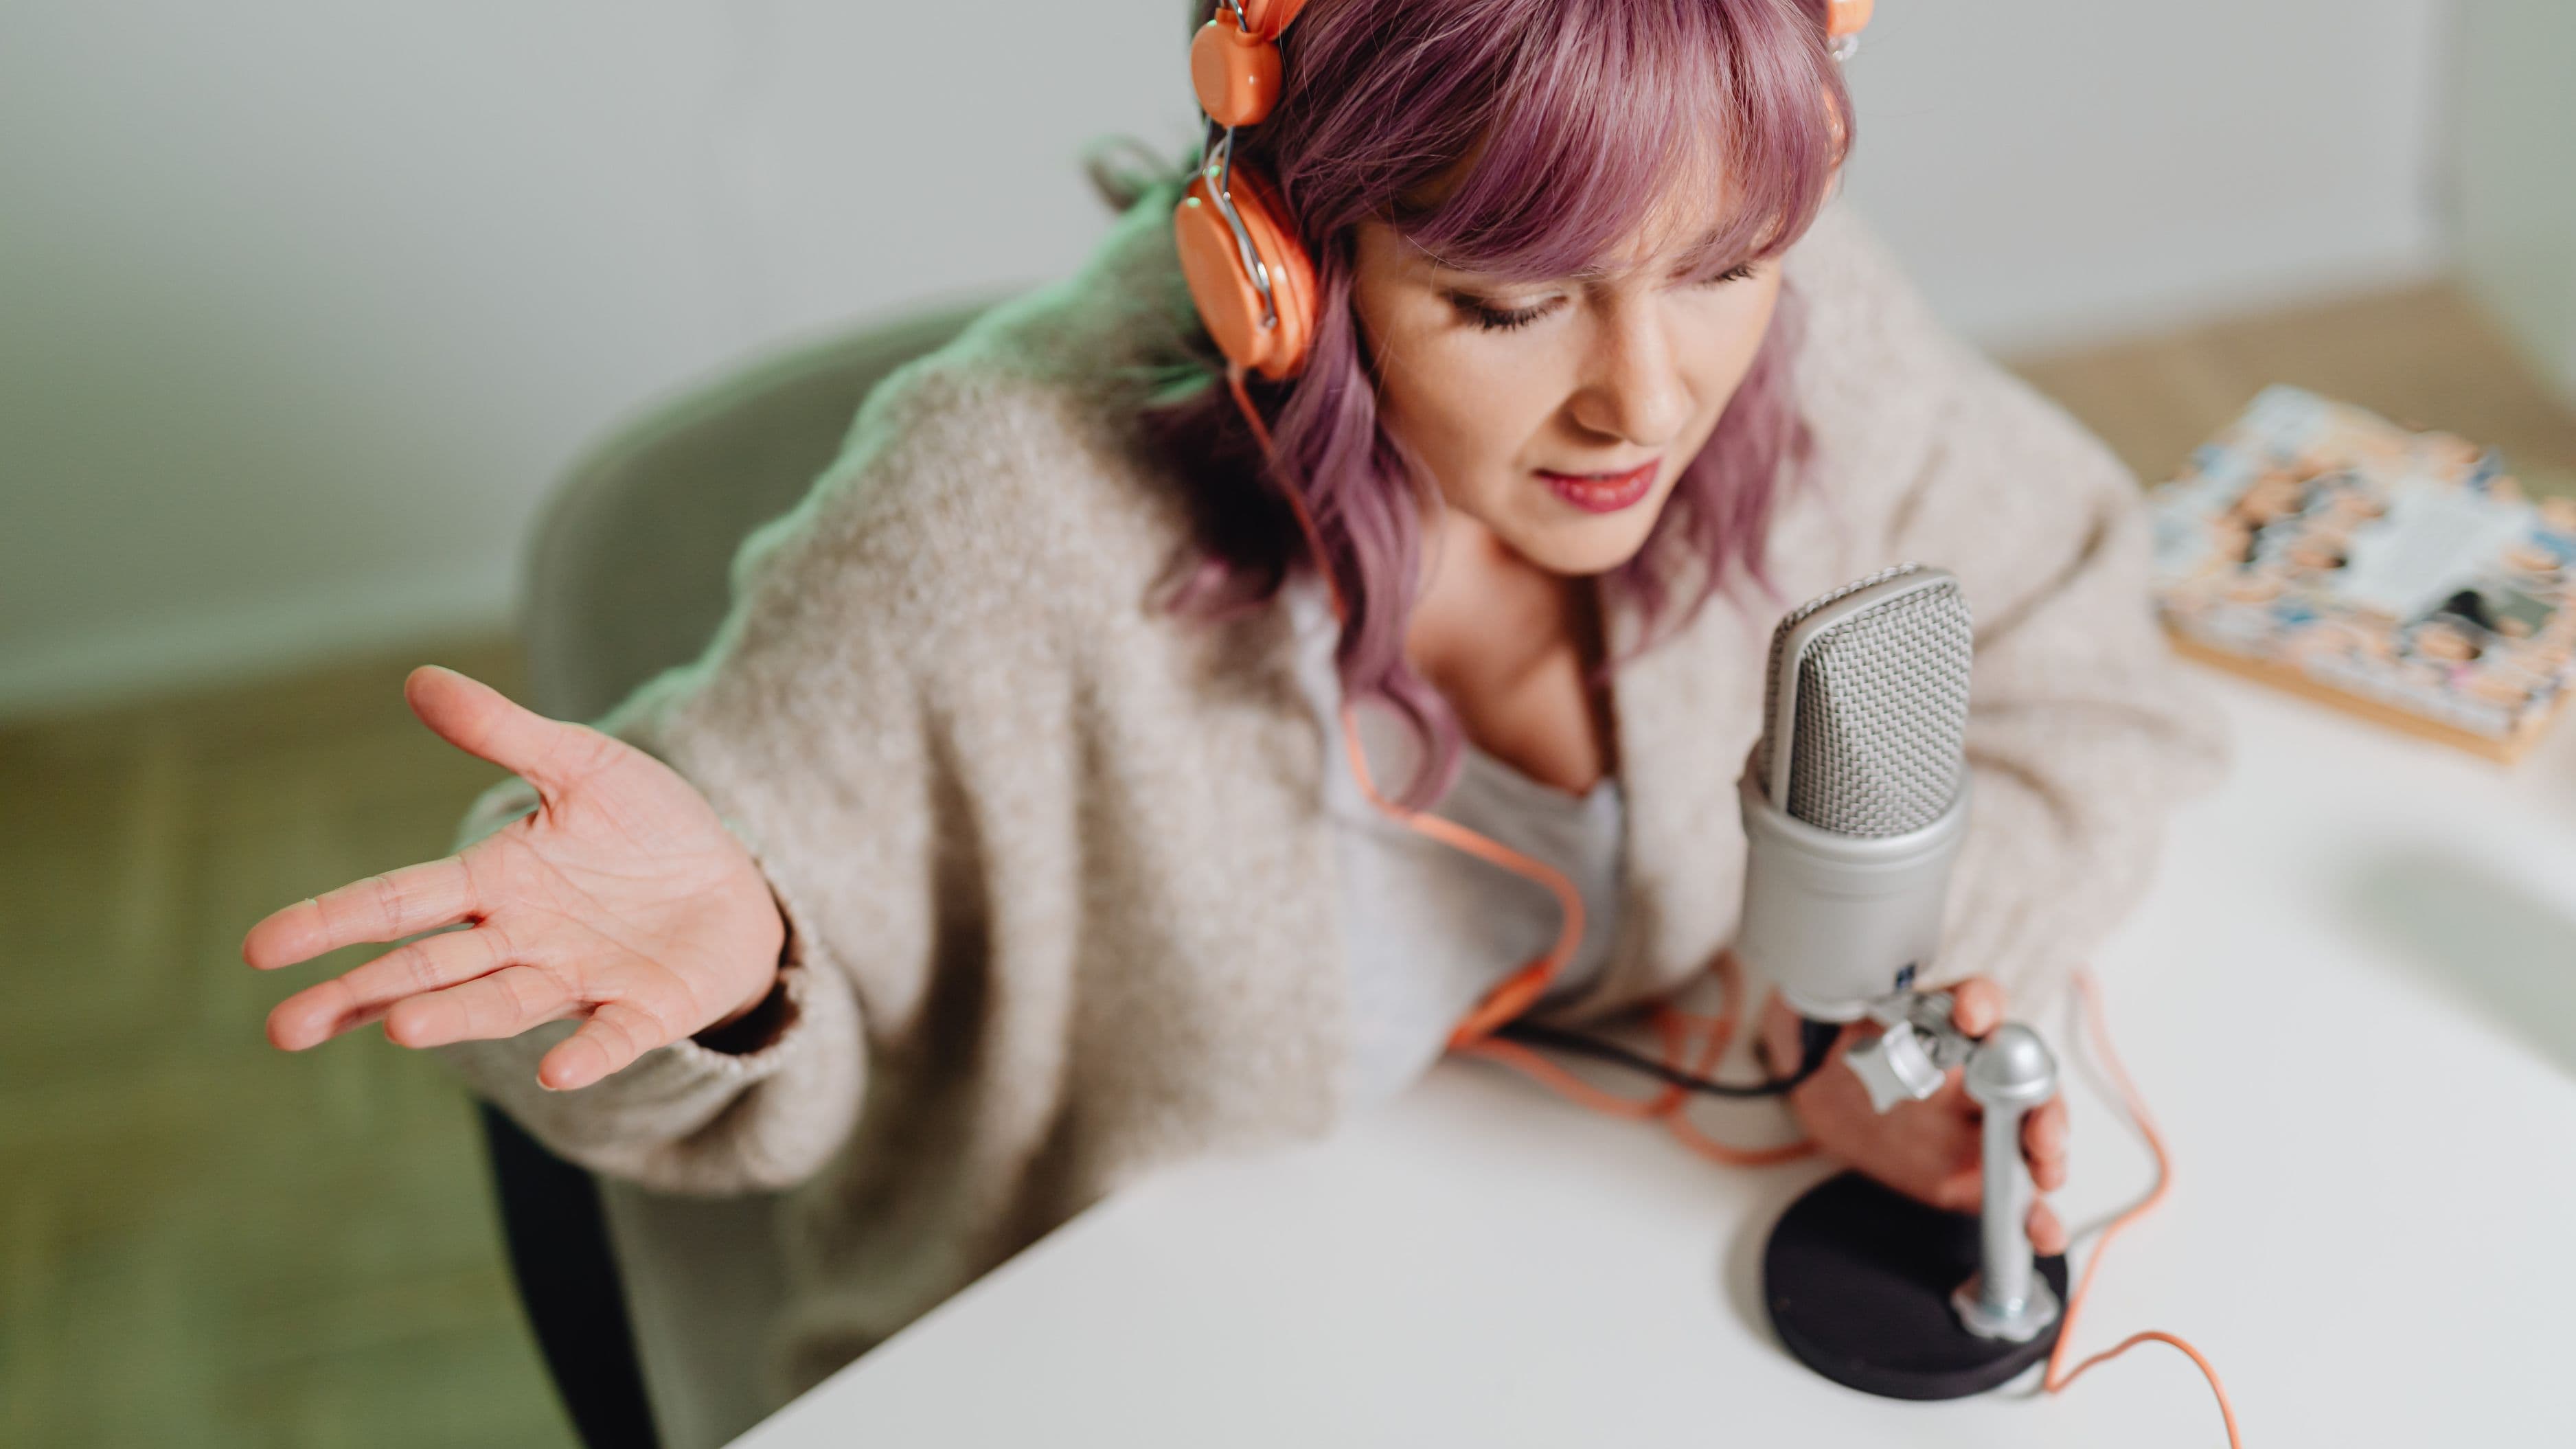
Mic placement: Position the microphone approximately 3–6 inches from your mouth, slightly off-axis (angled slightly to the side rather than pointing directly at your lips). Dynamic microphones especially benefit from being close – the SM7B in particular rewards being right up on the mic, which produces the warm, intimate proximity effect you hear on professional broadcasts. Speaking into a mic from 12 inches away sounds noticeably more distant and roomy than speaking from 4 inches.
A pop filter or foam windscreen reduces plosive sounds – the hard P and B sounds that create a burst of air pressure that clips the microphone. A dedicated pop filter on an arm costs about $15 and is worth every penny. Even a foam windscreen that slips over the capsule helps significantly.
Gain staging: Set your interface gain so that your signal peaks around -12 to -6 dBFS while speaking at your normal conversational level. This gives you enough headroom to avoid clipping while keeping the signal strong enough to avoid a noisy floor. Most interfaces have a clip indicator light – you want it never lighting up during normal speech. Record a minute of silence in your space before each session to capture a noise floor reference you can use if you need to apply noise reduction in post.
Step 5: Use a DAW or Dedicated Recording Software
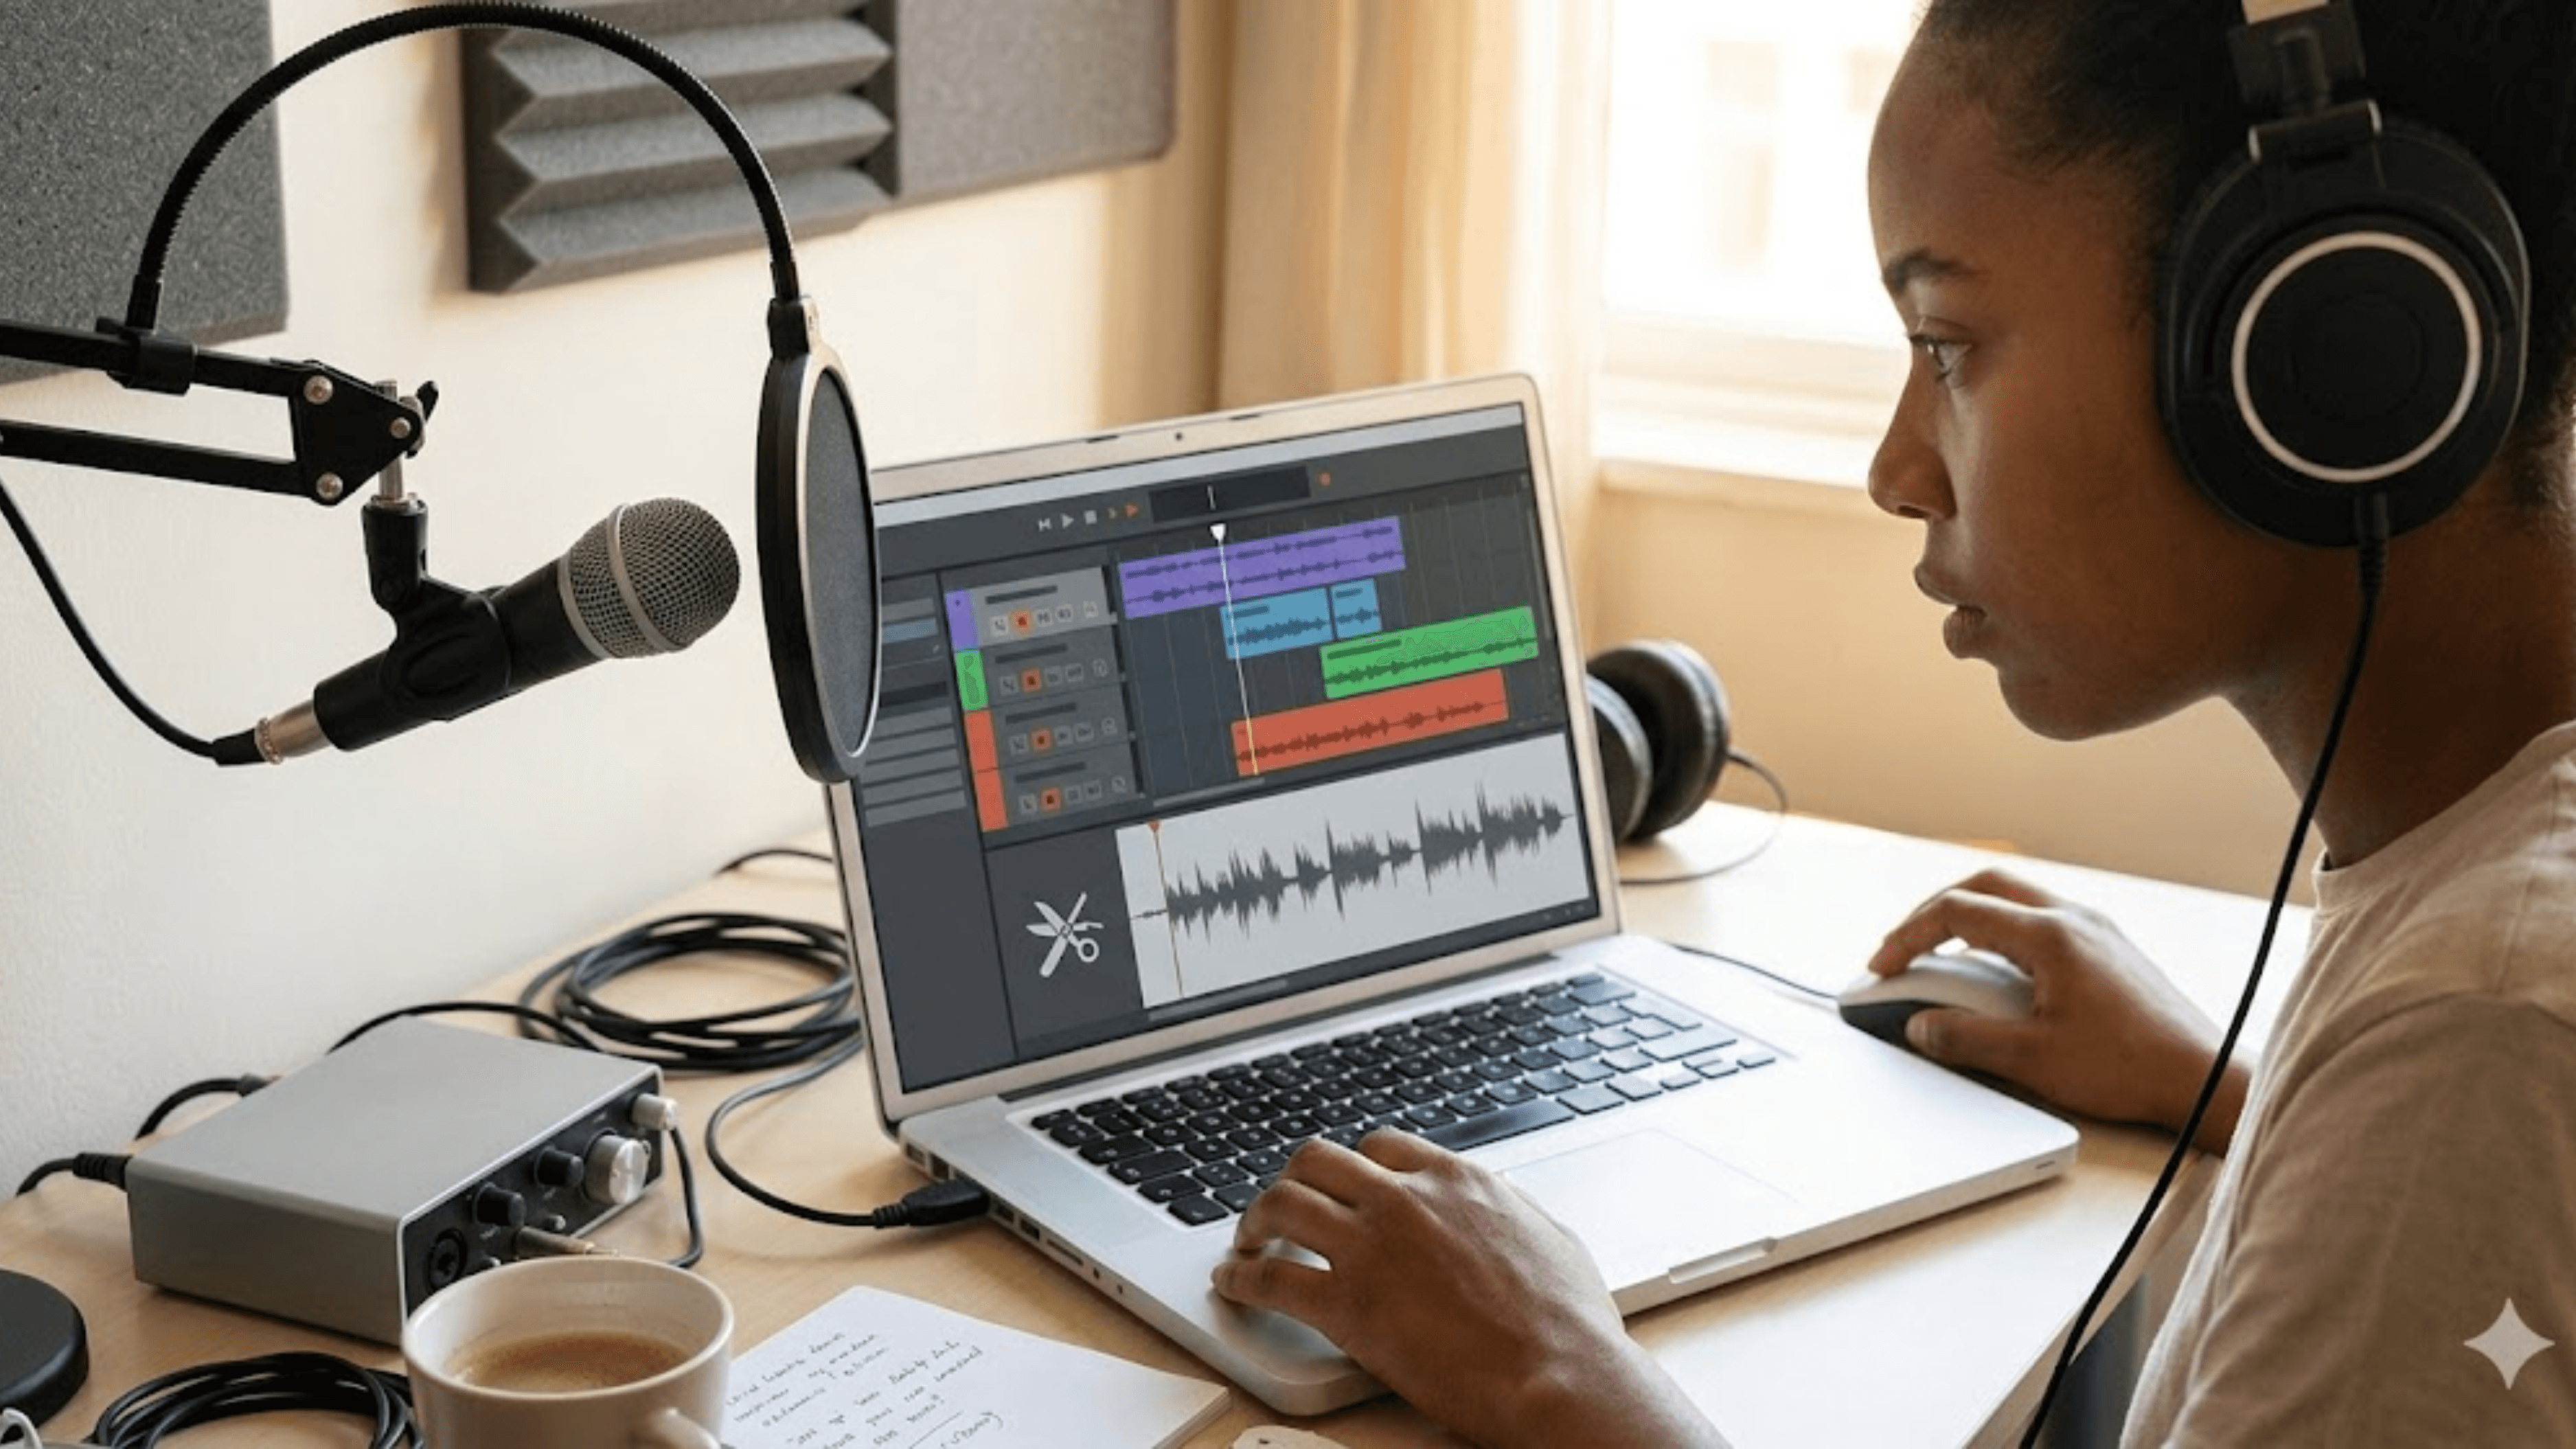
You don't need professional DAW (digital audio workstation) software to record clean podcast audio, but you do need something better than a browser-based recording tool if audio quality is the priority. Audacity is free, handles multi-track recording, and has effective noise reduction tools. GarageBand is free on Mac and easier to use with a more modern interface. Adobe Audition, Hindenburg Journalist, and Reaper are all strong paid options that add more editing and processing capability.
Whatever you use, record each person on a separate track if possible – it makes editing dramatically easier. Record locally on each participant's machine if you're doing remote interviews rather than relying entirely on a platform like Riverside or SquadCast to capture audio, though those platforms have improved significantly and are now a reasonable primary option for remote recording at up to 48kHz/32-bit float.
Step 6: Light Post-Processing That Doesn't Sound Processed
Clean recording at the source means you need very little post-processing, which is the goal. Heavy compression, aggressive noise reduction, and overuse of EQ are what make audio sound processed and unnatural – the opposite of what you're going for. If your room and mic technique are right, post-processing should be subtle.
A basic post-processing chain for podcast audio looks like this: noise reduction first (applied gently, using the noise floor sample you captured before recording), followed by a light high-pass filter to remove low-frequency rumble (typically roll off everything below 80–100Hz for voice), a gentle de-esser to tame harsh S sounds if your voice or room tends toward sibilance, and light compression to even out volume inconsistencies (aim for a ratio of 2:1 or 3:1, not 8:1). Normalize the final export to around -16 LUFS for standard podcast delivery. Many podcast hosting platforms and apps will apply their own normalization on top of yours, so hitting -16 LUFS is a reasonable standard target.
Tools like iZotope RX Elements (worth the cost if you're dealing with consistent noise problems), the free Reaper plug-in ReaFIR, or Adobe Audition's built-in noise reduction all work well at this stage.
What to Watch Out For
Buying a condenser mic before treating the room is the most expensive mistake beginners make. The mic will capture every flaw in your space and you'll end up spending more money trying to fix it in post than you would have spent on acoustic treatment.
Setting gain too high is the second most common error. High gain introduces noise and increases the chance of clipping. Record at a lower level than feels right, especially with dynamic mics that require more gain. It's better to push the volume in post than to deal with clipped audio you can't fix.
Recording over a noisy interface or a USB hub introduces hiss and noise that's hard to remove without affecting the voice. Plug your interface directly into your computer rather than through a USB hub, and keep it away from power supplies and monitors that emit electrical interference.
Proximity creep during long recordings – moving back from the mic as you get comfortable over an hour-long conversation – is worth monitoring. Record a segment, put on headphones, and listen back at the start. If you're already further away than you intended, it's worth resetting before you record more.
FAQ
Do I need to soundproof my home studio to get professional audio? Soundproofing (blocking external sound from entering) and acoustic treatment (controlling reflections inside the room) are different things. You mostly need acoustic treatment, not soundproofing. A well-treated room that still lets in some ambient sound but controls internal reflections will produce far better audio than an untreated room with sealed windows. Real soundproofing requires construction. Acoustic treatment requires soft furnishings and a bit of foam.
What's the most cost-effective upgrade for better audio? If you're already on an XLR dynamic mic and interface, the highest-value upgrade is almost always room treatment – even a few moving blankets or acoustic panels. If you're on a USB mic in an untreated room, both the room and the interface are worth addressing before upgrading the mic itself.
How do I record a remote guest without quality degrading? Use a dedicated remote recording platform like Riverside.fm or SquadCast that captures local audio on each participant's machine and uploads high-quality files. Avoid recording Zoom calls directly – the compressed audio Zoom delivers is noticeably lower quality than locally recorded tracks. Ask your guest to use headphones to prevent their speaker audio from leaking into their microphone.
What sample rate and bit depth should I record at? 44.1kHz at 24-bit is the standard for podcast recording and is more than sufficient. 48kHz at 24-bit is also fine and is the standard for video production if you're recording a video podcast. Recording at 96kHz provides no audible benefit for speech and produces much larger files.
Is it worth spending over $300 on a microphone for podcasting? Beyond the SM7B range ($400), returns diminish quickly for podcast use specifically. Most high-end condensers are designed for music recording, where the additional detail matters. For voice recording in a home environment, gear above the $300–$400 mark produces marginal improvements that most listeners won't notice. Invest in room treatment and an interface before spending more on a mic.
The gap between home recordings that sound amateur and ones that sound professional is almost never about having better equipment. It's about understanding how sound behaves in a space and fixing the chain from the room to the signal before you hit record. Get those fundamentals right, stay close to the mic, and keep your post-processing restrained. The result will hold up against anything in your category.
📚 Sources
Rode Microphones – Dynamic vs Condenser Microphones for Podcasting – https://www.rode.com/en/about/news-info/dynamic-vs-condenser-microphones-for-podcasting
Focusrite – Getting Started With Your Scarlett Interface – https://customer.focusrite.com/en/support/downloads?brand=Focusrite&product_by_type=702&product_by_range=728&product_by_name=2999
Transom – Microphone Technique for Radio and Podcast – https://transom.org/2018/mic-technique-for-radio/
Podcast Movement – Audio Quality Standards for Podcast Producers – https://podcastmovement.com/
iZotope – Introduction to Podcast Post-Production – https://www.izotope.com/en/learn/introduction-to-podcast-post-production.html
Auphonic – Loudness Standards for Podcasts (-16 LUFS) – https://auphonic.com/blog/2013/03/21/loudness-in-audio-production/