Start With Project Settings, Not Tracks
Before creating a single track, set your project's sample rate and bit depth. For most modern productions, 44.1kHz or 48kHz at 24-bit is the standard starting point, and changing this mid-project after you've already recorded audio creates compatibility headaches that are avoidable if you decide upfront. If you're recording for video or working with a specific studio's existing sessions, matching their sample rate from the start saves conversion issues later.
Set your tempo and time signature next, even if you plan to adjust it slightly once you're deeper into the song. Recording without a locked tempo reference makes it significantly harder to edit, quantize, or layer additional parts later, since everything you record will drift relative to whatever grid you eventually decide to use.
Create a Logical Track Structure Before You Record Anything
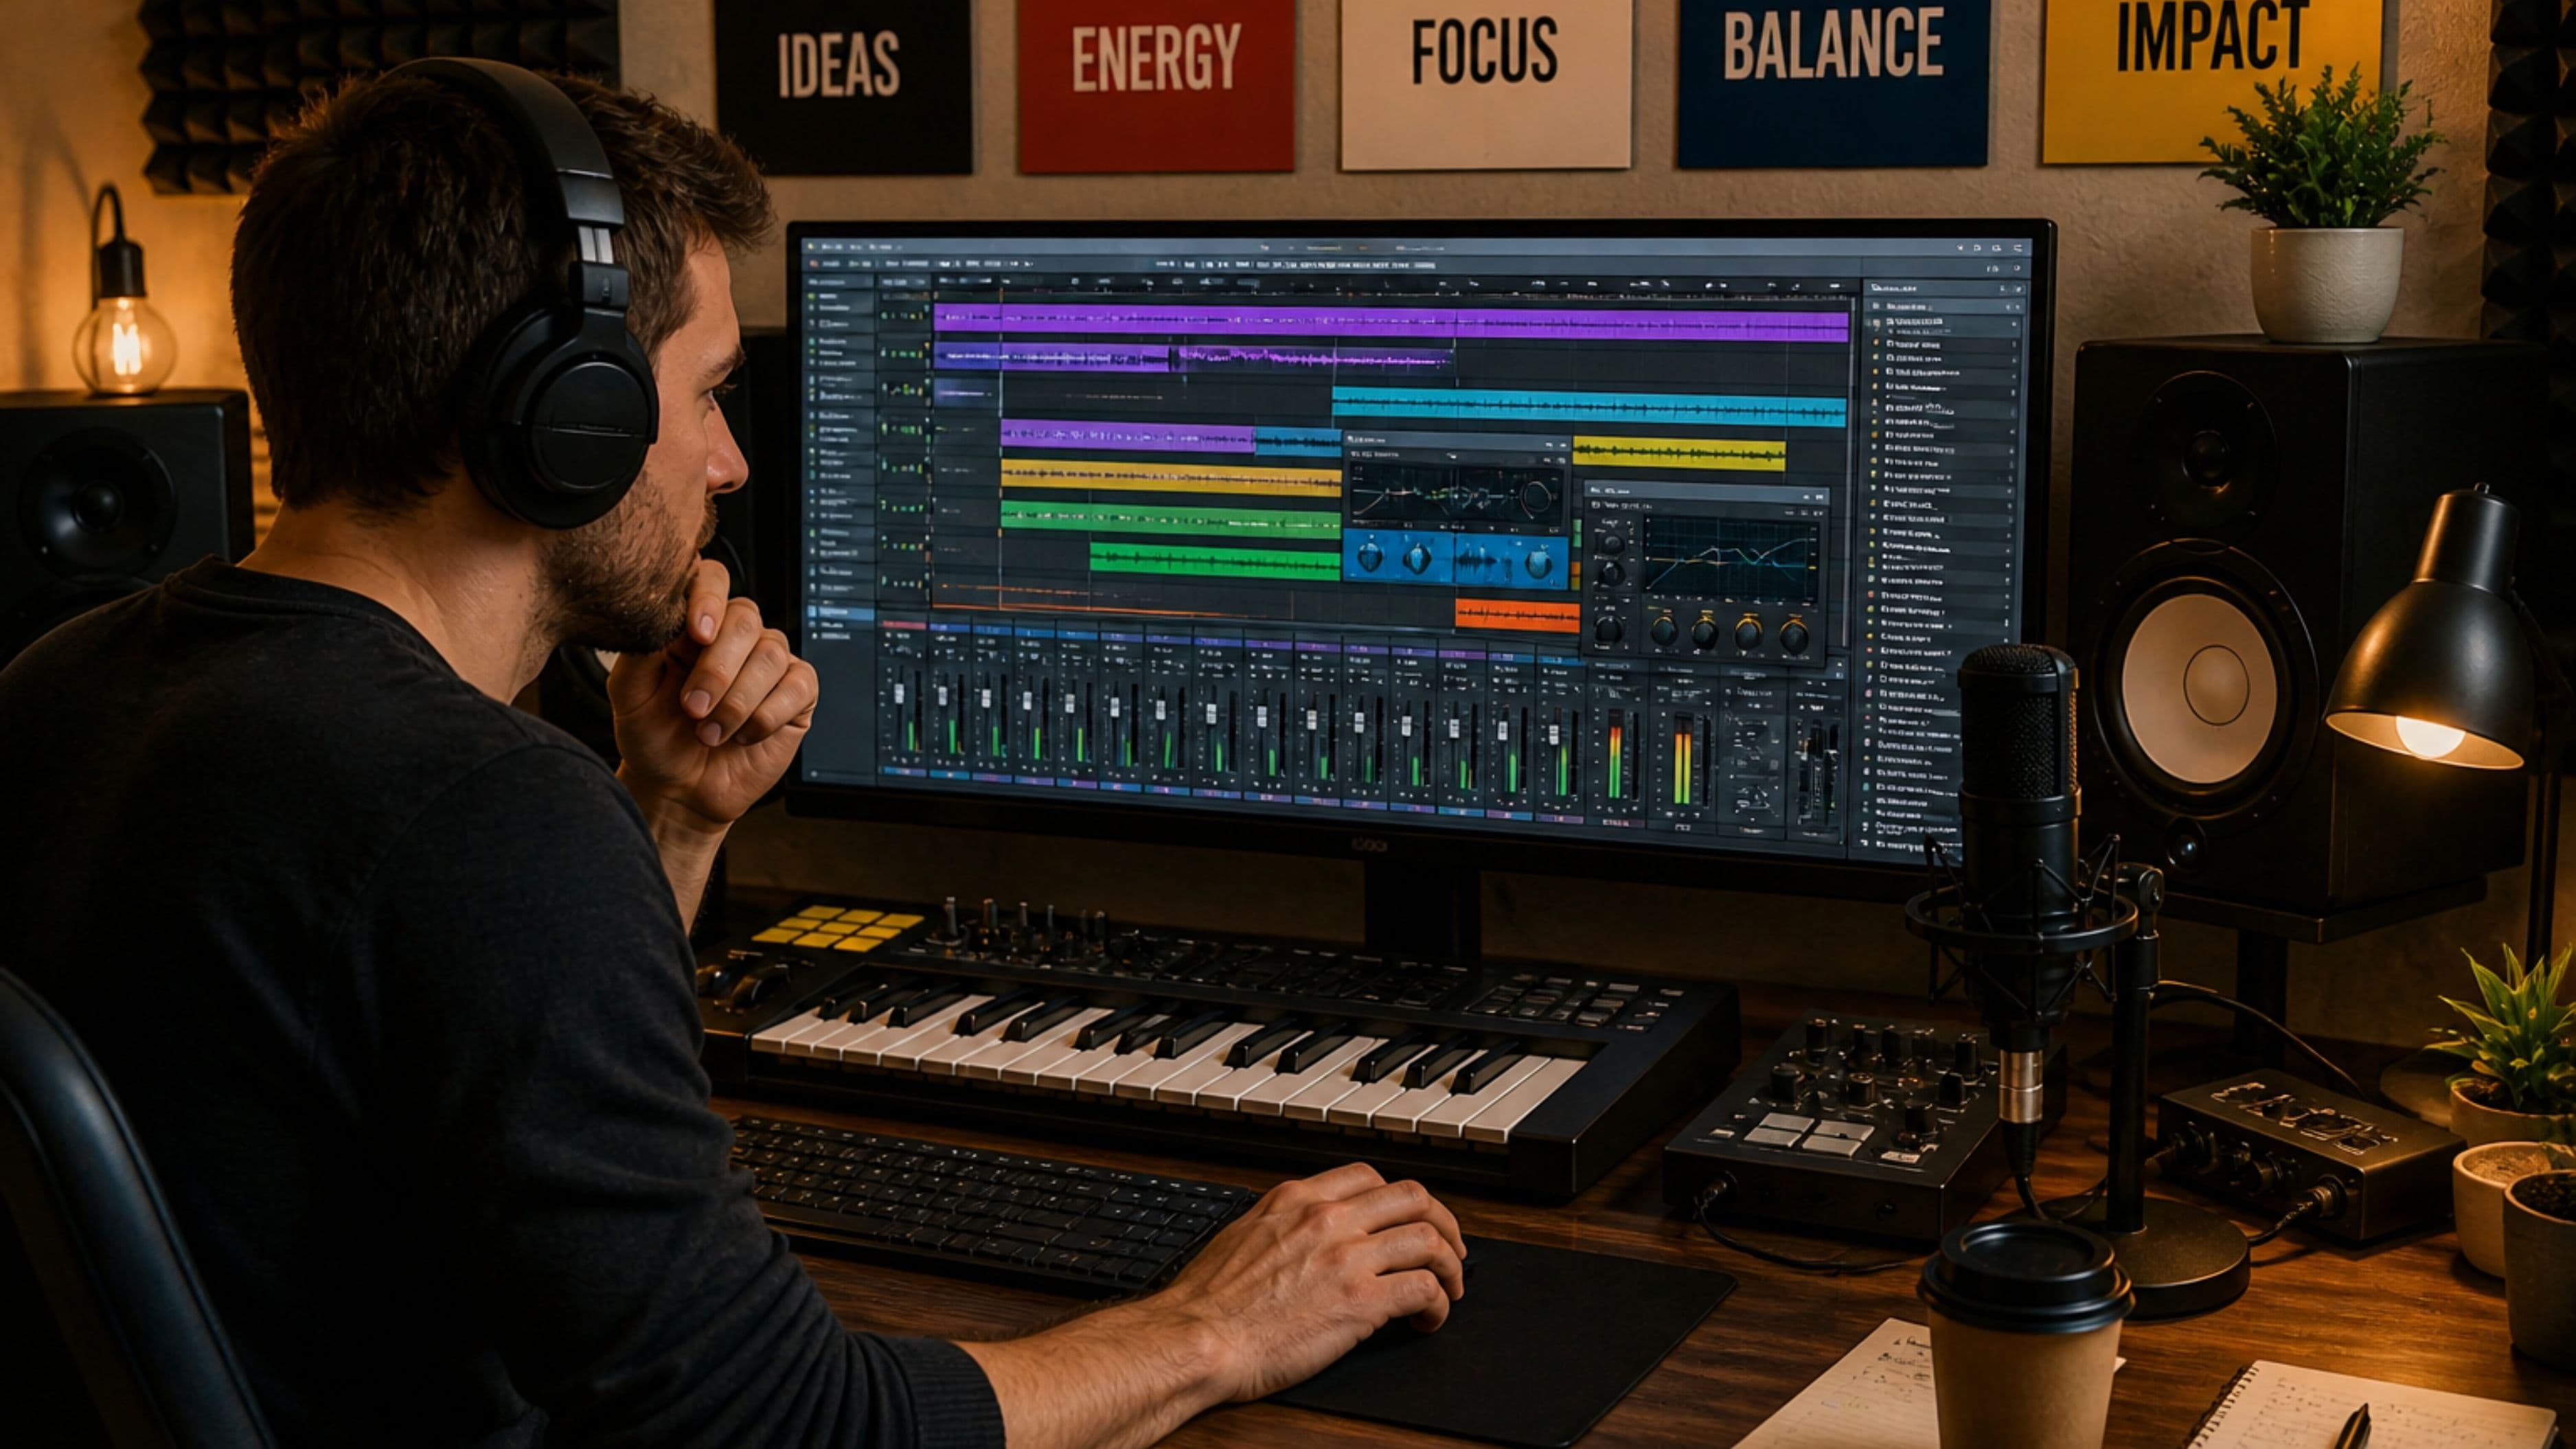
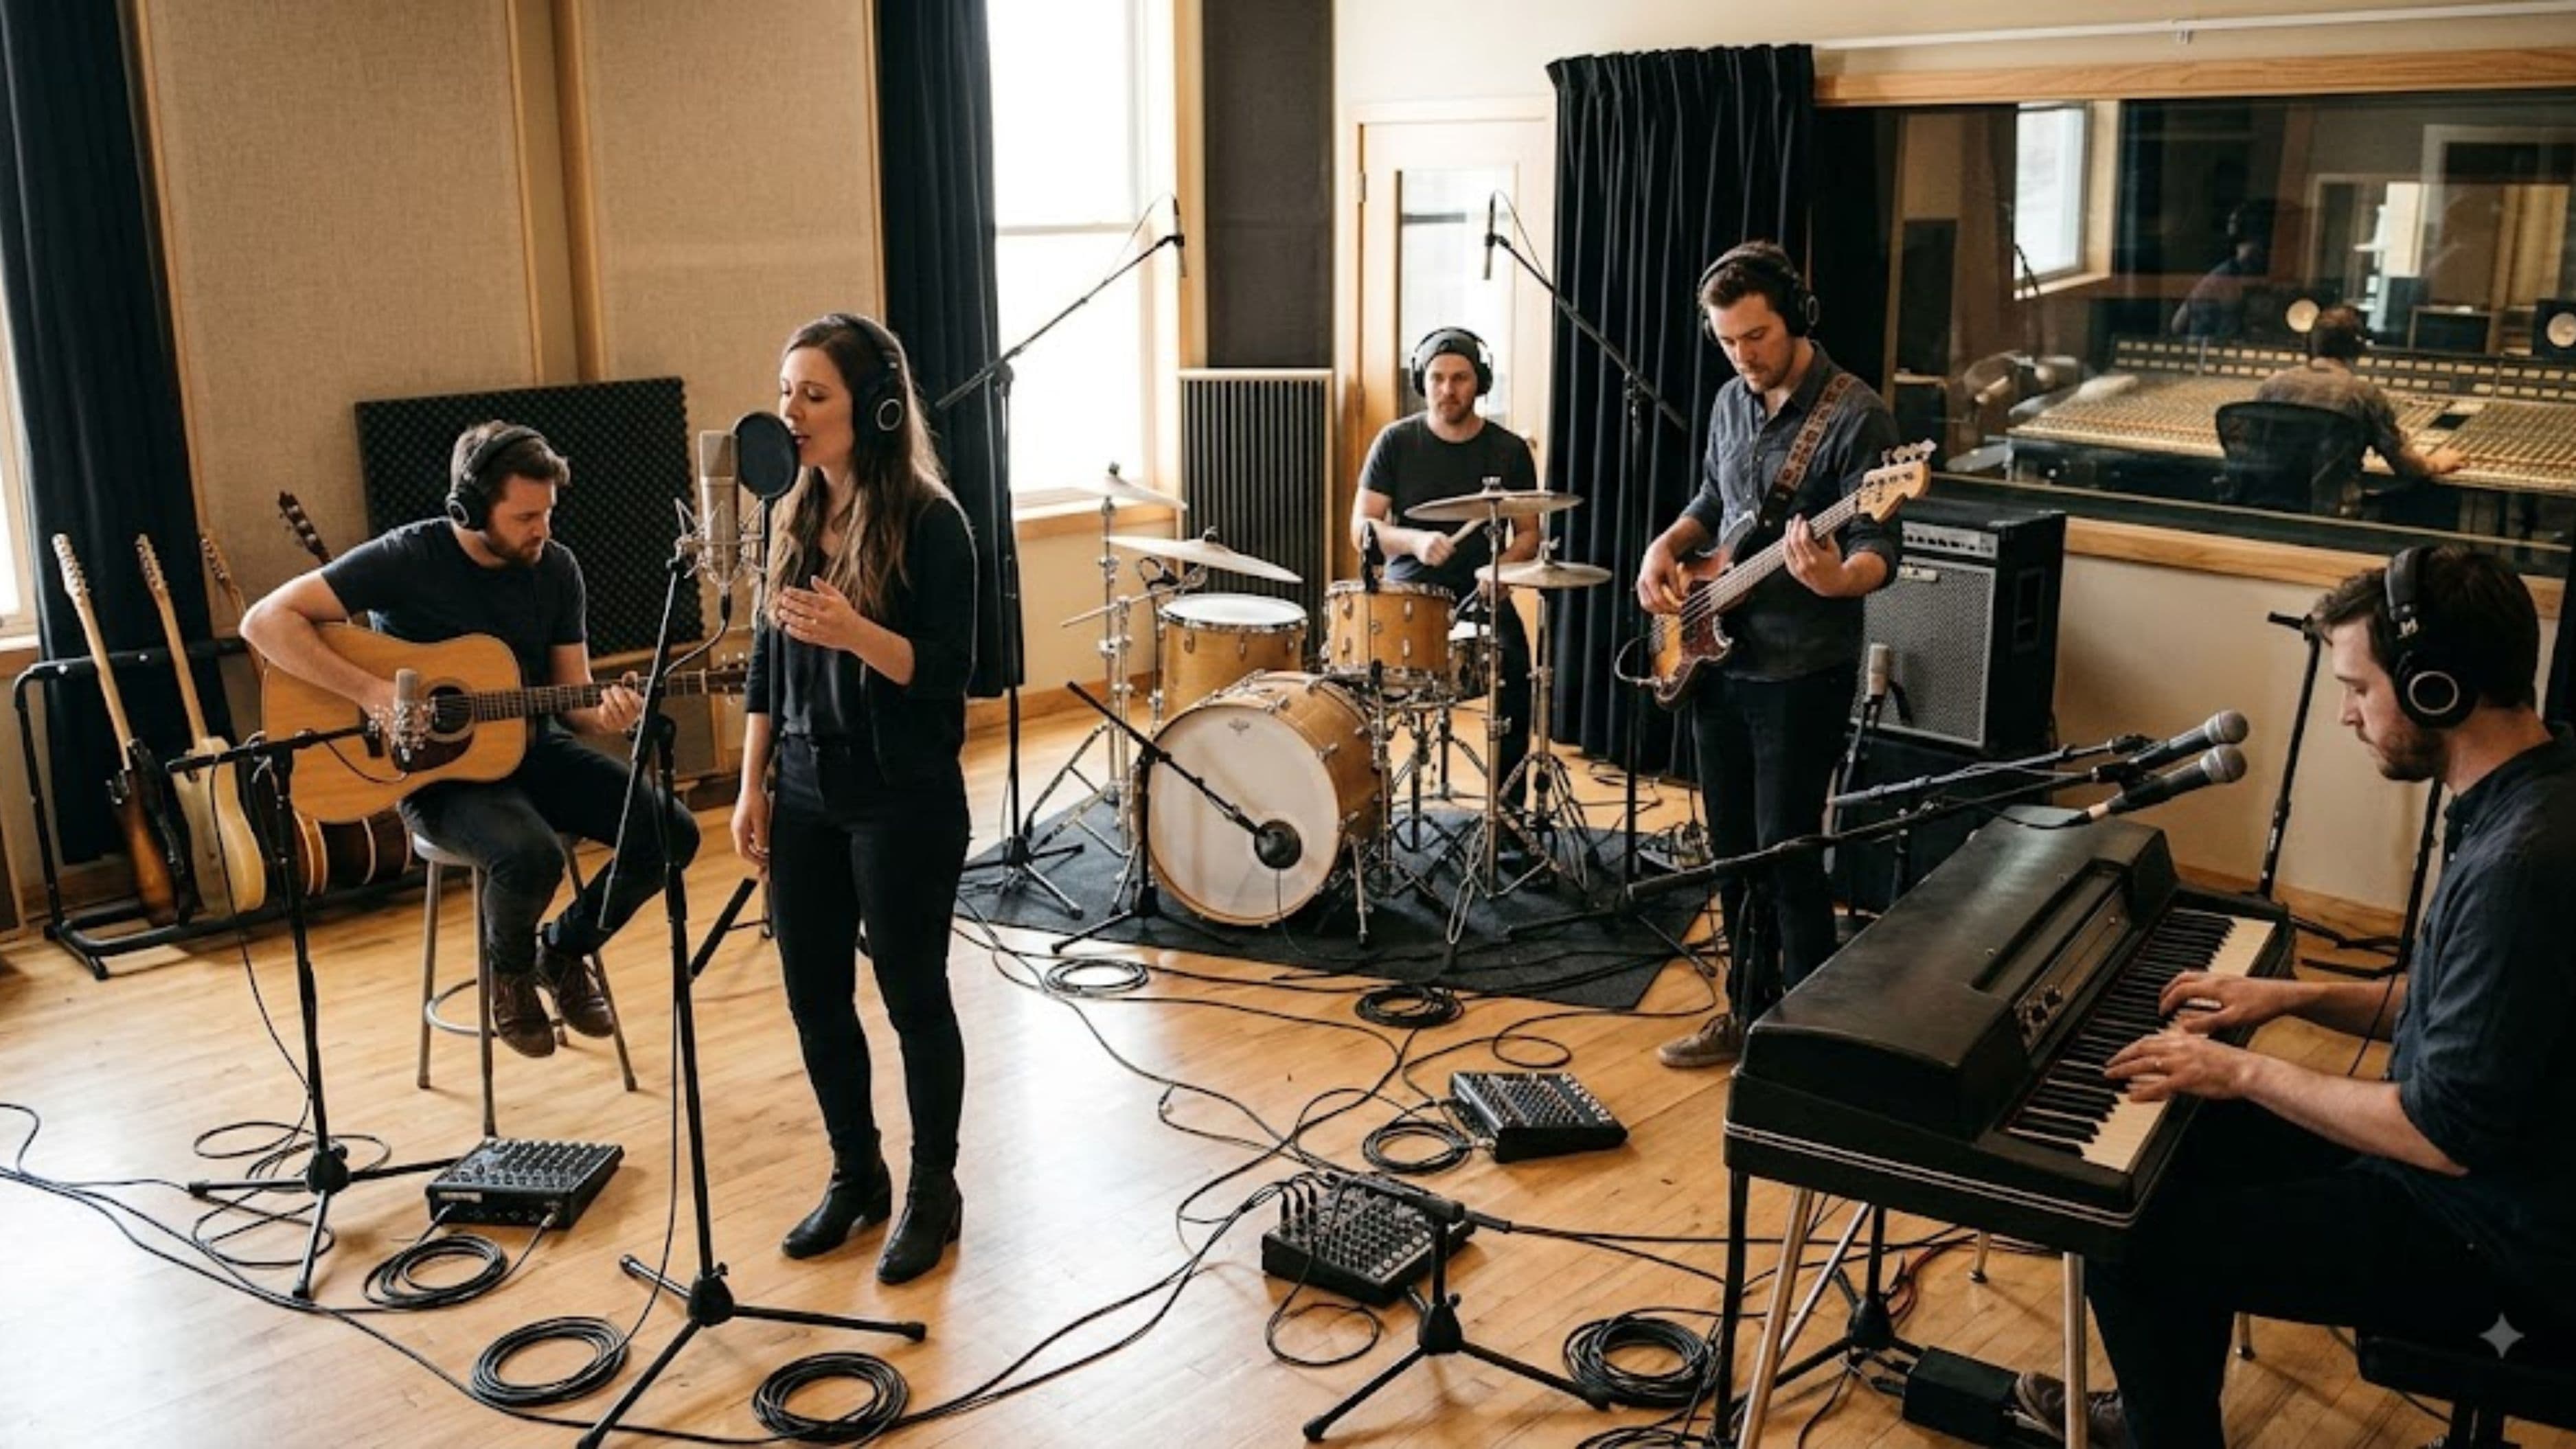
Set up your track list based on what you're actually planning to record, not just as you think of things in the moment. A typical band or vocal session benefits from grouping tracks by category – drums, bass, guitars, vocals, keys – rather than scattering them in the order you happened to create them. Most DAWs let you color-code tracks and organize them into folders or groups, and taking the extra few minutes to do this before recording starts saves significant time during mixing, when finding the right track quickly actually matters.
Name every track clearly and specifically before you record a single note. "Audio 3" tells you nothing three days later when you're trying to remember which take was the good one; "Lead Vocal Take 2" tells you everything you need at a glance.
Set Input Routing and Levels Correctly From the Start
Confirm your interface inputs are correctly assigned to the right tracks before hitting record – this sounds obvious, but recording an entire take on the wrong input, or with no input selected at all, is one of the most common and entirely avoidable mistakes in a home studio setting. Check that each track's input matches the physical input on your audio interface where your microphone or instrument is actually plugged in.
Set your gain levels with headroom in mind rather than pushing as hot as possible. Aim for peaks around -12 to -6 dB rather than driving your input close to 0 dB, since digital clipping is unforgiving and unrecoverable once it happens, unlike the more gradual distortion of analog tape. A quieter recording with clean headroom is always easier to fix in mixing than a clipped one.
Set Up a Click Track and Monitoring Before Recording
If you're recording with a click track, set it up and test it before your performer is sitting down ready to go – nothing kills momentum like troubleshooting a metronome while someone's waiting with an instrument in hand. Confirm the click is only going to headphones, not bleeding into the room microphones, since a click track picked up by an open mic is a common and frustrating fix during editing.
Test your headphone monitoring mix separately from your main output, since a performer needs to hear themselves clearly, often with more of their own signal in the mix than a listener would want in a final mix. Most DAWs allow a separate cue mix specifically for this purpose, and setting it up correctly before recording avoids repeated stop-and-restart moments during a take.
Create a Simple File and Session Backup System
Set your DAW to save incremental versions, or manually save a new version at key milestones – after a good take, after a rough mix pass – rather than continuously overwriting a single file. This habit costs almost nothing in terms of time but has saved countless producers from losing hours of work to an accidental overwrite or a corrupted session file.
Back up your project folder, including all audio files and session data, to a separate drive or cloud service regularly, not just at the end of a session. A tracking session with hours of recorded audio represents real time invested, and the cost of a backup drive is trivial compared to the cost of losing that work to a hard drive failure.
What to Watch Out For
Skipping project settings and adjusting sample rate mid-session is one of the most disruptive mistakes you can make, since it can affect pitch and timing of already-recorded audio depending on how your DAW handles the conversion. Avoid recording without checking your gain staging first – a session full of clipped or overly quiet tracks is far harder to fix after the fact than it is to prevent with a quick soundcheck before the first real take. And don't neglect track naming and organization early on, assuming you'll clean it up later; that cleanup rarely happens once the creative momentum of a session takes over.
Frequently Asked Questions
Does the tracking session setup process differ significantly between DAWs? The underlying logic – project settings, track organization, input routing, monitoring – is consistent across DAWs, though menu locations and specific terminology vary.
How much headroom should I leave when recording? Aiming for peaks around -12 to -6 dB gives you a safe buffer against clipping while still capturing a strong enough signal to work with during mixing.
Is a click track always necessary? Not always – some styles and performances benefit from a more natural, human timing feel without a click, but if you plan to edit or layer additional parts later, a locked tempo reference makes that process significantly easier.
📚 Sources
Ableton – "Getting Started with Live" – https://www.ableton.com/en/manual/
Sweetwater – "Recording Basics: Gain Staging" – https://www.sweetwater.com/insync/